
The Bob Graham Round: A Finisher’s Guide
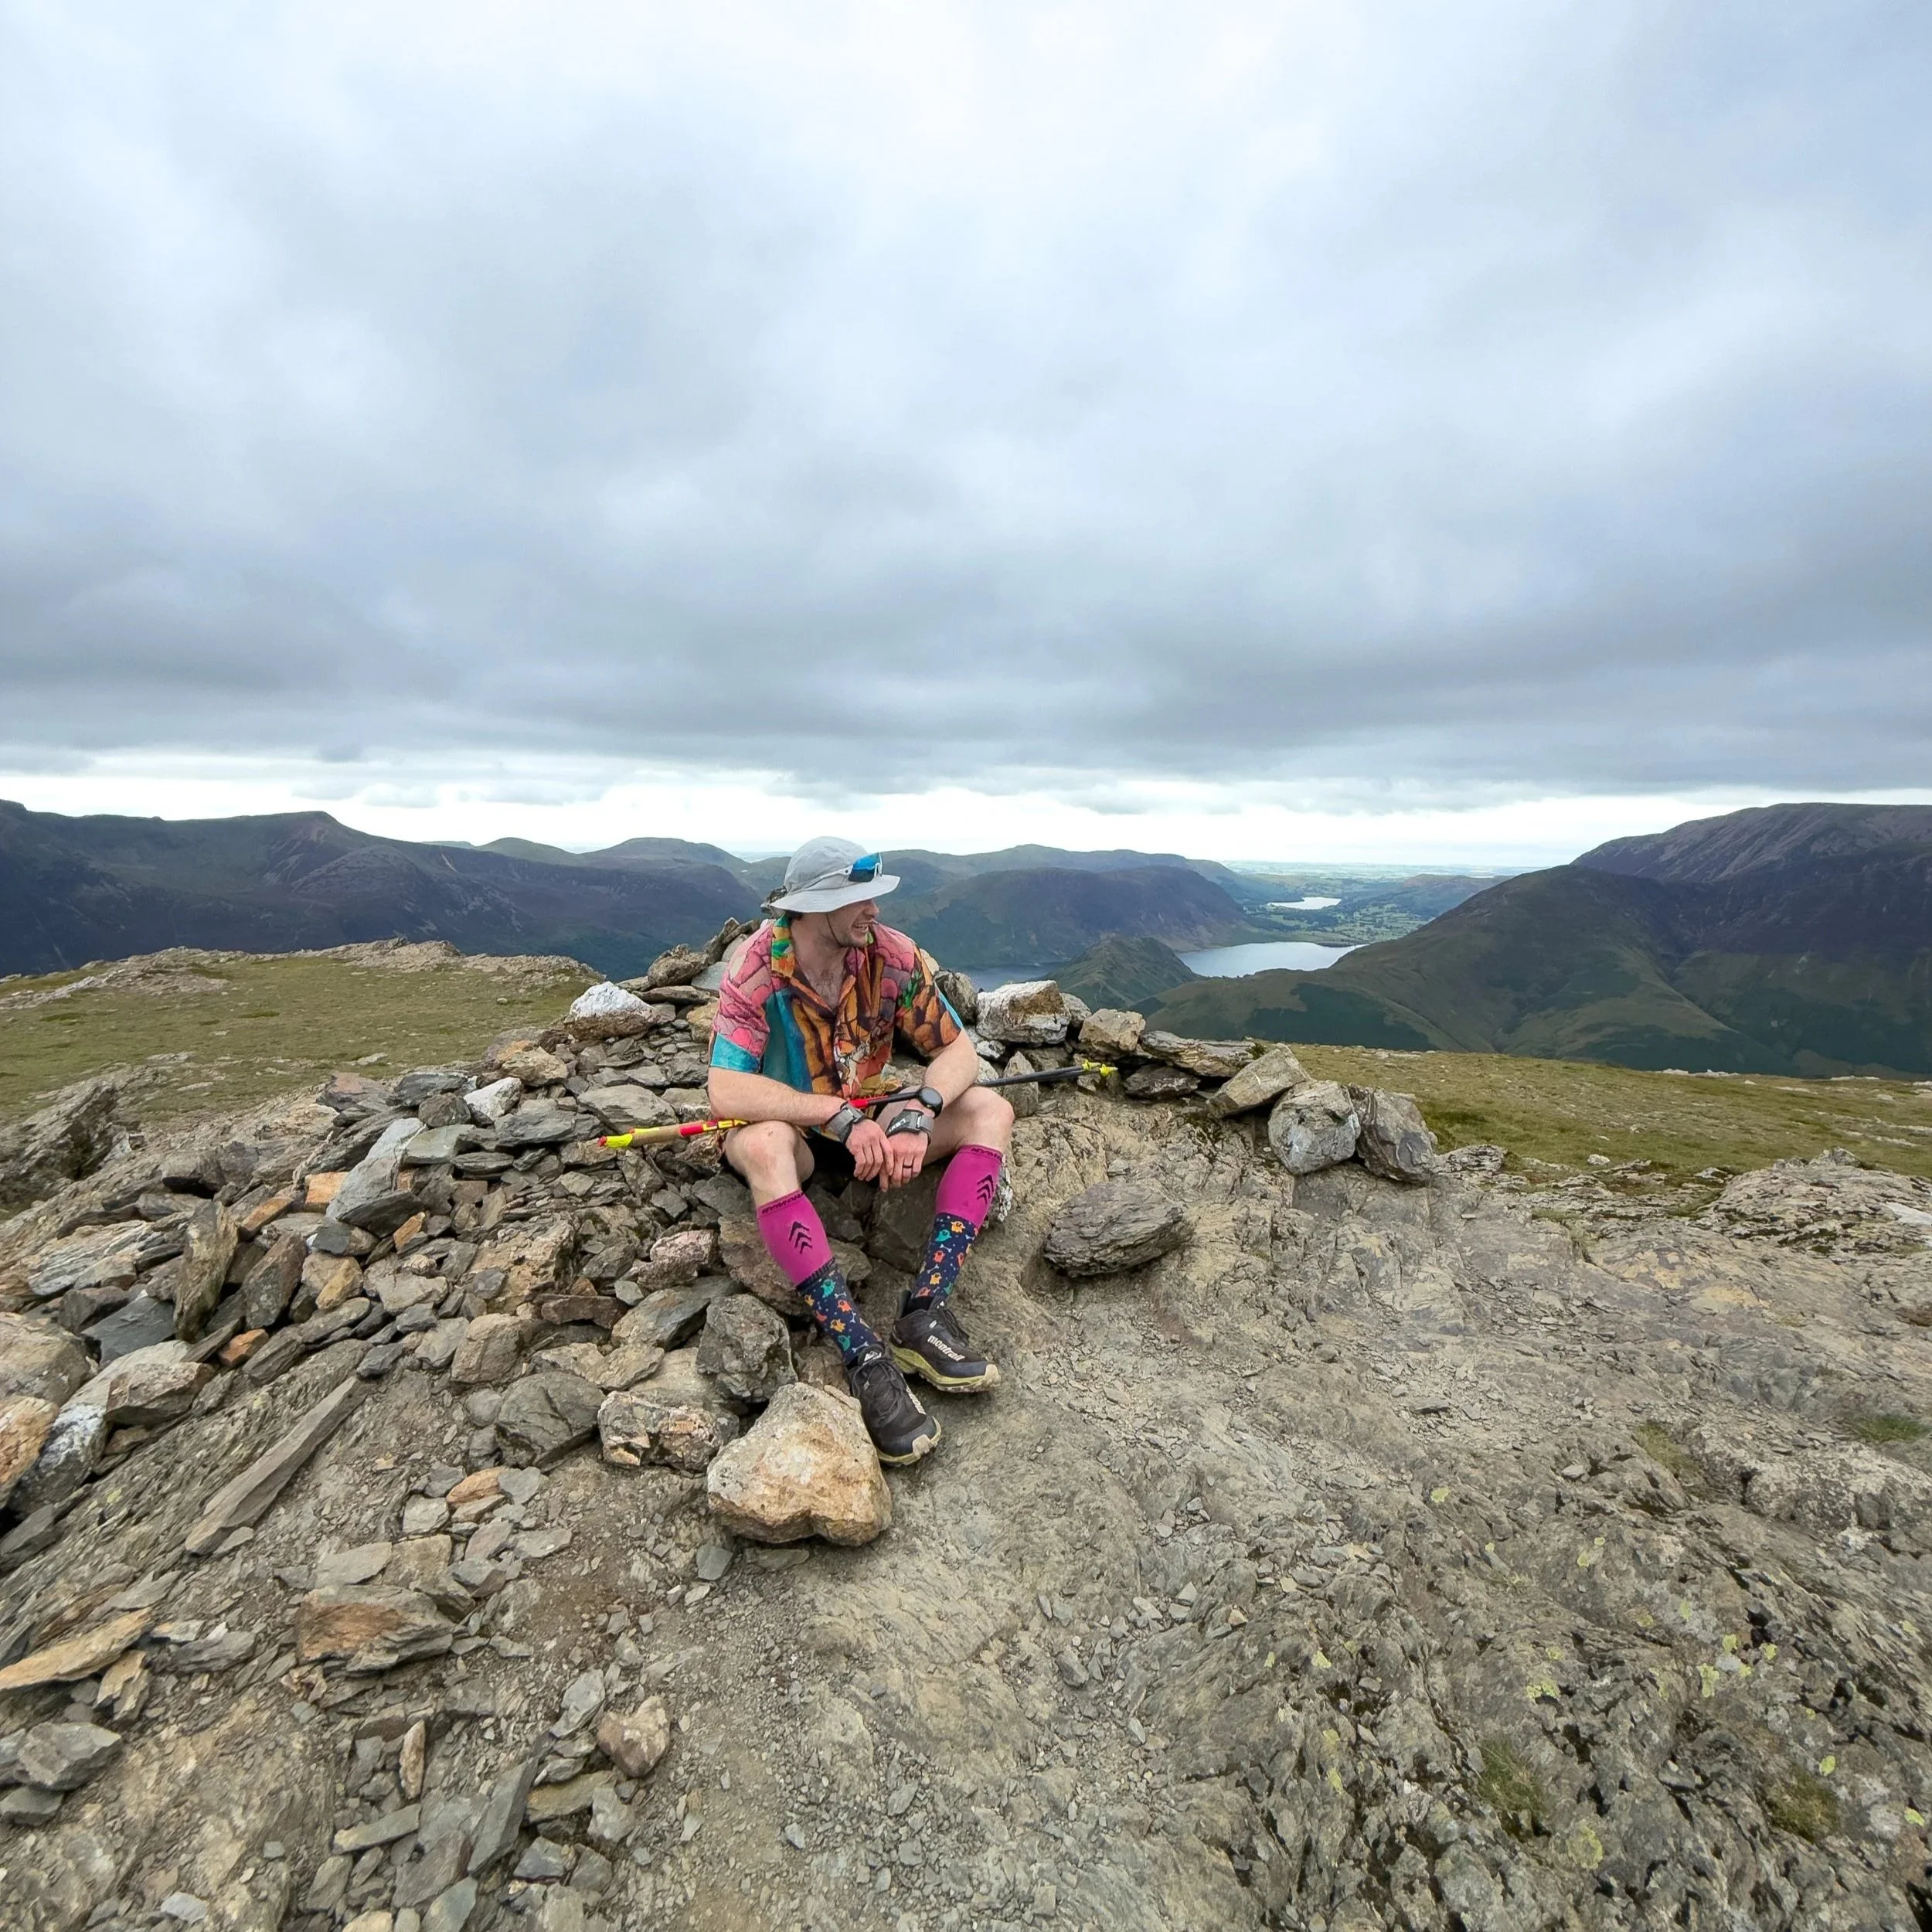
The Bob Graham Round is one of the most famous and respected mountain challenges in the UK.
Situated in the Lake District National Park in Northern England, The Bob Graham round involves summiting 42 Lake District Fells in under 24 hours. With the challenge covering around 106km with 8,200m of ascent and descent.
It’s a monumental challenge which has a success rate of less than 40%.
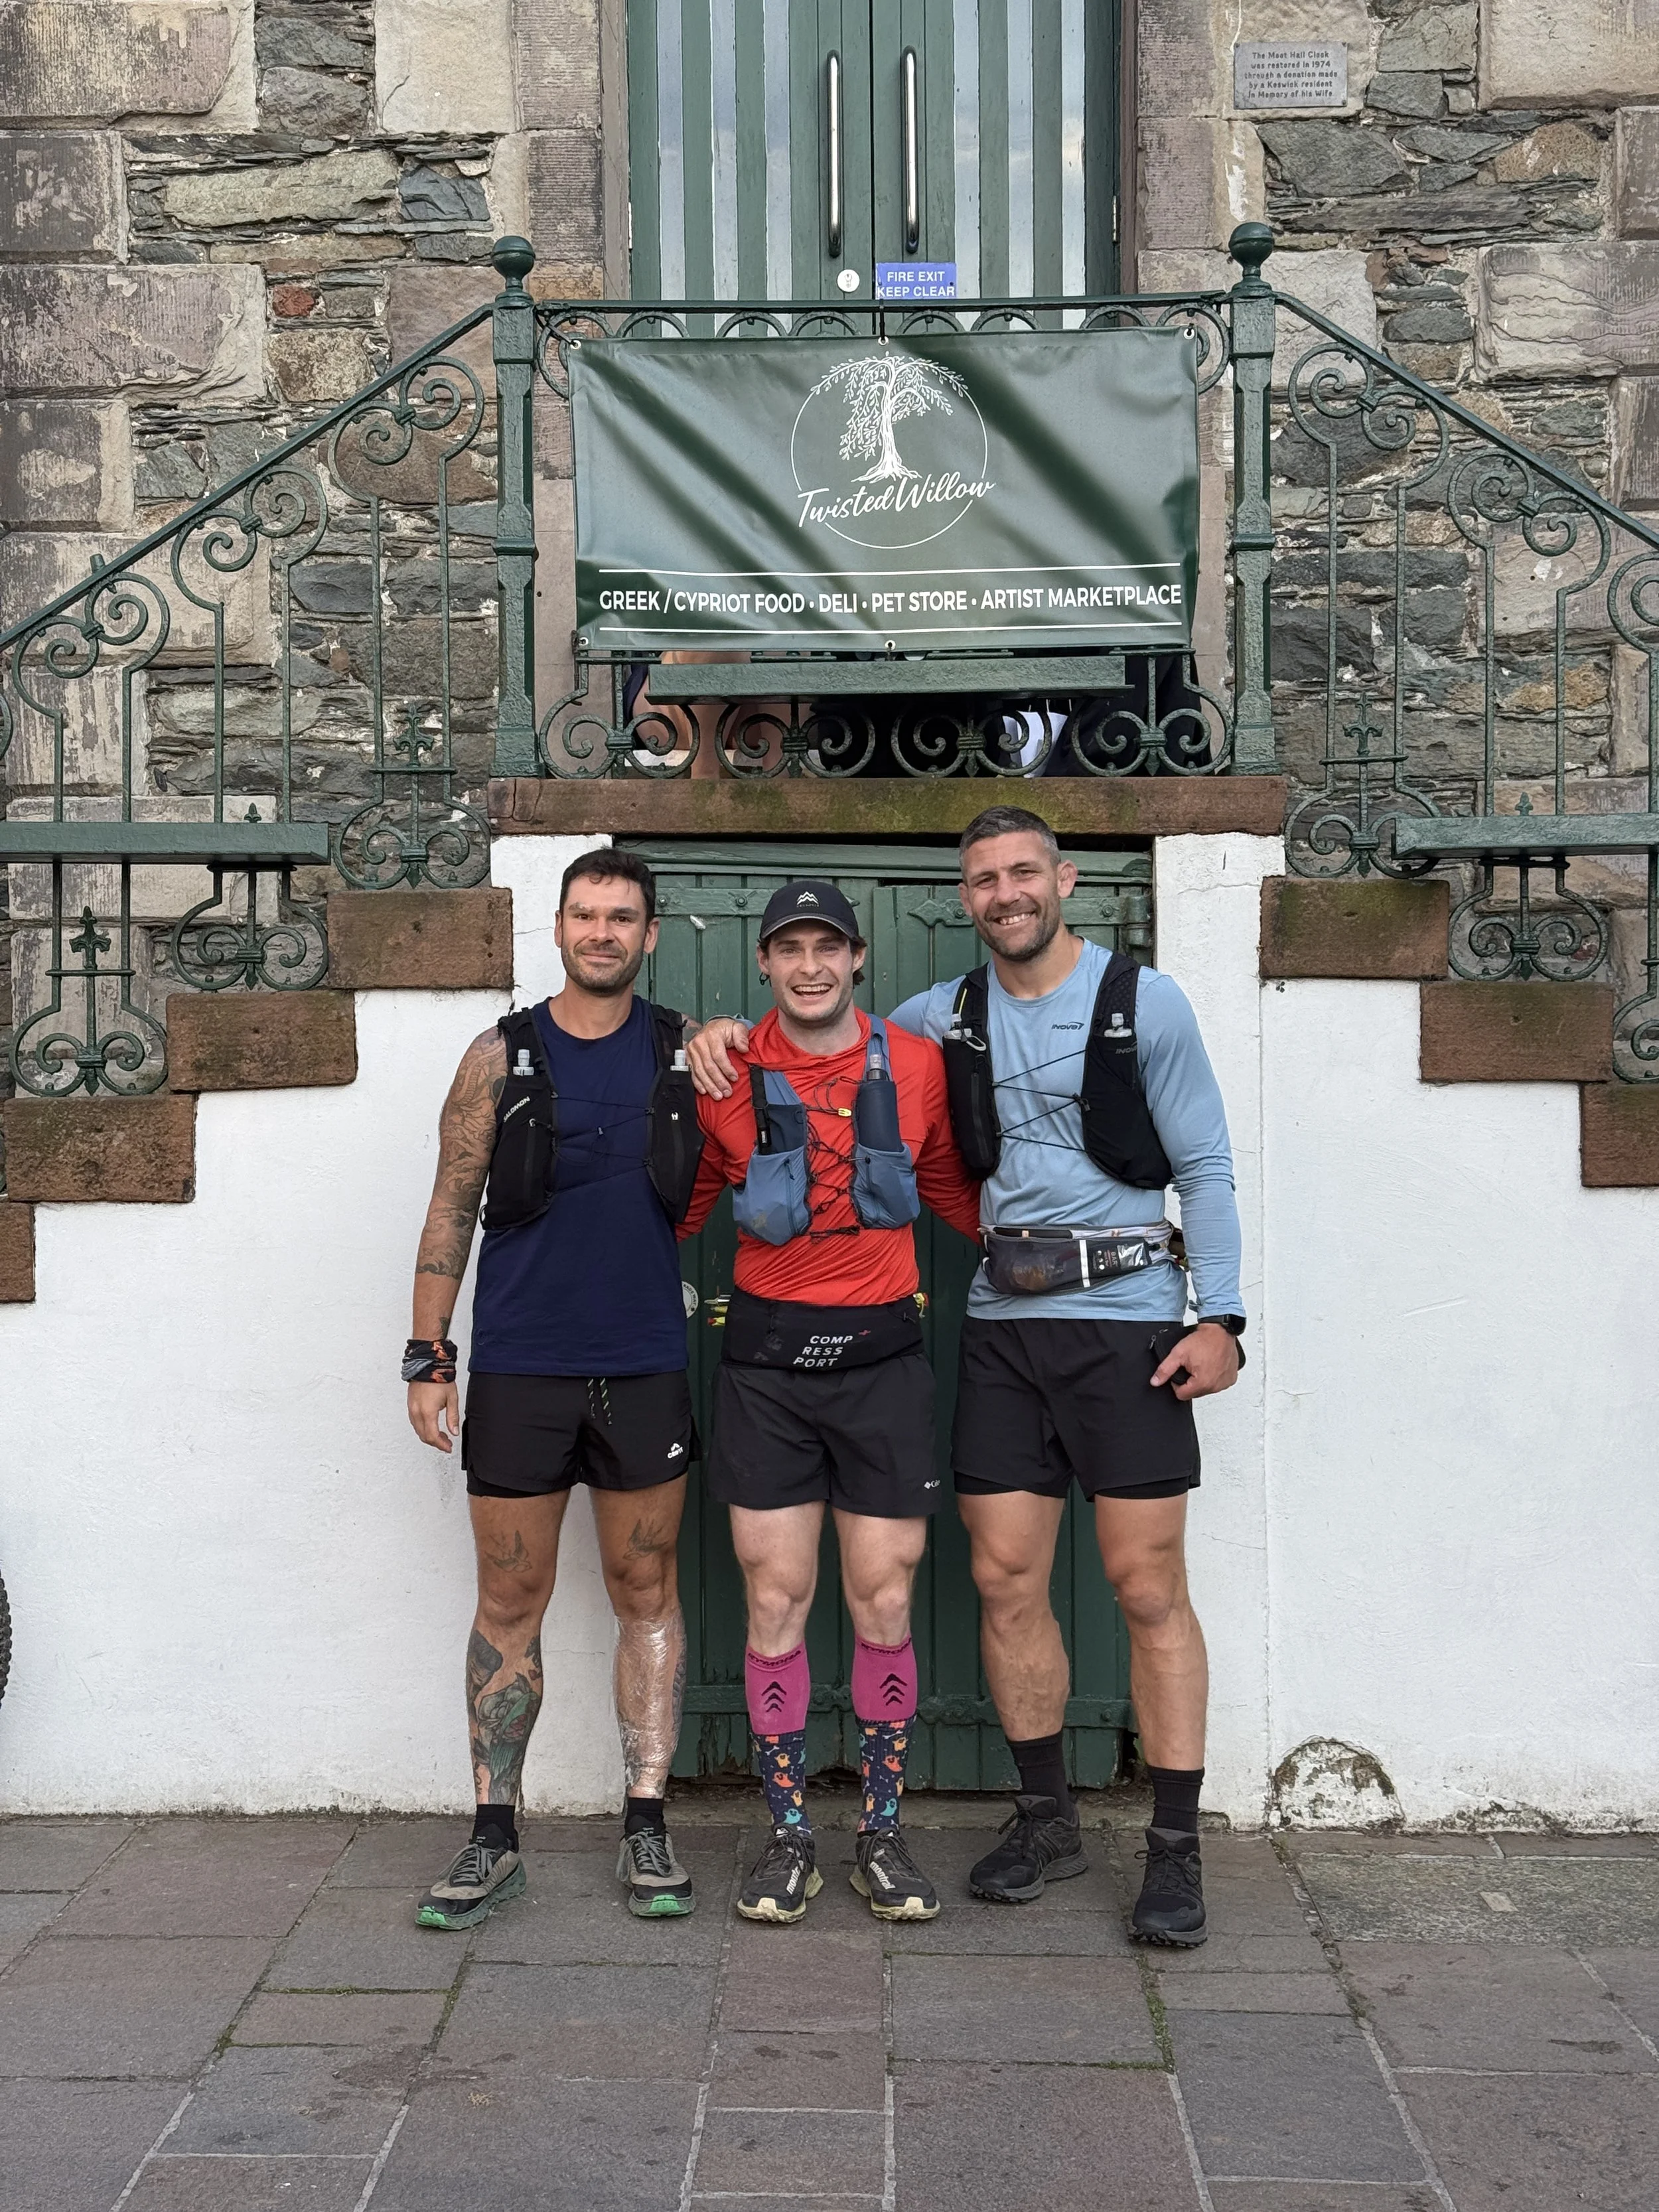
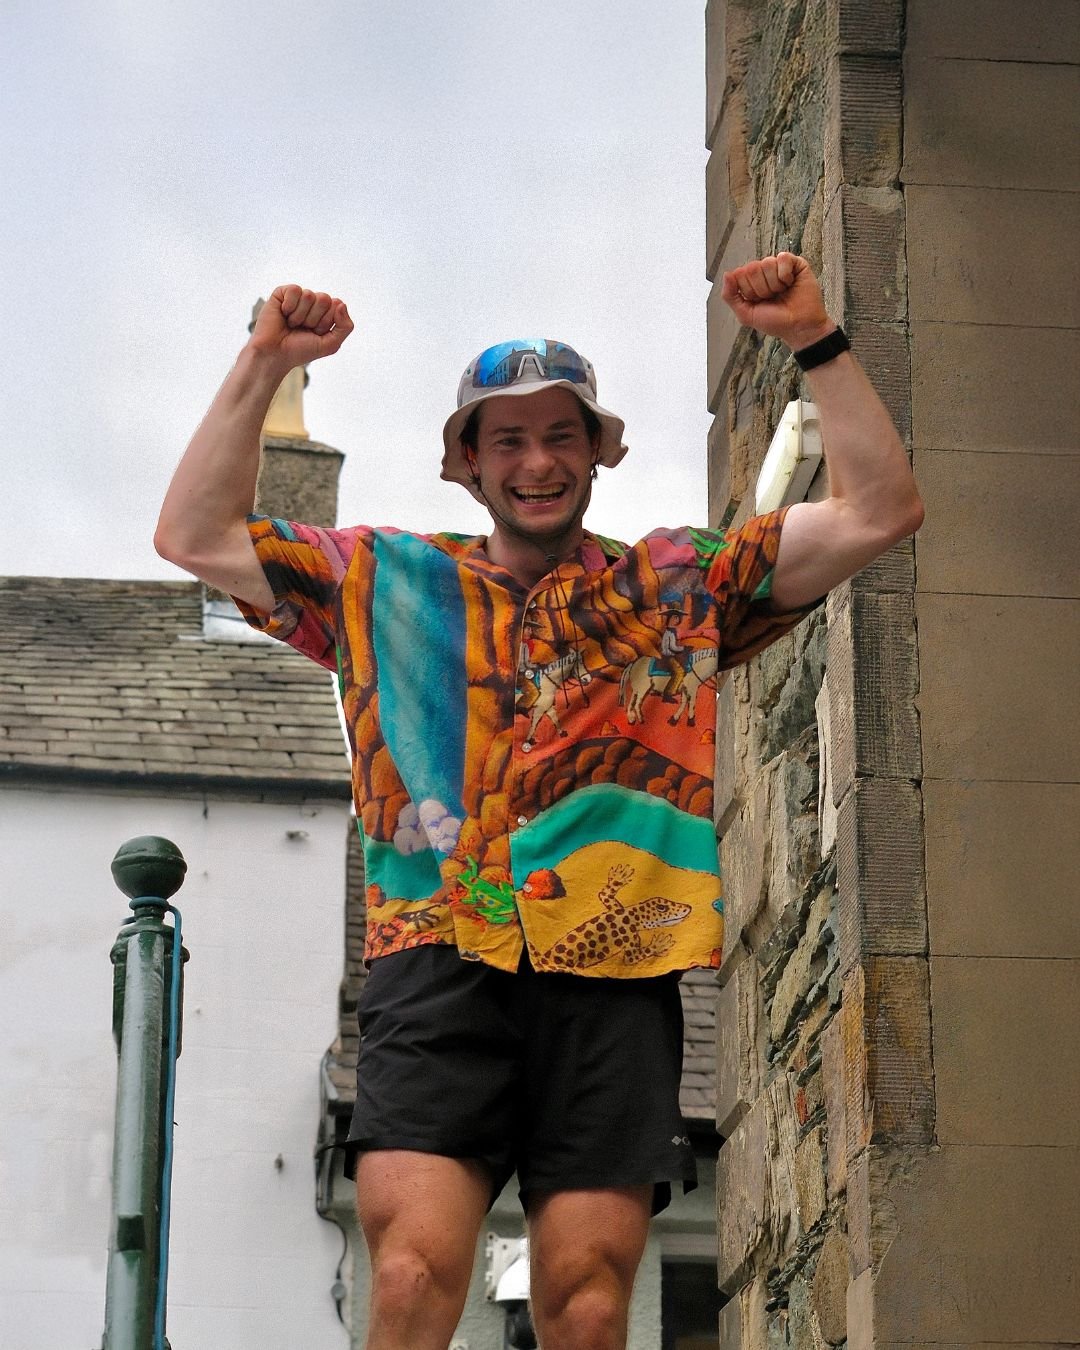
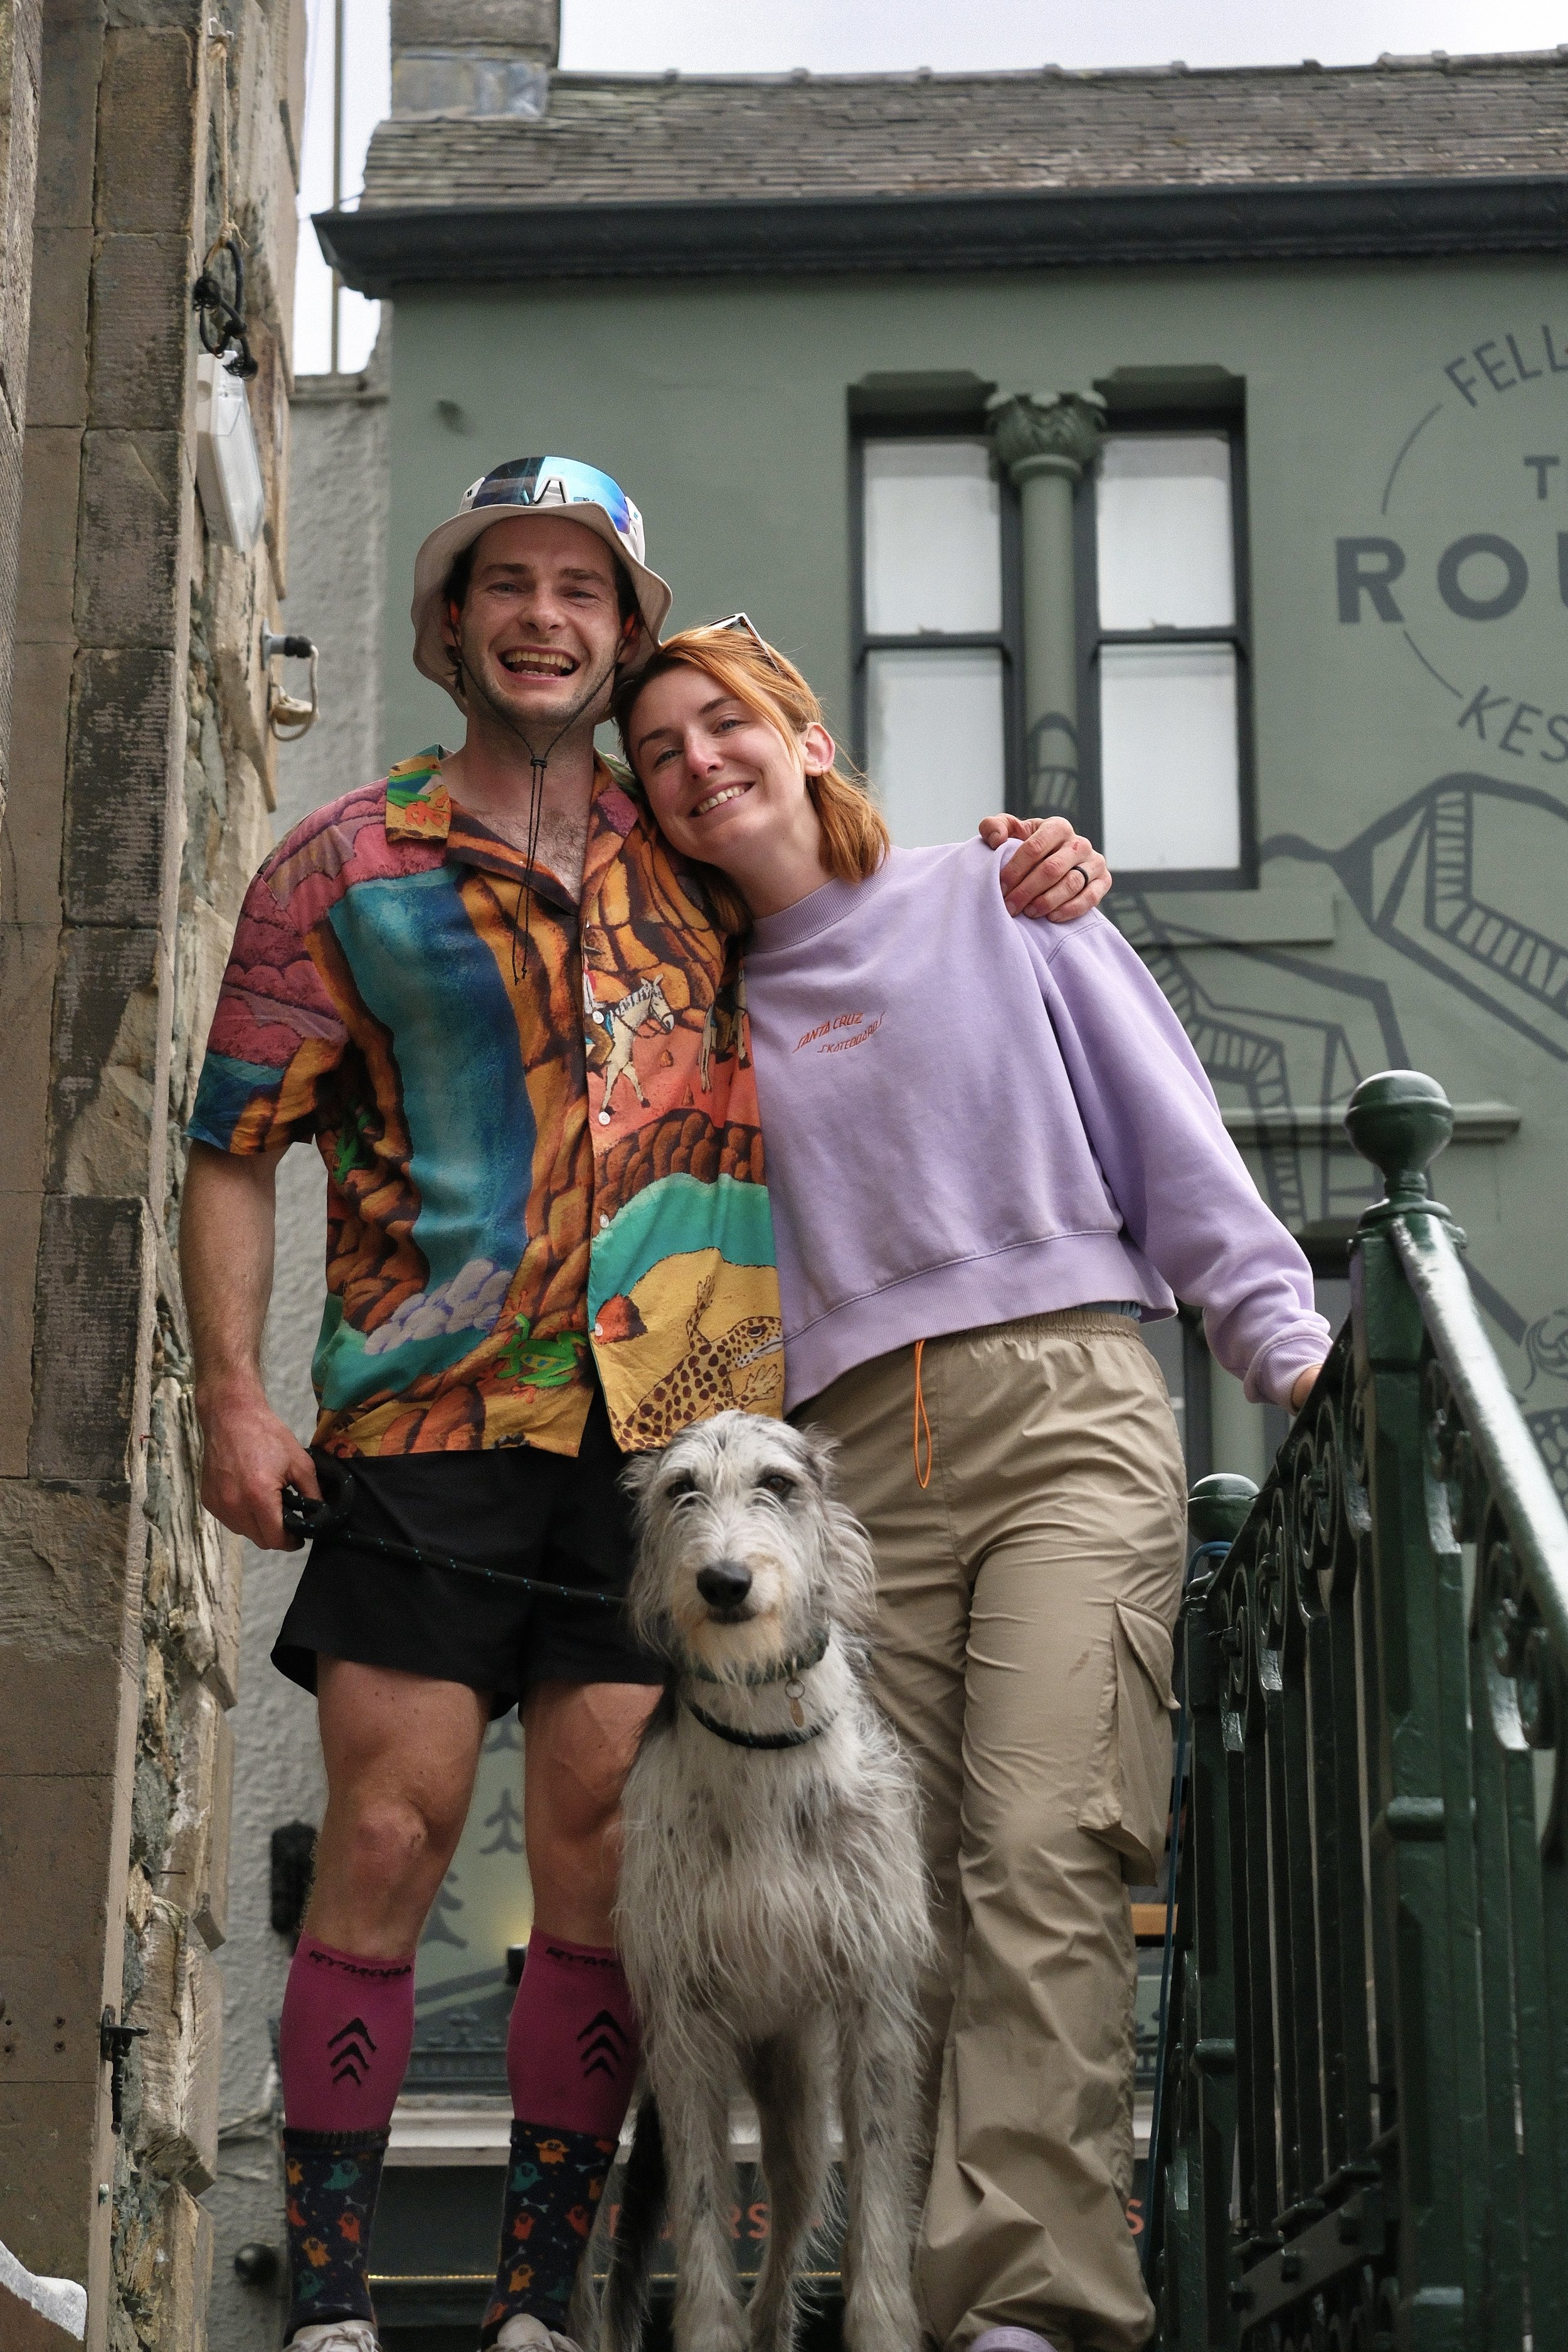
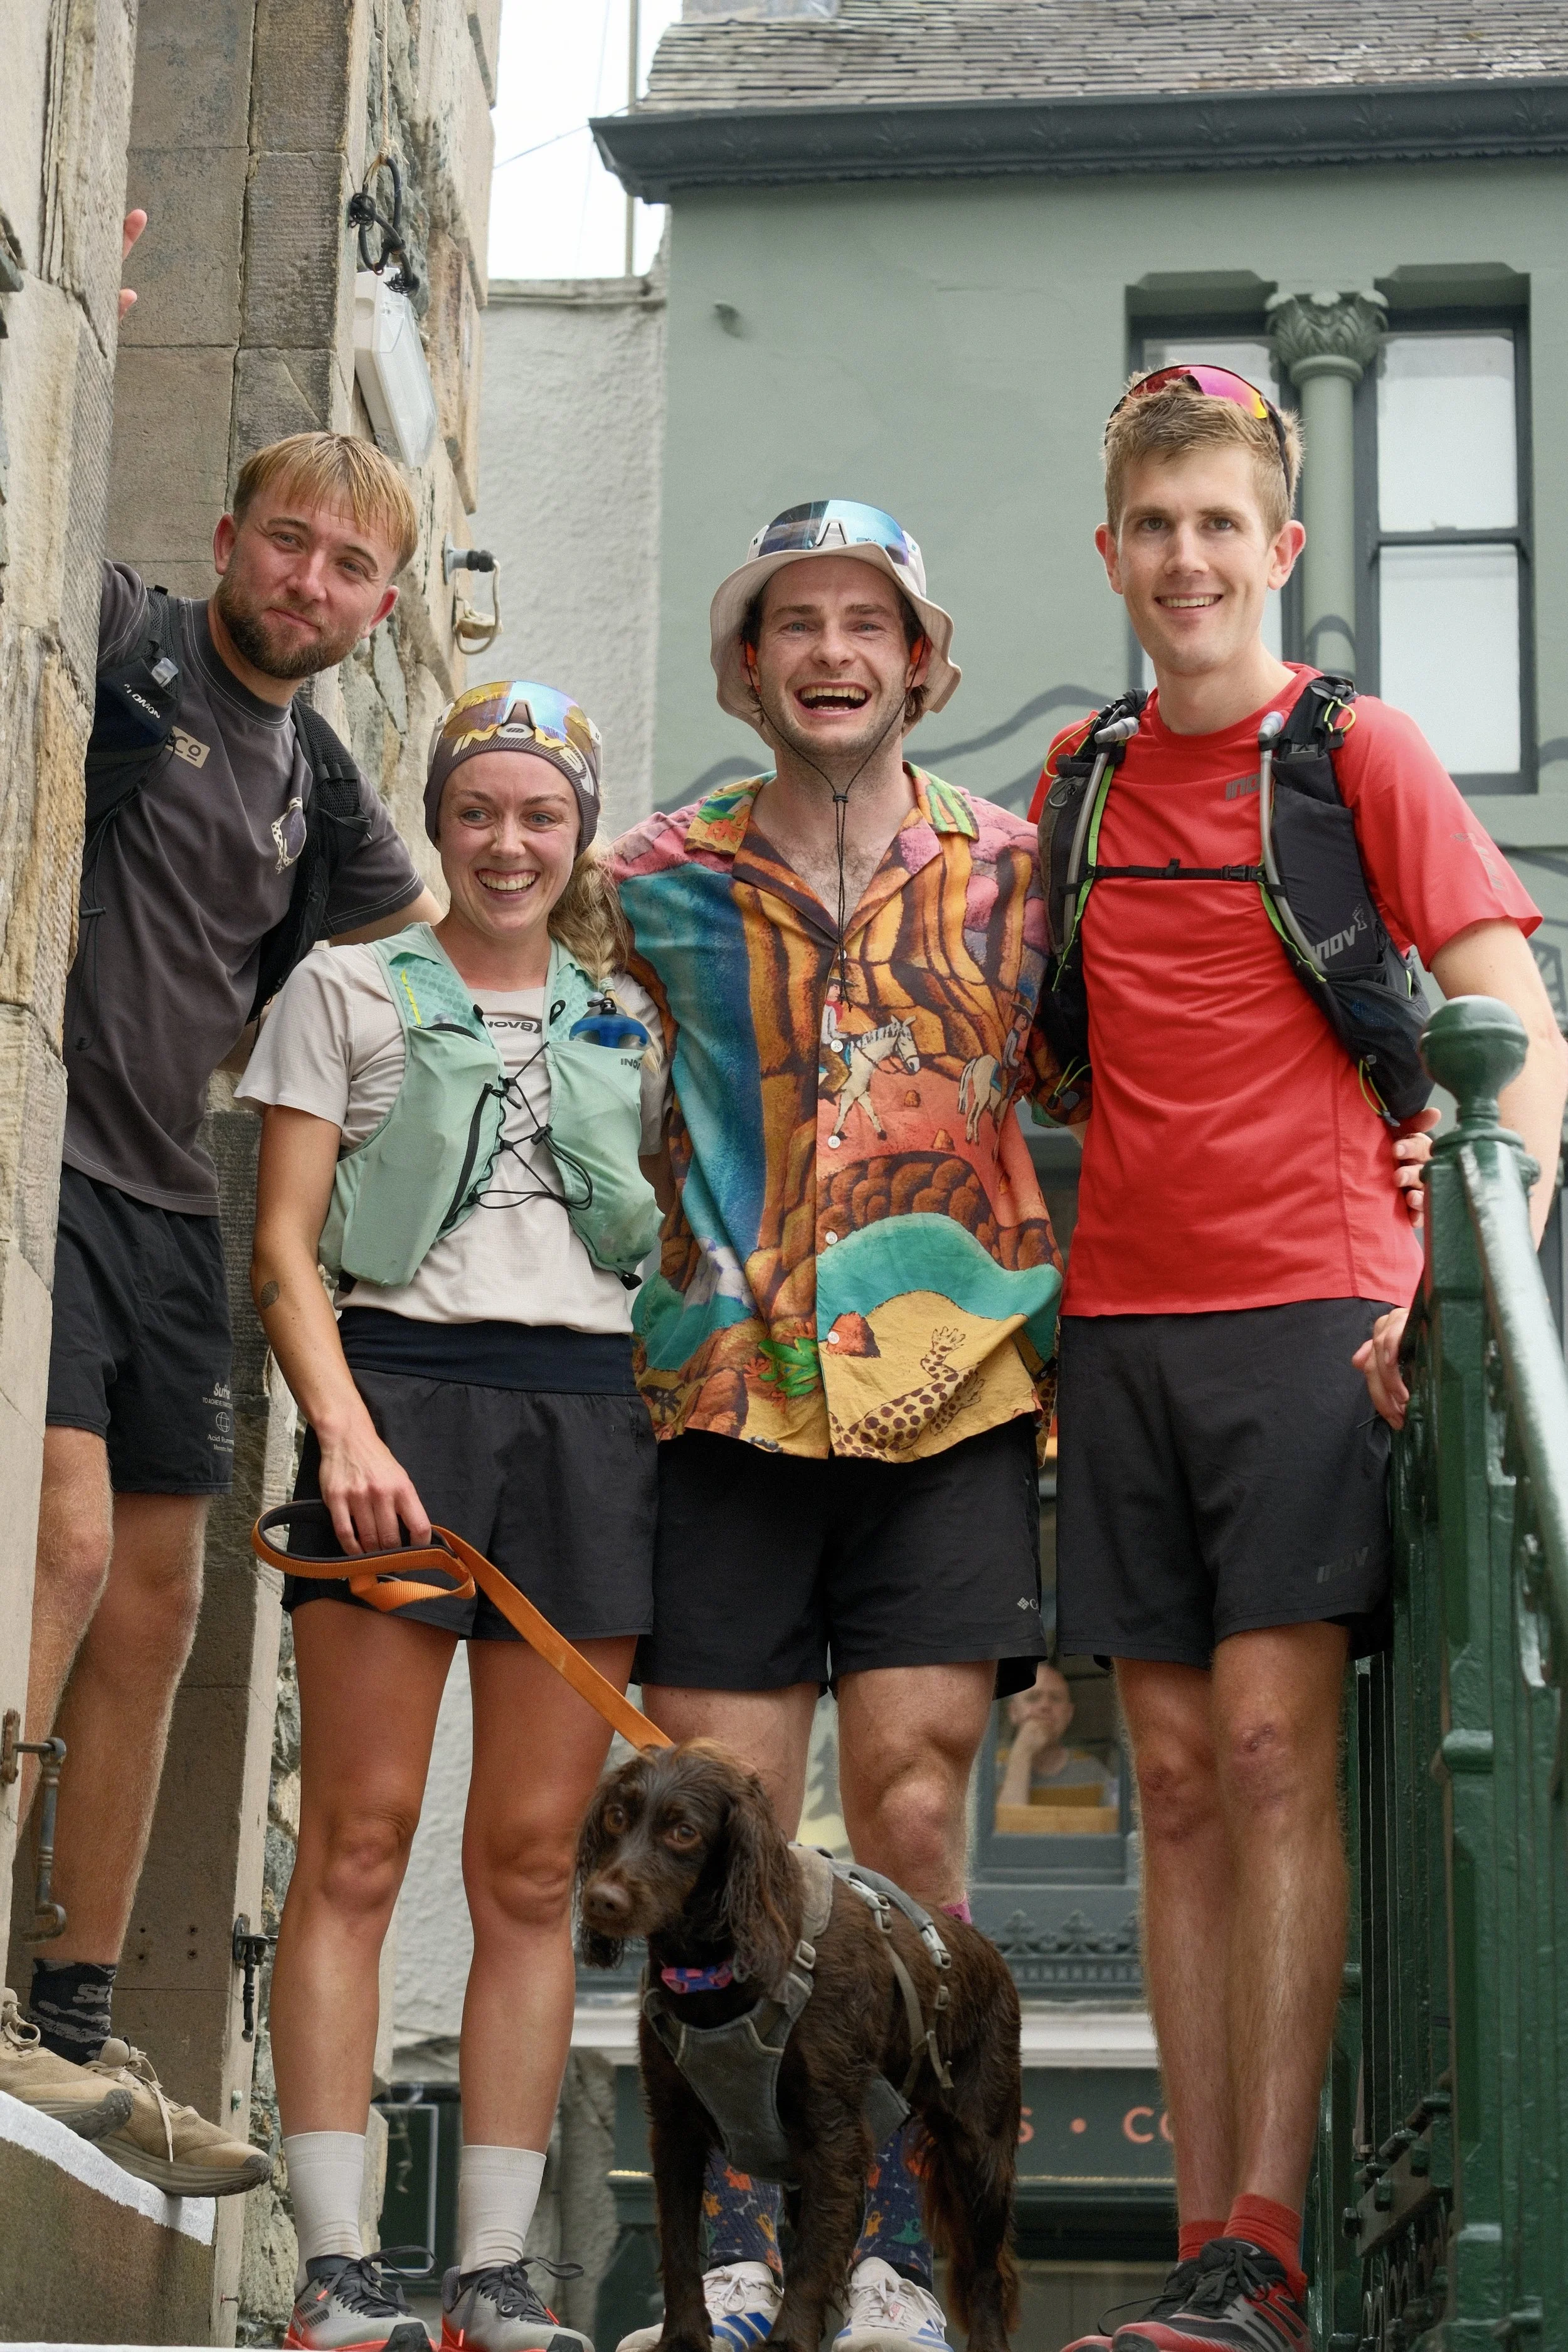
In August 2026, I completed Round in 21 hours and 46 minutes, covering 107km and approximately 8,400m of ascent. It was one of the biggest physical challenges I have ever attempted, but also one of the best and most rewarding days I have ever had in the mountains.
However getting myself back to Moot Hall was only part of the challenge, because the training, planning, and logistics involved in organising a successful attempt were considerably more complicated than I had appreciated.
Having now gone through the entire process, this guide contains everything I would have wanted to know beforehand, alongside plenty of the lessons I learnt while completing my own round.
In this guide I will cover:
What is the Bob Graham Round?
How to plan your Round, including choosing a direction, time of year, start time and realistic schedule, alongside organising hill and road support.
A breakdown of all five legs, including distance, elevation, route descriptions, estimated timings, GPX files, recce options and the sections worth knowing particularly well.
My Bob Graham kit list
Nutrition and hydration, including my carbohydrate and fluid targets, what I actually ate and drank, caffeine and how I organised everything by leg.
How to train for the Bob Graham Round
My top tips for completing the Round
If you are interested in the story of my actual attempt, including the highs, lows and what happened across each of the five legs, you can read my full Bob Graham Round experience here.
What is the Bob Graham Round?
The Bob Graham round is essentially a mountain ultramarathon which involves trying to summit 42 fells (mountains) across the lake District National Park in under 24 hours.
The challenge takes its name from Bob Graham, a Keswick guesthouse owner who completed his famous 42-peak Round in 1932 at the age of 42, breaking the existing Lakeland fell record and creating a benchmark that has since developed into one of the defining challenges of British fell running.
Starting and finishing at Moot Hall in the centre of Keswick, it involves summiting 42 Lake District fells over approximately 106km (66 miles), with around 8,200m (27,000ft) of ascent, all with the aim of returning to where you started in under 24 hours.
Unlike an organised ultramarathon, however, the Bob Graham Round isn't a race with a fixed date, marked course, aid stations or a mass start.
You choose when you want to attempt it, what time you leave Moot Hall, whether you travel clockwise or anticlockwise and what schedule you want to follow, while organising your own navigation, food, water and support along the way.
The combination of freedom and difficulty is a huge part of what makes the Bob Graham so special. .
The route is broken into five legs, separated by four road crossings at Threlkeld, Dunmail Raise, Wasdale and Honister, which makes it possible to meet road crew, change kit, replenish food and fluids and swap support runners before heading back into the mountains.
Leg 1: Keswick to Threlkeld, 21km, around 1,600m ascent, 3 summits
Leg 2: Threlkeld to Dunmail Raise, 23km, around 1,800m ascent, 12 summits
Leg 3: Dunmail Raise to Wasdale, 27km, around 2,100m ascent, 15 summits
Leg 4: Wasdale to Honister, 19km, around 1,900m ascent, 9 summits
Leg 5: Honister to Keswick, 17km, around 800m ascent, 3 summits
If you want your Round to qualify for membership of the Bob Graham 24 Hour Club, you need to complete the recognised 42 summits and return to Moot Hall within 24 hours whilst having a witness (support runner) at every summit,
Planning Your Bob Graham Round
The physical challenge of completing a Bob Graham is enormous, but one of the things that surprised me most was just how much organisation goes into getting yourself to the start line in the first place.
Unlike an organised ultra, nobody is arranging aid stations, transport or support for you, so you need to decide when you are starting, which direction you are going, how quickly you expect to move, who is supporting each leg, how your road crew will get around and exactly what food, fluid and kit needs to be waiting at each crossing.
I would genuinely argue that organising the thing was almost harder than the Round itself…
-
The Bob Graham can be completed in either direction, although the vast majority of attempts go clockwise, which is also the direction I chose and would choose again.
For me, the biggest advantage is that you finish with Leg 5, which has only three summits and around 800m of ascent before the run back into Keswick. After nearly 20 hours in the mountains, that is a much more appealing prospect than having Skiddaw waiting for you at the end.
Anticlockwise simply reverses the order and may suit some runners better depending on their strengths, but unless your recces give you a strong reason to do otherwise, clockwise makes the most sense for most first attempts.
-
For a first Bob Graham Round, I would personally aim for a window between May and August.
You can obviously attempt it outside these months, but shorter daylight hours and potentially more serious mountain conditions add another level of difficulty that most people probably don't need.
May: You already have long days, temperatures are generally cooler and the Lake District is quieter than during the main summer holidays. The downside or upside is potentially colder nights ( Hello cloud inversions)
June: Probably the optimum month on paper, particularly around the summer solstice, when you have the longest days of the year and only a relatively short period of proper darkness. That gives you much more freedom when choosing a start time and deciding which parts of the Round you want to cover at night.
July: You still have very long days and potentially drier ground, although hot weather can make a 20 plus hour Round considerably more difficult and natural water sources can become less reliable after prolonged dry spells.
August: Still a great time for an attempt, and when I completed mine, although you have noticeably less daylight than around the solstice and the Lake District can be much busier and accomodation more expensive during the school holidays.
Alongside the amount of daylight, I would also look at the moon cycle. If you are going to spend several hours moving through darkness, a bright moon on a clear night can provide a surprising amount of natural light across the open fells
I wouldn't choose a weekend purely because there is a full moon, because one thick layer of Lake District cloud can make that completely irrelevant, but if I had two equally promising dates available I would definitely consider which one gave me more moonlight during the hours I expected to be in darkness.
The Bob Graham Schedule Calculator is brilliant for this because it shows your proposed schedule alongside daylight and lunar information, as well as showing other registered attempts around your chosen start time.
For more detailed moonrise, moonset and moon phase information, you can also check the Keswick Moon Calendar
The weather forecast would always be more important than choosing the theoretically perfect date.
The Bob Graham is already incredibly difficult, so I don't see much value in deliberately making it harder by heading out in strong winds, persistent rain and clag , f you have the flexibility to wait for something better.
More importantly, one of the biggest reasons I, and plenty of other people, take on these challenges in the first place is because we love being in the mountains and getting the views are part of the experience.
Seeing the sun set around Skiddaw, watching daylight return during Leg 3 and eventually being able to look back across huge sections of the Lake District contributed massively to my enjoyment of the Round.
Those moments also provided a distraction and a genuine psychological lift when I was tired, because instead of staring into grey cloud for 20 hours I could actually appreciate where I was and how far I had travelled.
If your work, accommodation and support allow it, I would therefore pencil in two or three possible dates and make the final decision once the mountain forecast becomes reliable.
I would much rather complete a Bob in good weather in August than force myself around on the summer solstice in horrible conditions simply because the calendar says it should be the optimum weekend.
For me, the goal wasn't simply to get around 42 summits in under 24 hours. I wanted to have the best possible day in the mountains while doing it.
-
There is no perfect time to start a Bob Graham, and I think the best way to choose one is to work out which sections of the Round you would prefer to cover in darkness, while also considering how much sleep you are likely to get beforehand.
I started at 7:14pm, around 90 minutes before sunset, and would happily choose a similar time again.
It meant I had golden-hour light and sunset around Skiddaw, enough usable light to get across towards Great Calva, then spent the majority of Leg 2 in darkness before daylight gradually returned during Leg 3.
For me, that worked almost perfectly because Leg 2 is one of the sections I was happiest covering at night, whereas I preferred having daylight for the rougher and more technical ground around Bowfell, Great End and the Scafells.
There was also another fairly simple reason for starting in the evening, I am not a morning person. An evening start meant I could lie in, eat properly throughout the day and avoid setting an early alarm and inevitably spending half the night worrying about whether I was going to sleep.
In fact, I had my best night's sleep of the entire week before my Round.
The obvious disadvantage is the amount of time you spend awake. By the time I finished, I had been awake for roughly 34 hours.
An early morning start could reduce that considerably. If you slept properly beforehand and started around 6-8am, you could potentially finish having been awake for closer to 25 to 28 hours rather than well over 30.
When choosing your start time, I would consider:
Your expected pace, because this dictates which legs will fall into darkness.
Sunrise, sunset and twilight, particularly if attempting outside the weeks around the summer solstice.
The moon phase, which can make a clear night considerably brighter.
Which terrain you are comfortable covering at night.
How well you cope with sleep deprivation.
Whether an extremely early alarm will actually allow you to sleep properly beforehand.
Support availability, particularly if friends are joining individual legs.
Your expected finish time, although I wouldn't let this dictate the whole attempt.
The Bob Graham Club Schedule Calculator is probably the best tool for experimenting with this, because you can change your start time and immediately see where your schedule places you around sunset, twilight and sunrise.
Personally, I would choose the start time that gives you the best combination of sleep, daylight and enjoyable mountain conditions, rather than simply copying whatever time somebody else started their Round.
-
The day of the week is also worth thinking about, especially if you are relying on a large number of people for hill and road support.
Weekends are generally easier for support, simply because more people are likely to be off work and available to give up several hours running around the Lake District with you. The trade-off is that the Lakes will also be considerably busier, particularly during summer, which can affect parking, traffic and locations such as Wasdale and Keswick.
I chose to start on a Friday evening, which worked really well. It meant I could drive up on Thursday, start the Round on Friday evening, finish on Saturday afternoon and then drive home on Sunday, so the whole thing only really took one working day out of my week.
Starting on Friday also meant most of my support runners were either available that evening or throughout Saturday, which made organising the individual legs considerably easier than attempting it in the middle of the week.
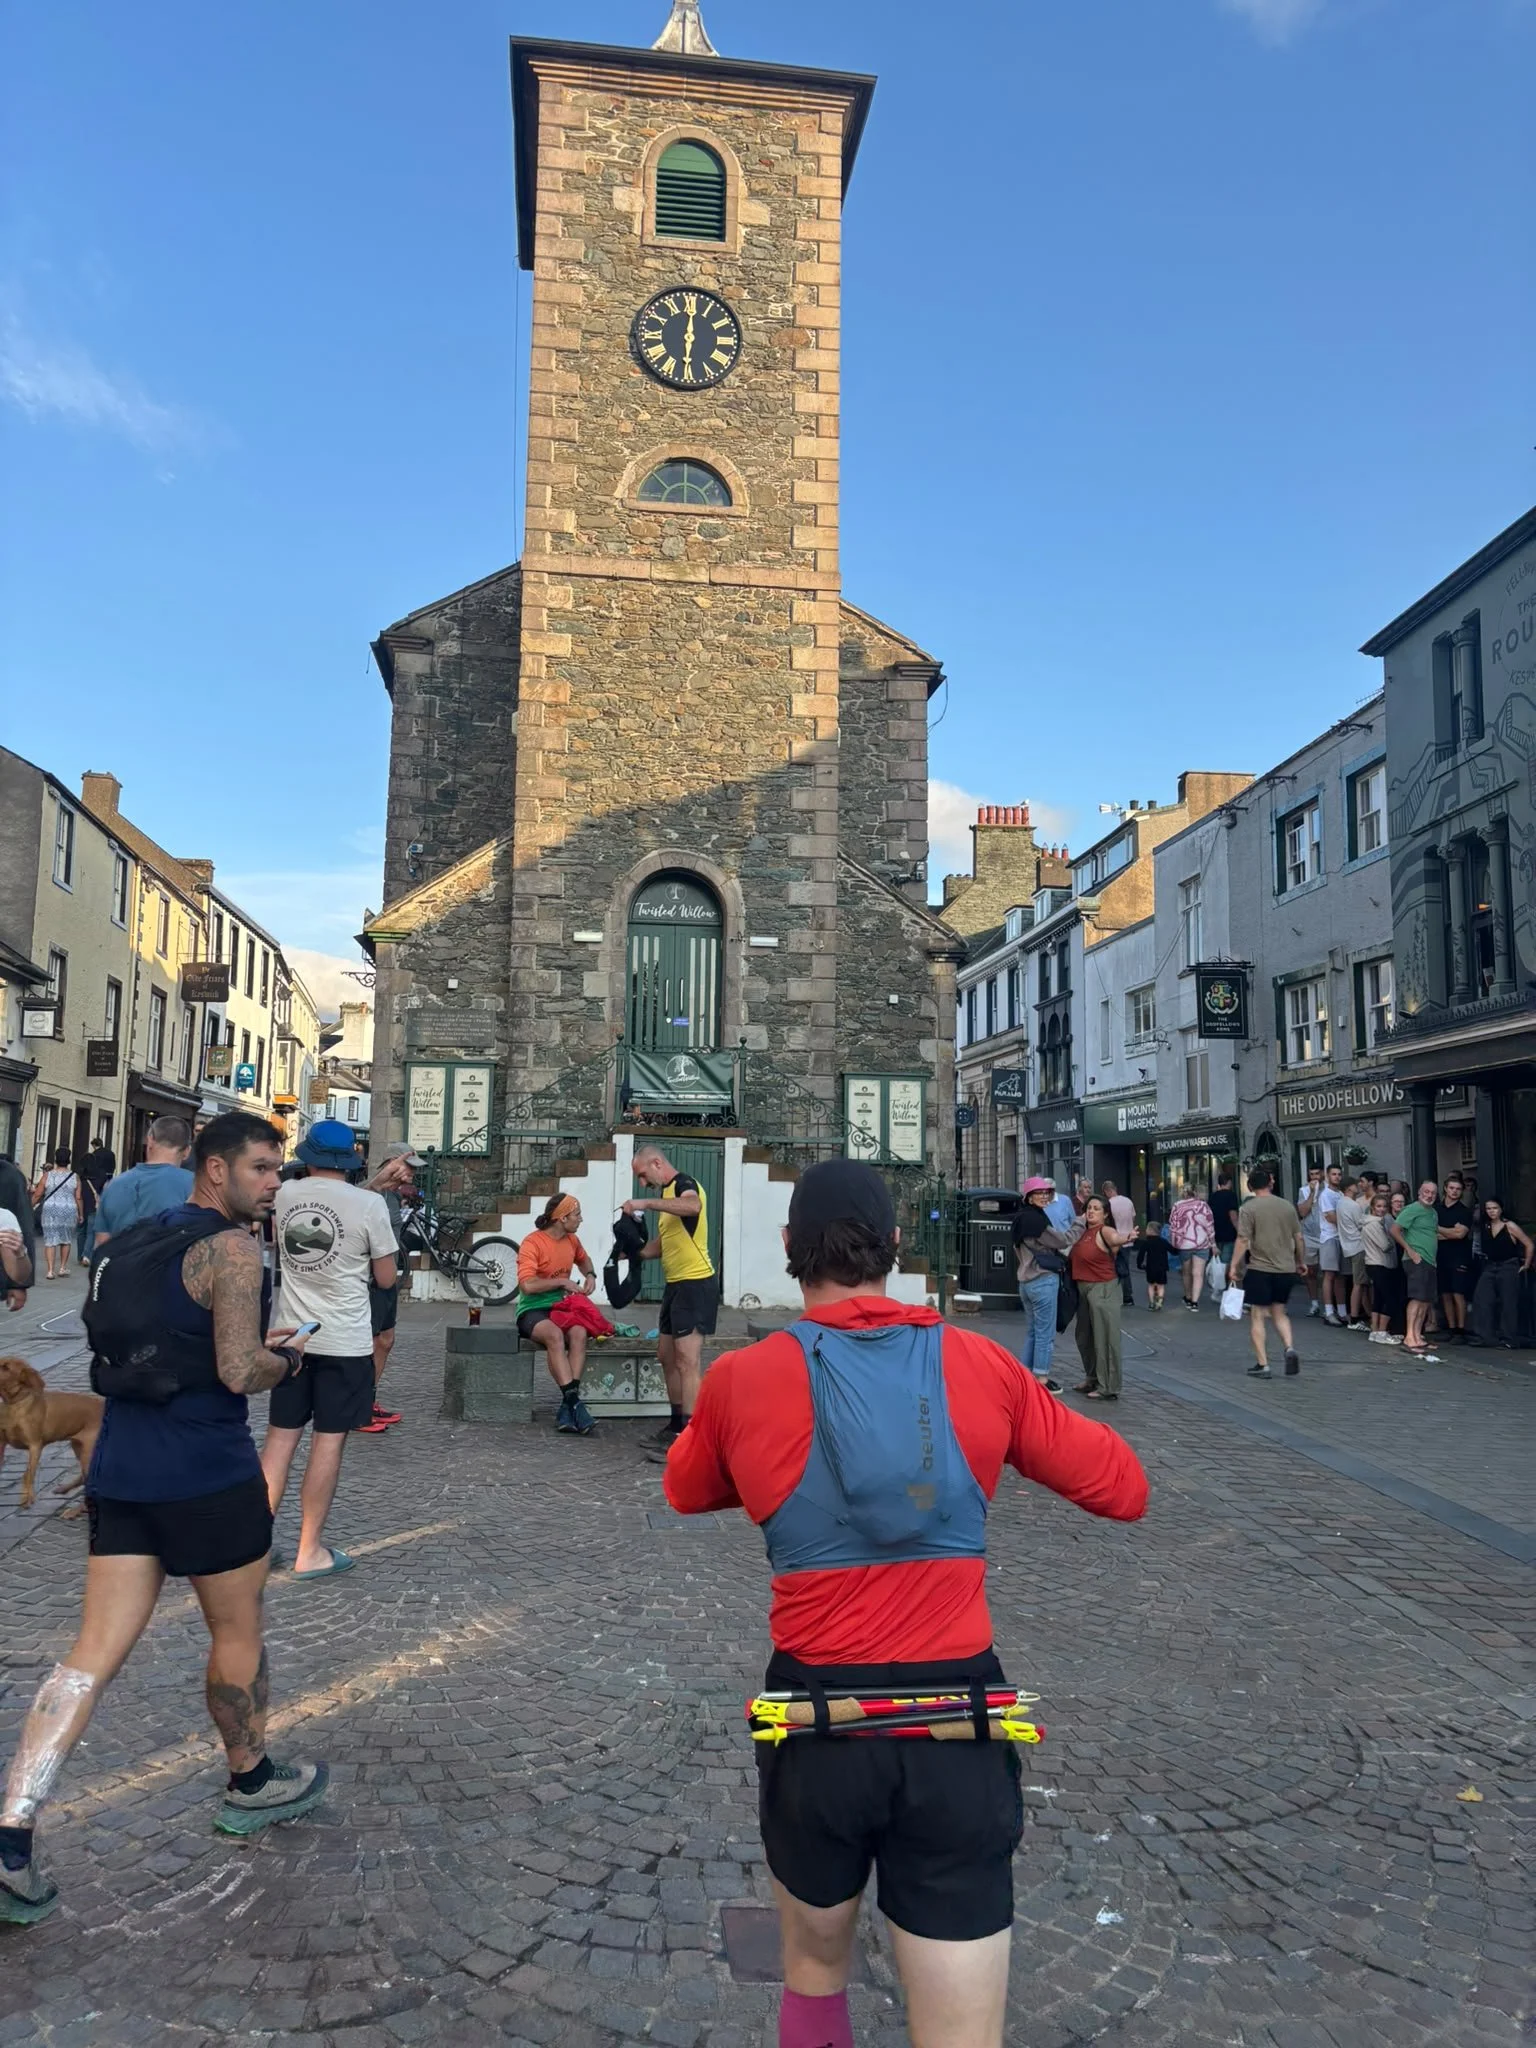
The downside was that I finished in Keswick at around 5pm on a Saturday, when the town was absolutely heaving and Keswick Market was still running around Moot Hall. It meant weaving through stalls and people for the final few hundred metres and there wasn't really an opportunity for the classic unobstructed finish photo directly in front of Moot Hall.
Personally, I wouldn't change my entire schedule just to avoid that. The finish photo wasn't why I was doing the Bob, and I would rather choose a start time that gives me the best combination of daylight, weather, sleep and support availability. If you do finish while the market is running, just slow down, respect everyone using the town and accept that your final approach to Moot Hall might involve slightly more weaving than you imagined.
For most people, I think Friday or Saturday are probably the easiest days to organise, but there isn't a correct answer. Pick the day that works best for your support team and overall schedule rather than assuming a traditional weekend start is essential
-
Once you have chosen your date, direction and start time, the next job is building a realistic schedule.
I based my Round around a 22.5-hour schedule, which gave me around 90 minutes of contingency before the 24-hour cut-off while still being a pace I knew I could achieve from my training and recces.
I think there is a balance to strike here.
Choose a schedule too close to 24 hours and you leave yourself very little room for navigation mistakes, difficult weather, stomach problems, foot issues, or unexpectedly long road stops.
However, choosing an unnecessarily aggressive schedule can be equally damaging because it encourages you to move too quickly during the opening hours and potentially burn through energy you are going to desperately want later.
The Bob Graham Club Schedule Calculator is what I used and would recommend.
You can enter your start time, direction and target completion time, add planned road-stop durations and then generate timings for every summit on the Round.
It also allows you to add a rocky terrain adjustment, which slows the schedule across sections where the ground makes your normal pace unrealistic.
The most important thing is to use your recces to choose your schedule.
If you can consistently complete individual legs around the timings required for a 22-hour Round without destroying yourself, then that gives you something meaningful to work from. If you are struggling to meet those timings on fresh legs, simply typing "22 hours" into a calculator isn't going to magically make you faster after 80km.
I would rather start with a realistic 22.5 or 23-hour schedule and finish strongly than set myself an ambitious 20-hour schedule, spend the opening six hours chasing it and then spend the rest of the Round slowly falling apart.
-
Once you have chosen your schedule, the next challenge is having the discipline to actually follow it.
The opening climb to Skiddaw is probably the easiest place to get carried away because you are fresh, while gaining five or ten minutes can feel almost effortless.
Unfortunately, those minutes can become considerably more expensive later in the day.
My approach was to keep the effort controlled from the beginning, hike the meaningful climbs and make sure I wasn't pushing my heart rate unnecessarily high just because my legs felt good.
I ended Leg 1 around 16 minutes ahead of my 22.5-hour schedule, but I hadn't deliberately tried to bank that time and still felt incredibly comfortable when I reached Threlkeld.
I would also avoid getting sucked into somebody else's Round. T
here may be several attempts leaving Moot Hall around a similar time, There were 6 registered attempts between 7 and 8pm on the day I did it.
Seeing a group of headtorches disappearing ahead can make it incredibly tempting to speed up and stay with them.
They might be on a 20-hour schedule while you are aiming for 23, or they might simply be much stronger on that particular terrain.
The Bob Graham isn't won on Leg 1, but you can certainly make the remaining 80 plus kilometres considerably harder by blowing your beans too early.
Use the schedule to keep yourself under control, accept that you will gain and lose a few minutes throughout the day, and run your own Round.
-
Hill support is one of the things that makes a Bob Graham very different from an organised race, because you are effectively building your own little team to help you get around the mountains.
For me, two support runners per leg is probably the sweet spot, and that also aligns with the Bob Graham 24 Hour Club's request to keep pacers and supporters to a minimum, ideally no more than two, to help reduce unnecessary footfall and erosion on the fells.
That said, there can be a practical benefit to having three people on one of the harder legs, particularly Legs 3 and 4. They are the longest and toughest sections of the Round, you are likely to be carrying more food and fluid, and an extra person allows you to split things like water more evenly rather than loading one supporter up with several full soft flasks.
It also gives you some protection against the inevitable dropout, because when you are coordinating people across five legs, somebody's plans will almost certainly change. I certainly don't think you need three people on Leg 1, and probably not on Leg 2 either, while one or two is absolutely enough if they know the route and are comfortable carrying what you need. I actually completed both Leg 3 and Leg 4 with just one support runner, so three is definitely useful rather than necessary.
More important than the number of people is having the right people, particularly somebody who knows the route well if you expect to be travelling through darkness or poor visibility.
One of the best ways to build that network is to support other people's Rounds before attempting your own. It helps you learn the route, understand how a successful Round actually works, help somebody else achieve their goal and, naturally, make connections with people who may one day return the favour.
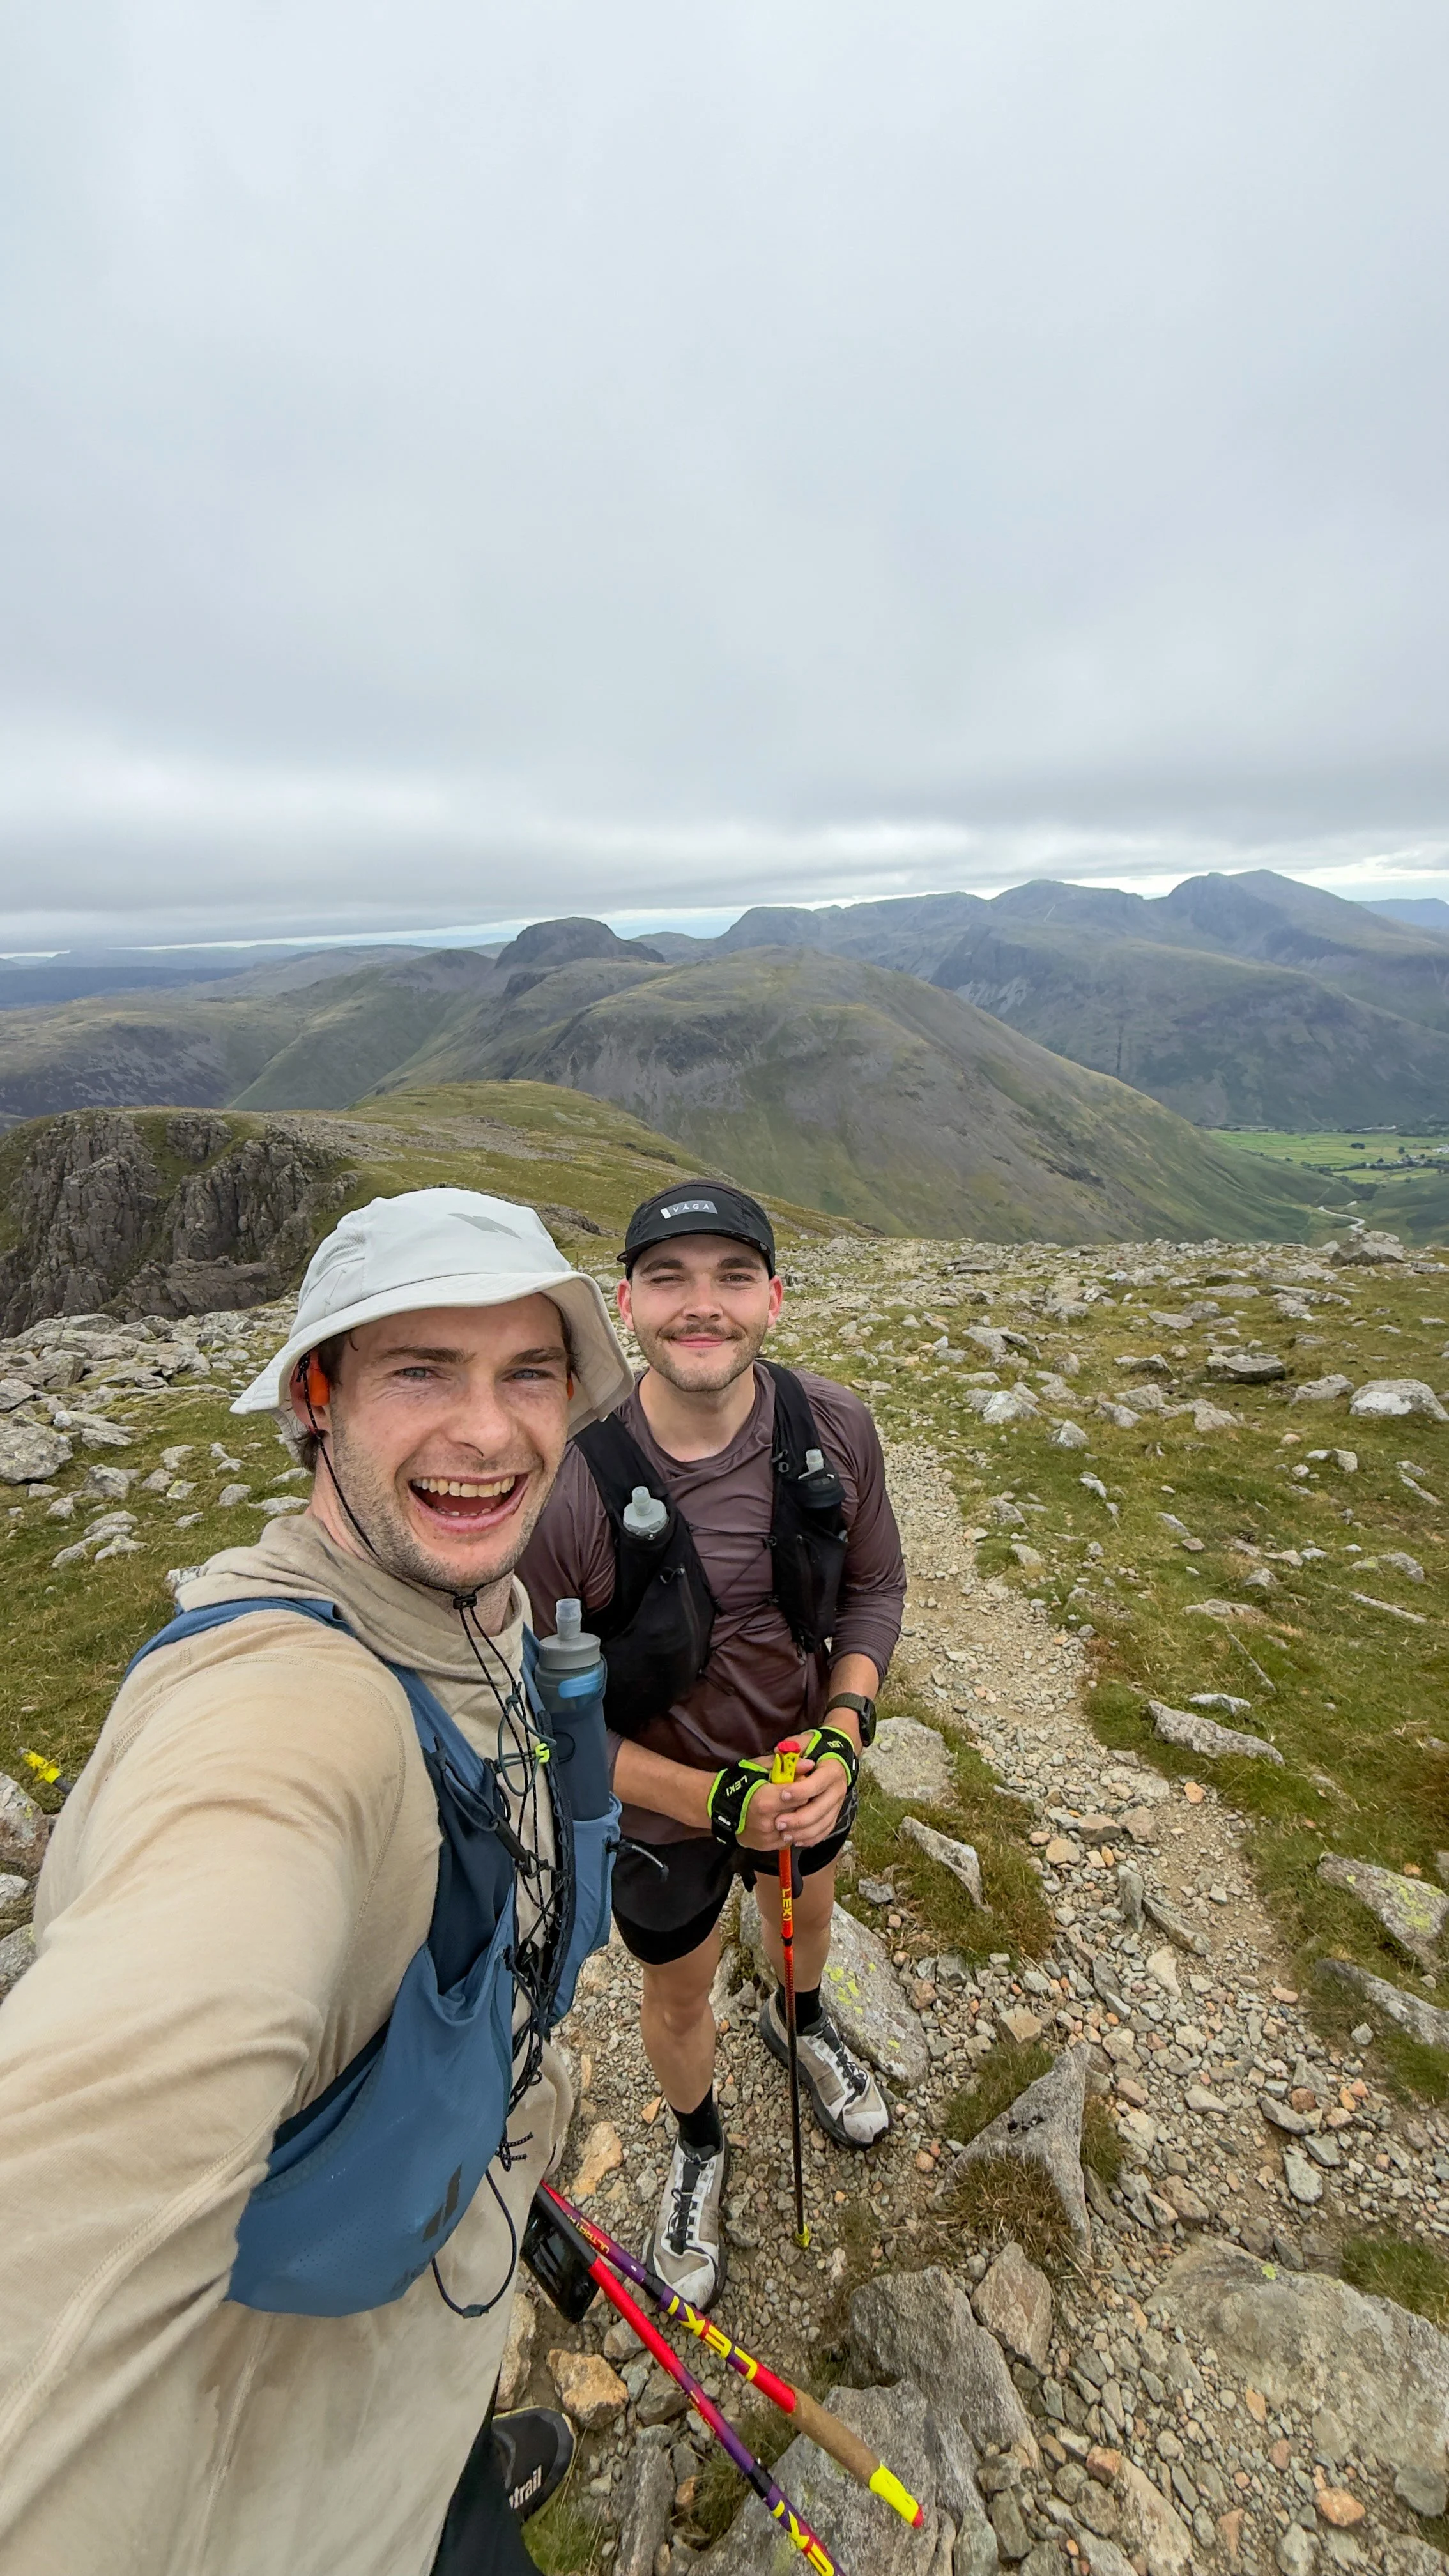
That was exactly how some of my own support came together. I had previously helped Mark Wilson on his Paddy Buckley attempt, and he offered to support me across Legs 1 and 2. I had also supported my mate Iestyn for the opening two legs of his successful Bob, and he had offered to return the favour on Legs 3 and 4 (unfortunately he realised three days beforehand that it was his first wedding anniversary and understandably pulled out, which was an excellent excuse but impressively last minute).
When I was initially struggling to fill all the gaps, I also put posts out across my social media asking for help, which were then shared by other people. Facebook fell-running and Bob Graham groups can be a great place to find support runners as well, particularly if you don't already have a big network within the Lake District running community.
Thankfully, the fell-running community is incredibly generous, and several people I barely knew, or hadn't met at all, came to my aid. It was probably one of the things that impressed me most about the whole experience.
Once you have enough people interested, ask them which legs they would prefer and whether there are any sections they know particularly well.
Somebody who has reccied Leg 3 multiple times is obviously going to be far more useful there than being randomly assigned to Leg 1, while others may have time constraints which mean only certain legs are realistic.
From there, you can start putting the pieces together and building your support rota around people's strengths, availability and route knowledge. You will probably have to be flexible, as I did, because the perfect plan you create several weeks beforehand is unlikely to be exactly the one you have when you eventually touch Moot Hall.
I would also tell your support runners exactly what you want from them beforehand. Mine helped with navigation, carried additional fluids, spare layers and emergency kit, reminded me to eat and drink and, just as importantly, provided plenty of conversation and absolute nonsense.
Finally, have a few backup names in mind and expect the plan to change. At one point I had at least two runners confirmed for every leg, before various last-minute changes left me reshuffling people days before the attempt.
Pay your dues, help other people with their Rounds, make connections and don't be afraid to ask for help when your own attempt eventually comes around.
-
Road support is every bit as important as the people you have with you on the fells, and in some ways it can be the more complicated job.
While you are concentrating on putting one foot in front of the other, your crew are driving around the Lake District, moving support runners, finding parking, preparing food and bottles and trying to make sure everything is ready before you appear.
The four main road crossings are:
Threkheld Car park: Google Maps / What Three Words
Dunmail: Google Maps / What Three Words
Wasdale: Google Maps / What Three Words
Honister Parking: Google Maps / What Three Words
I would treat each one like a pit stop. Your crew should know what you are going to need when you arrive, and exactly what you need to take with you when you leave.
For my Round, one of the best decisions I made was effectively having two road crews, with one specifically responsible for Wasdale.
Wasdale is the awkward one. The drive from Dunmail to Wasdale can take around 90 minutes, followed by another similarly long drive around to Honister. Having somebody specifically covering Wasdale meant my wife didn't have to spend the entire Round chasing me around the Lakes and driving at ungodly hours on very little sleep.
My Dunmail crossing was at around 3am and I reached Wasdale at around 9am. Once you factor in packing everything away, driving between crossings and setting everything back up again, there isn't actually much opportunity for your road crew to get any meaningful rest.
Having a separate Wasdale crew also made shuttling support runners to and from Wasdale considerably easier. Nobody really wants to leave a car in Wasdale if they can avoid it, particularly when they then need to somehow retrieve the bloody thing afterwards.
For example, Rob was able to pick one of my support runners up from Keswick at around 7:15am and get him to Wasdale for roughly 8:45am, before later helping with the logistics of my Leg 3 support runner. All of that happened while my wife was getting some well-deserved rest.
I had my wife crew me at Threkheld Dunmail, and Honister, and Rob crew me at Wasdale (Although he was there to support at Threkheld and honsiter too)
A few things I would definitely organise beforehand:
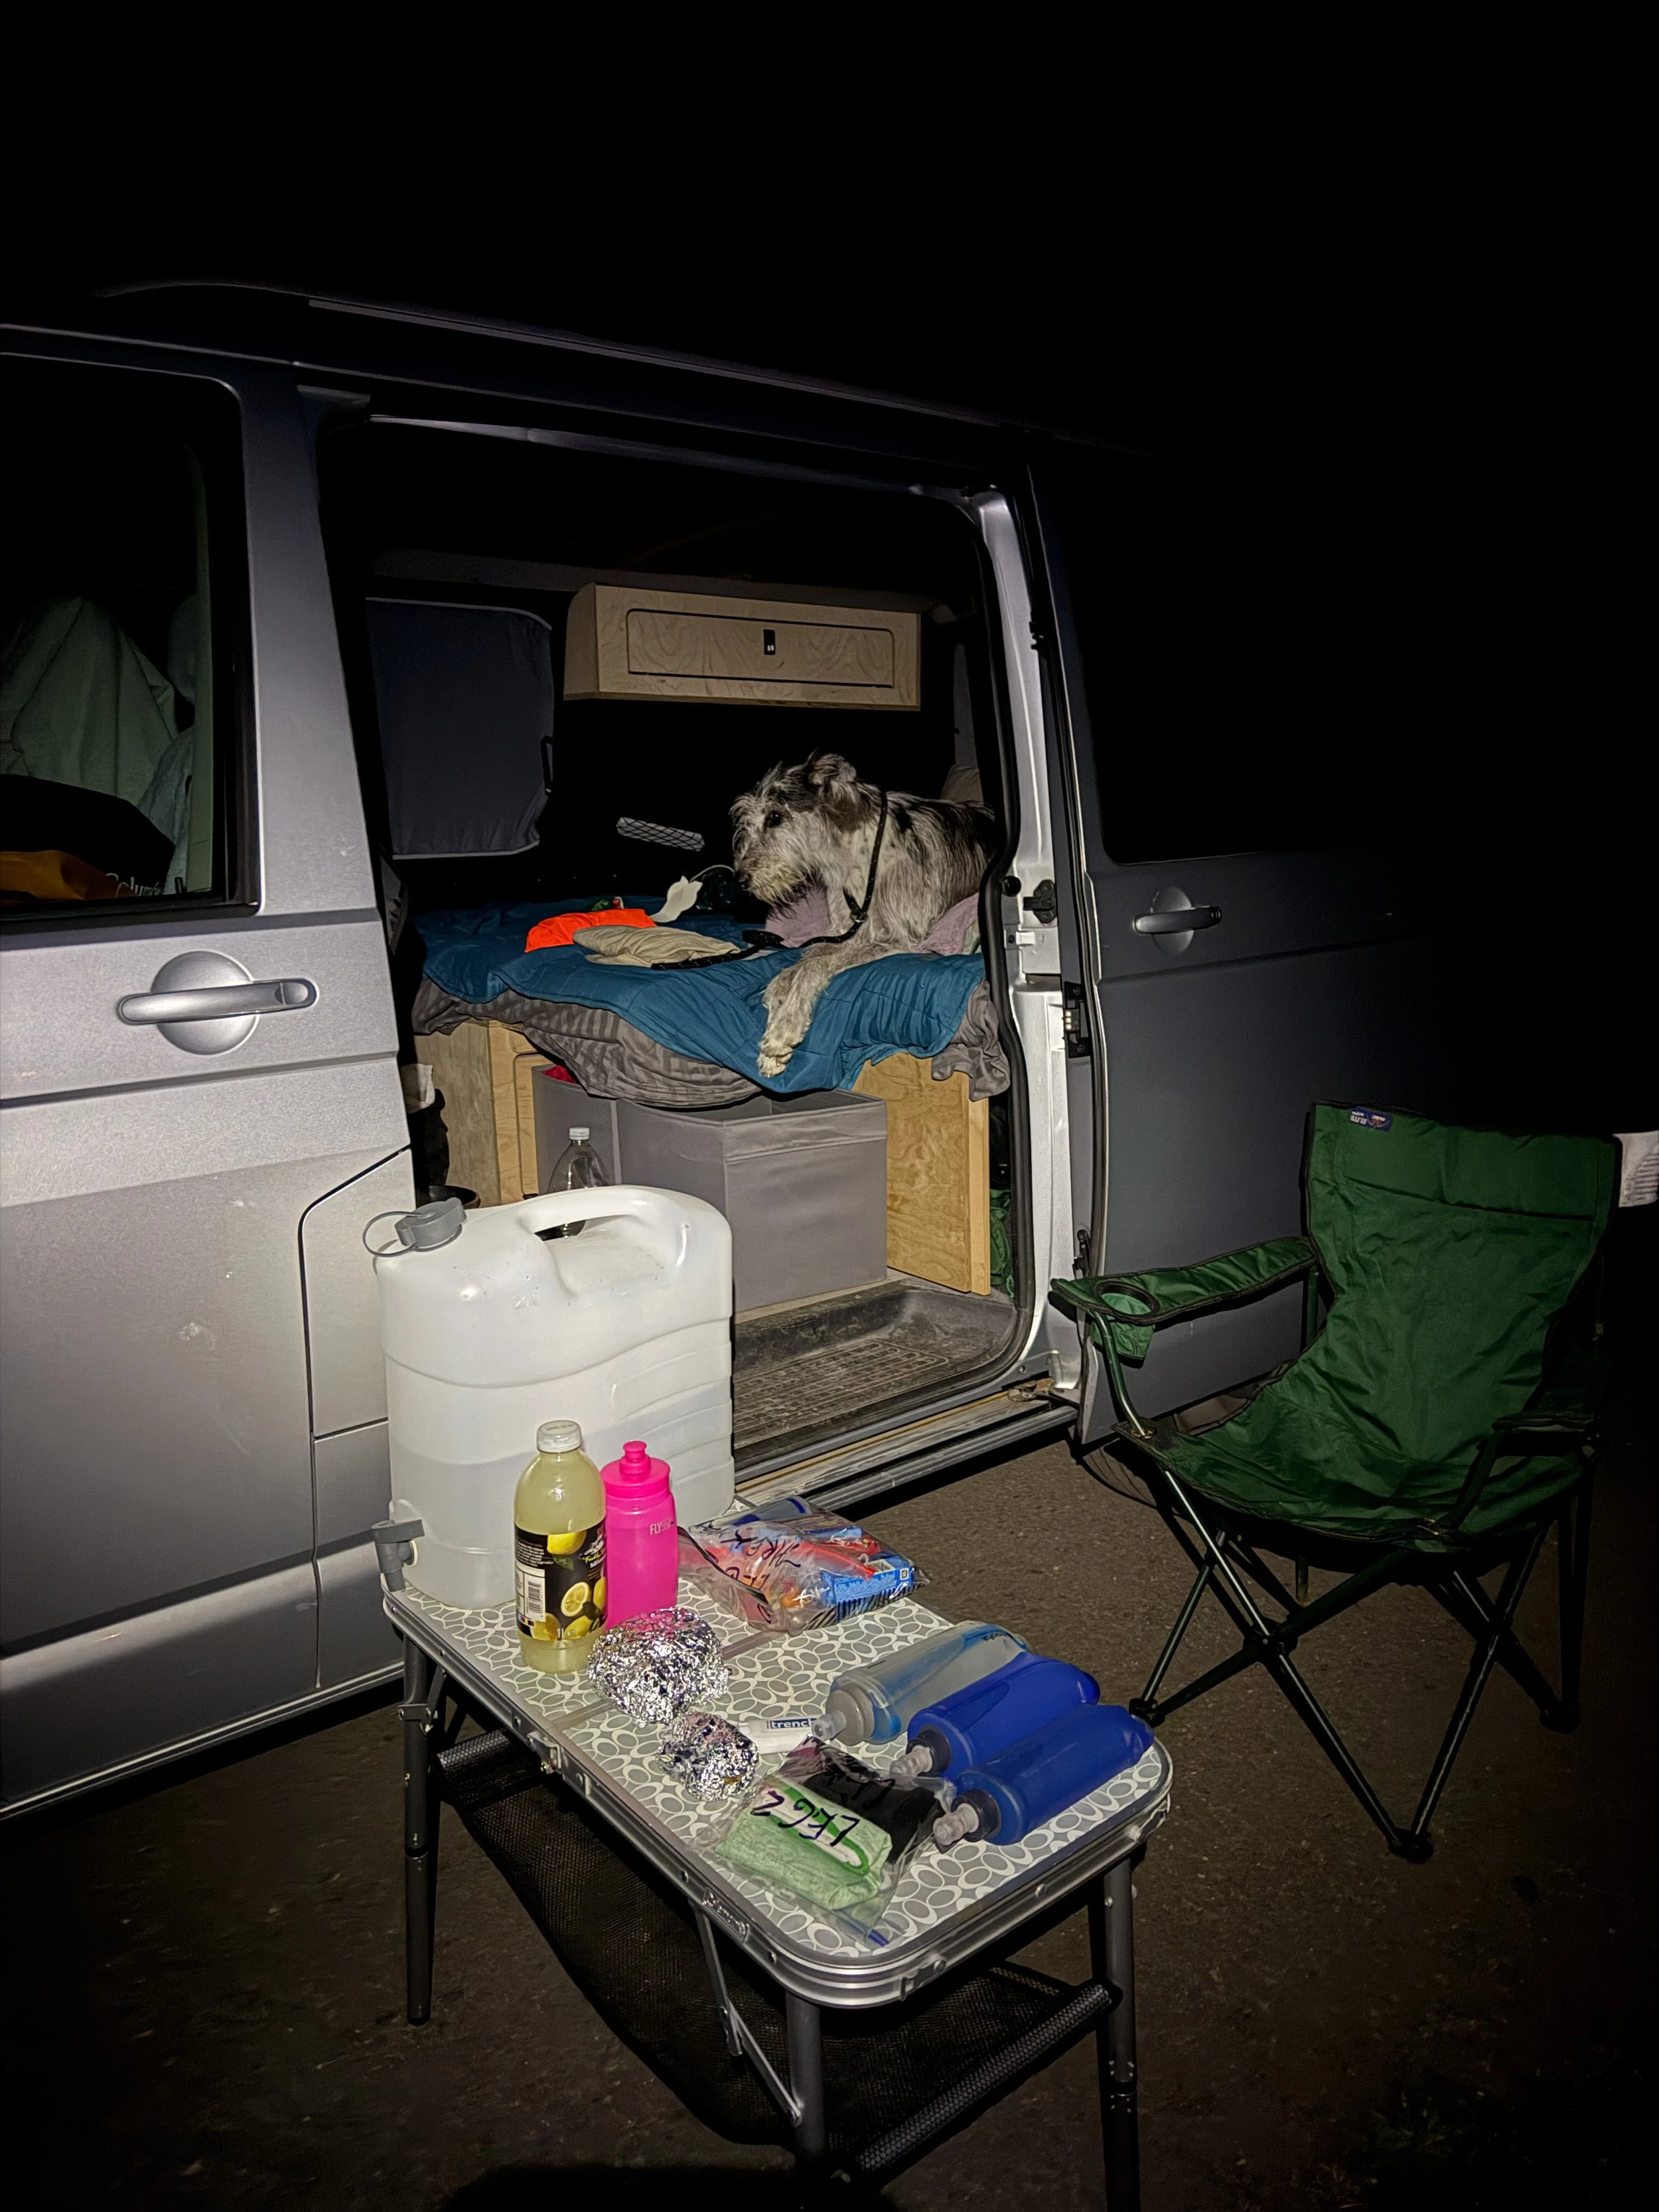
Separate and label everything by leg. I split my food, fluids and other equipment into the legs they were intended for so my crew weren't having to rummage through everything and work it out on the day. I also calculated my carbohydrate requirements and organised my nutrition accordingly, but I'll go into that in much more detail later in the nutrition section.
Create a checklist for every road crossing. Have a simple reminder sheet showing what needs to happen when you arrive and, crucially, what you need to leave with for the next leg. It gives both you and your crew something quick to work through and massively reduces the chances of forgetting something when everyone is tired.
Give the crew your full schedule, including expected arrival and departure times at every road crossing.
Have spare food, fluids and clothing available, even if you don't think you will use them.
Have chairs, towels and basic foot-care supplies accessible, particularly if you need to change socks or shoes.
Don't bury important equipment in the bottom of the car. When you arrive tired and slightly incoherent, nobody wants to dismantle the entire boot looking for one particular pair of socks.
Check the latest parking arrangements before the attempt, particularly at Wasdale, as the Club has specific guidance for the road crossings and arrangements can change.
Have a contingency plan. Decide beforehand what the crew should do if you are significantly ahead, significantly behind or somebody drops out.
I would also have some proper food available at the later crossings. After hours of bars, sweets, chews and carbohydrate drink, something hot and savoury can become both useful fuel and a serious motivational carrot.
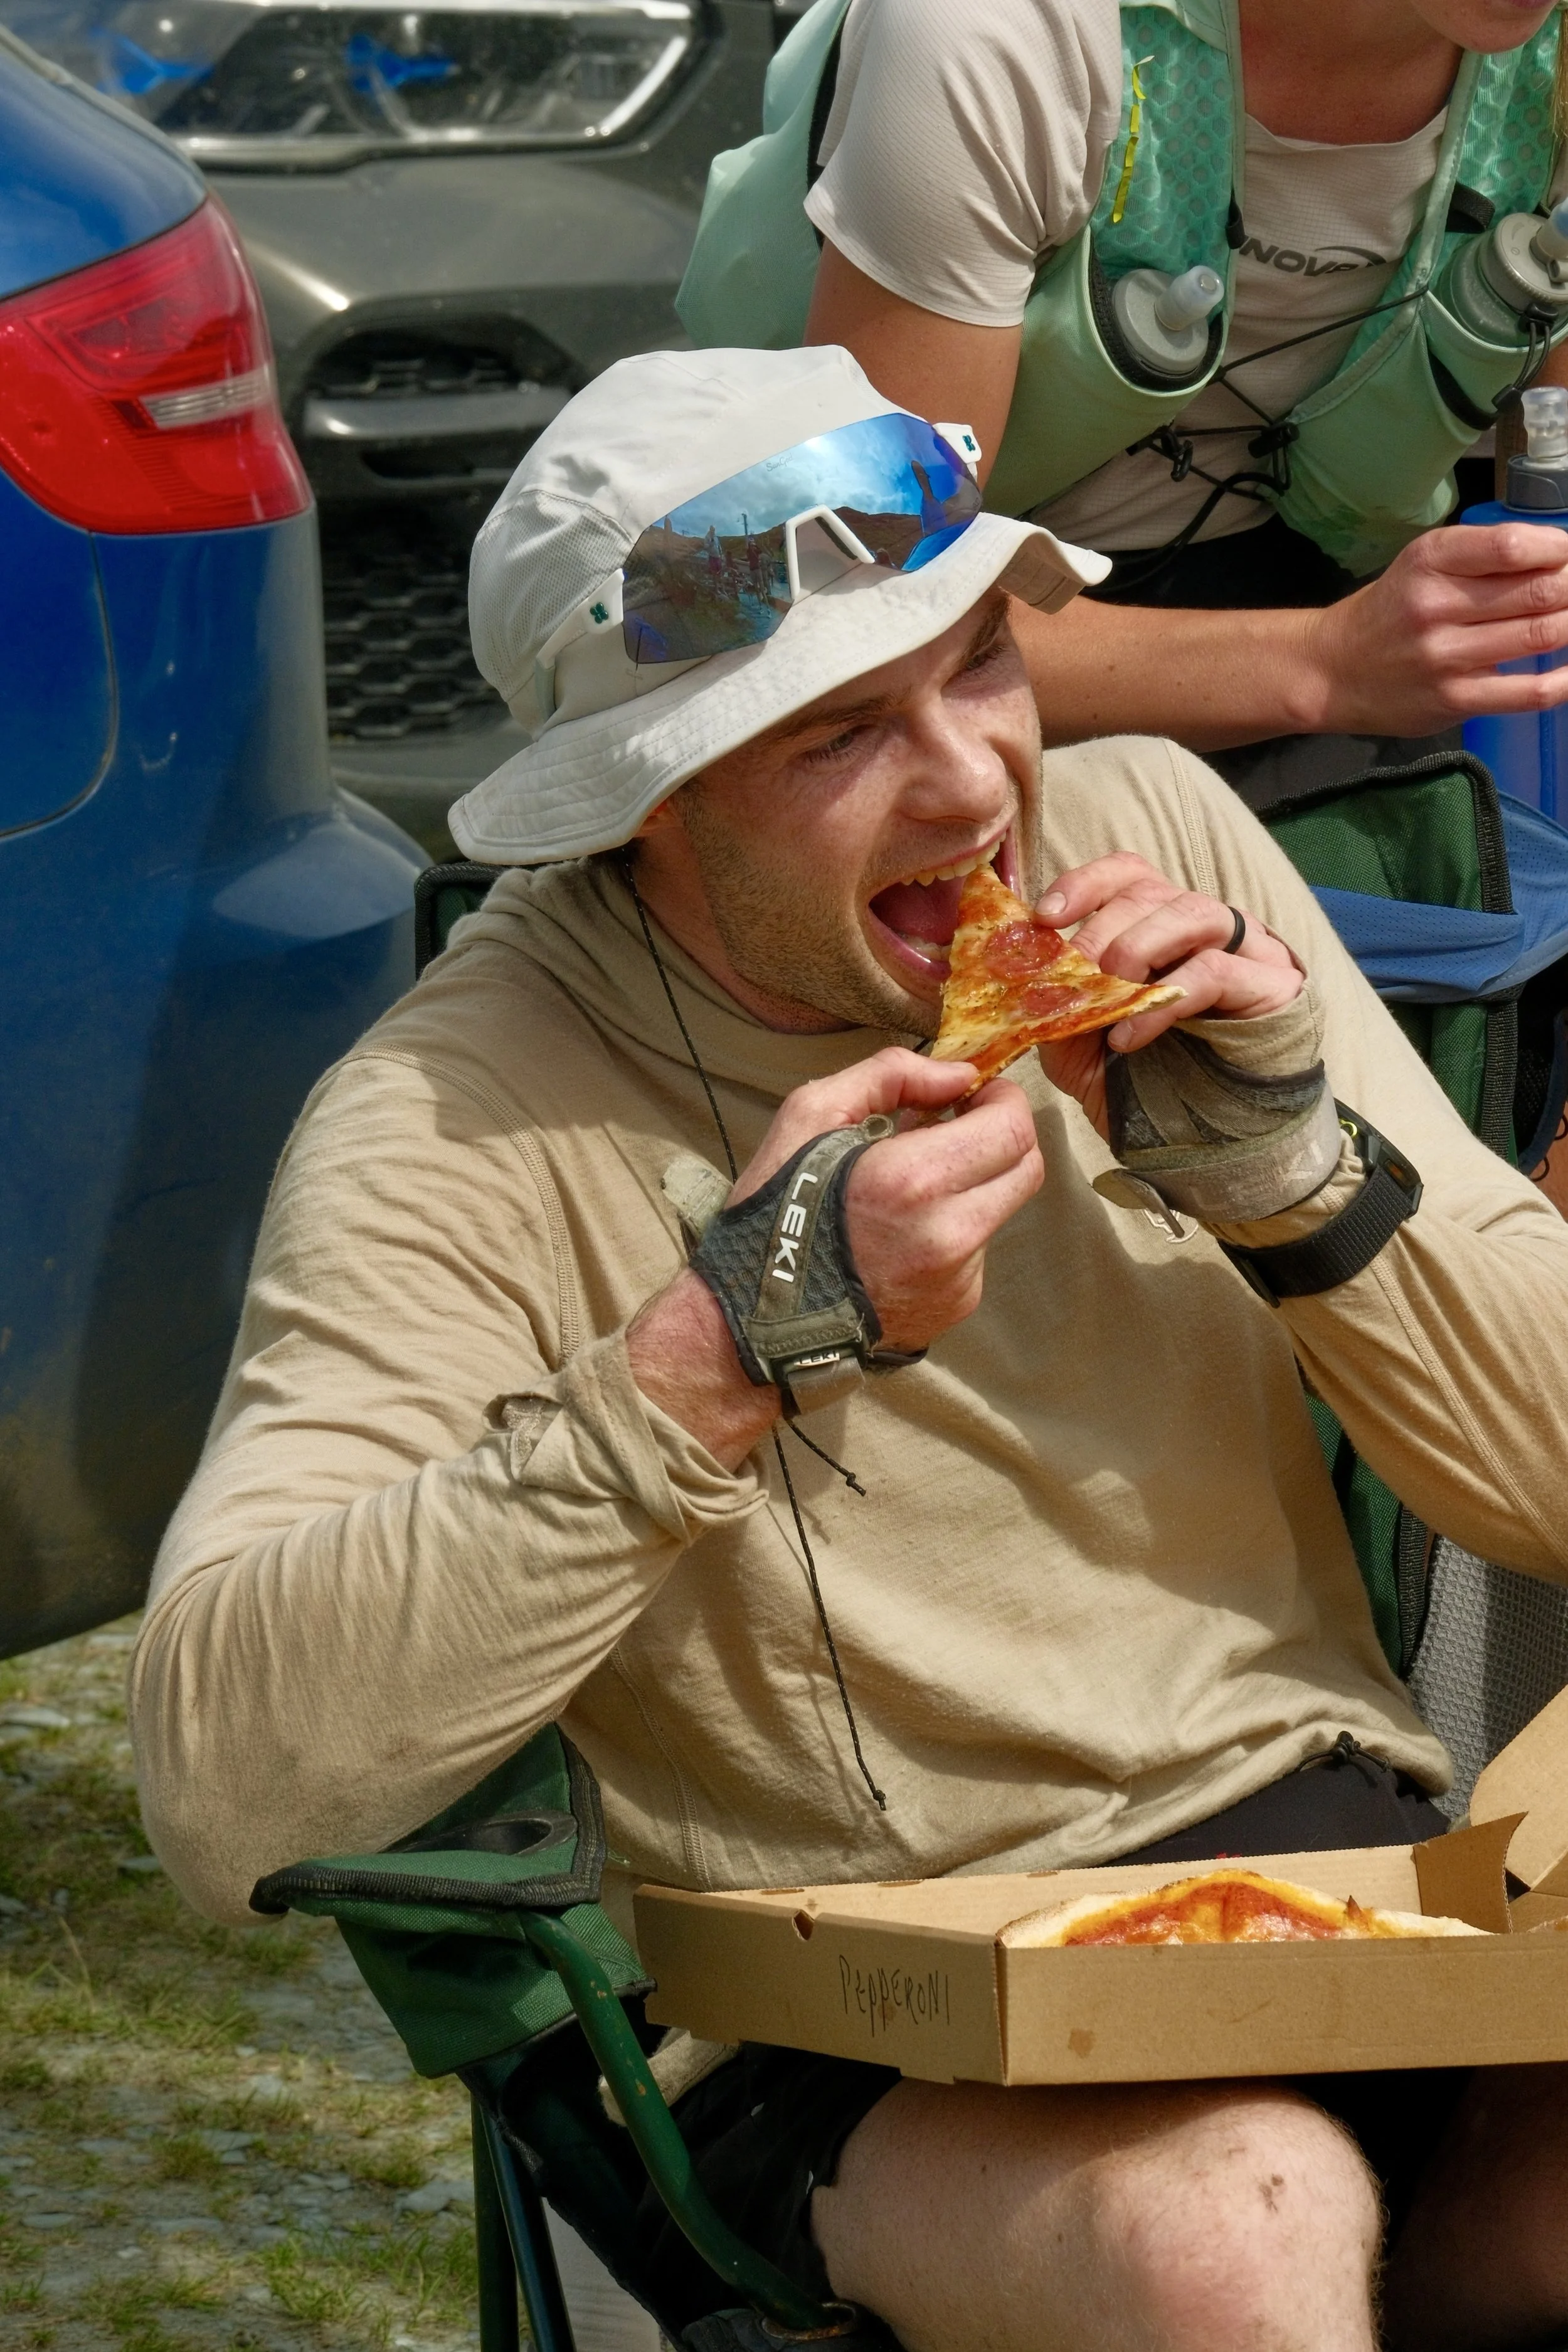
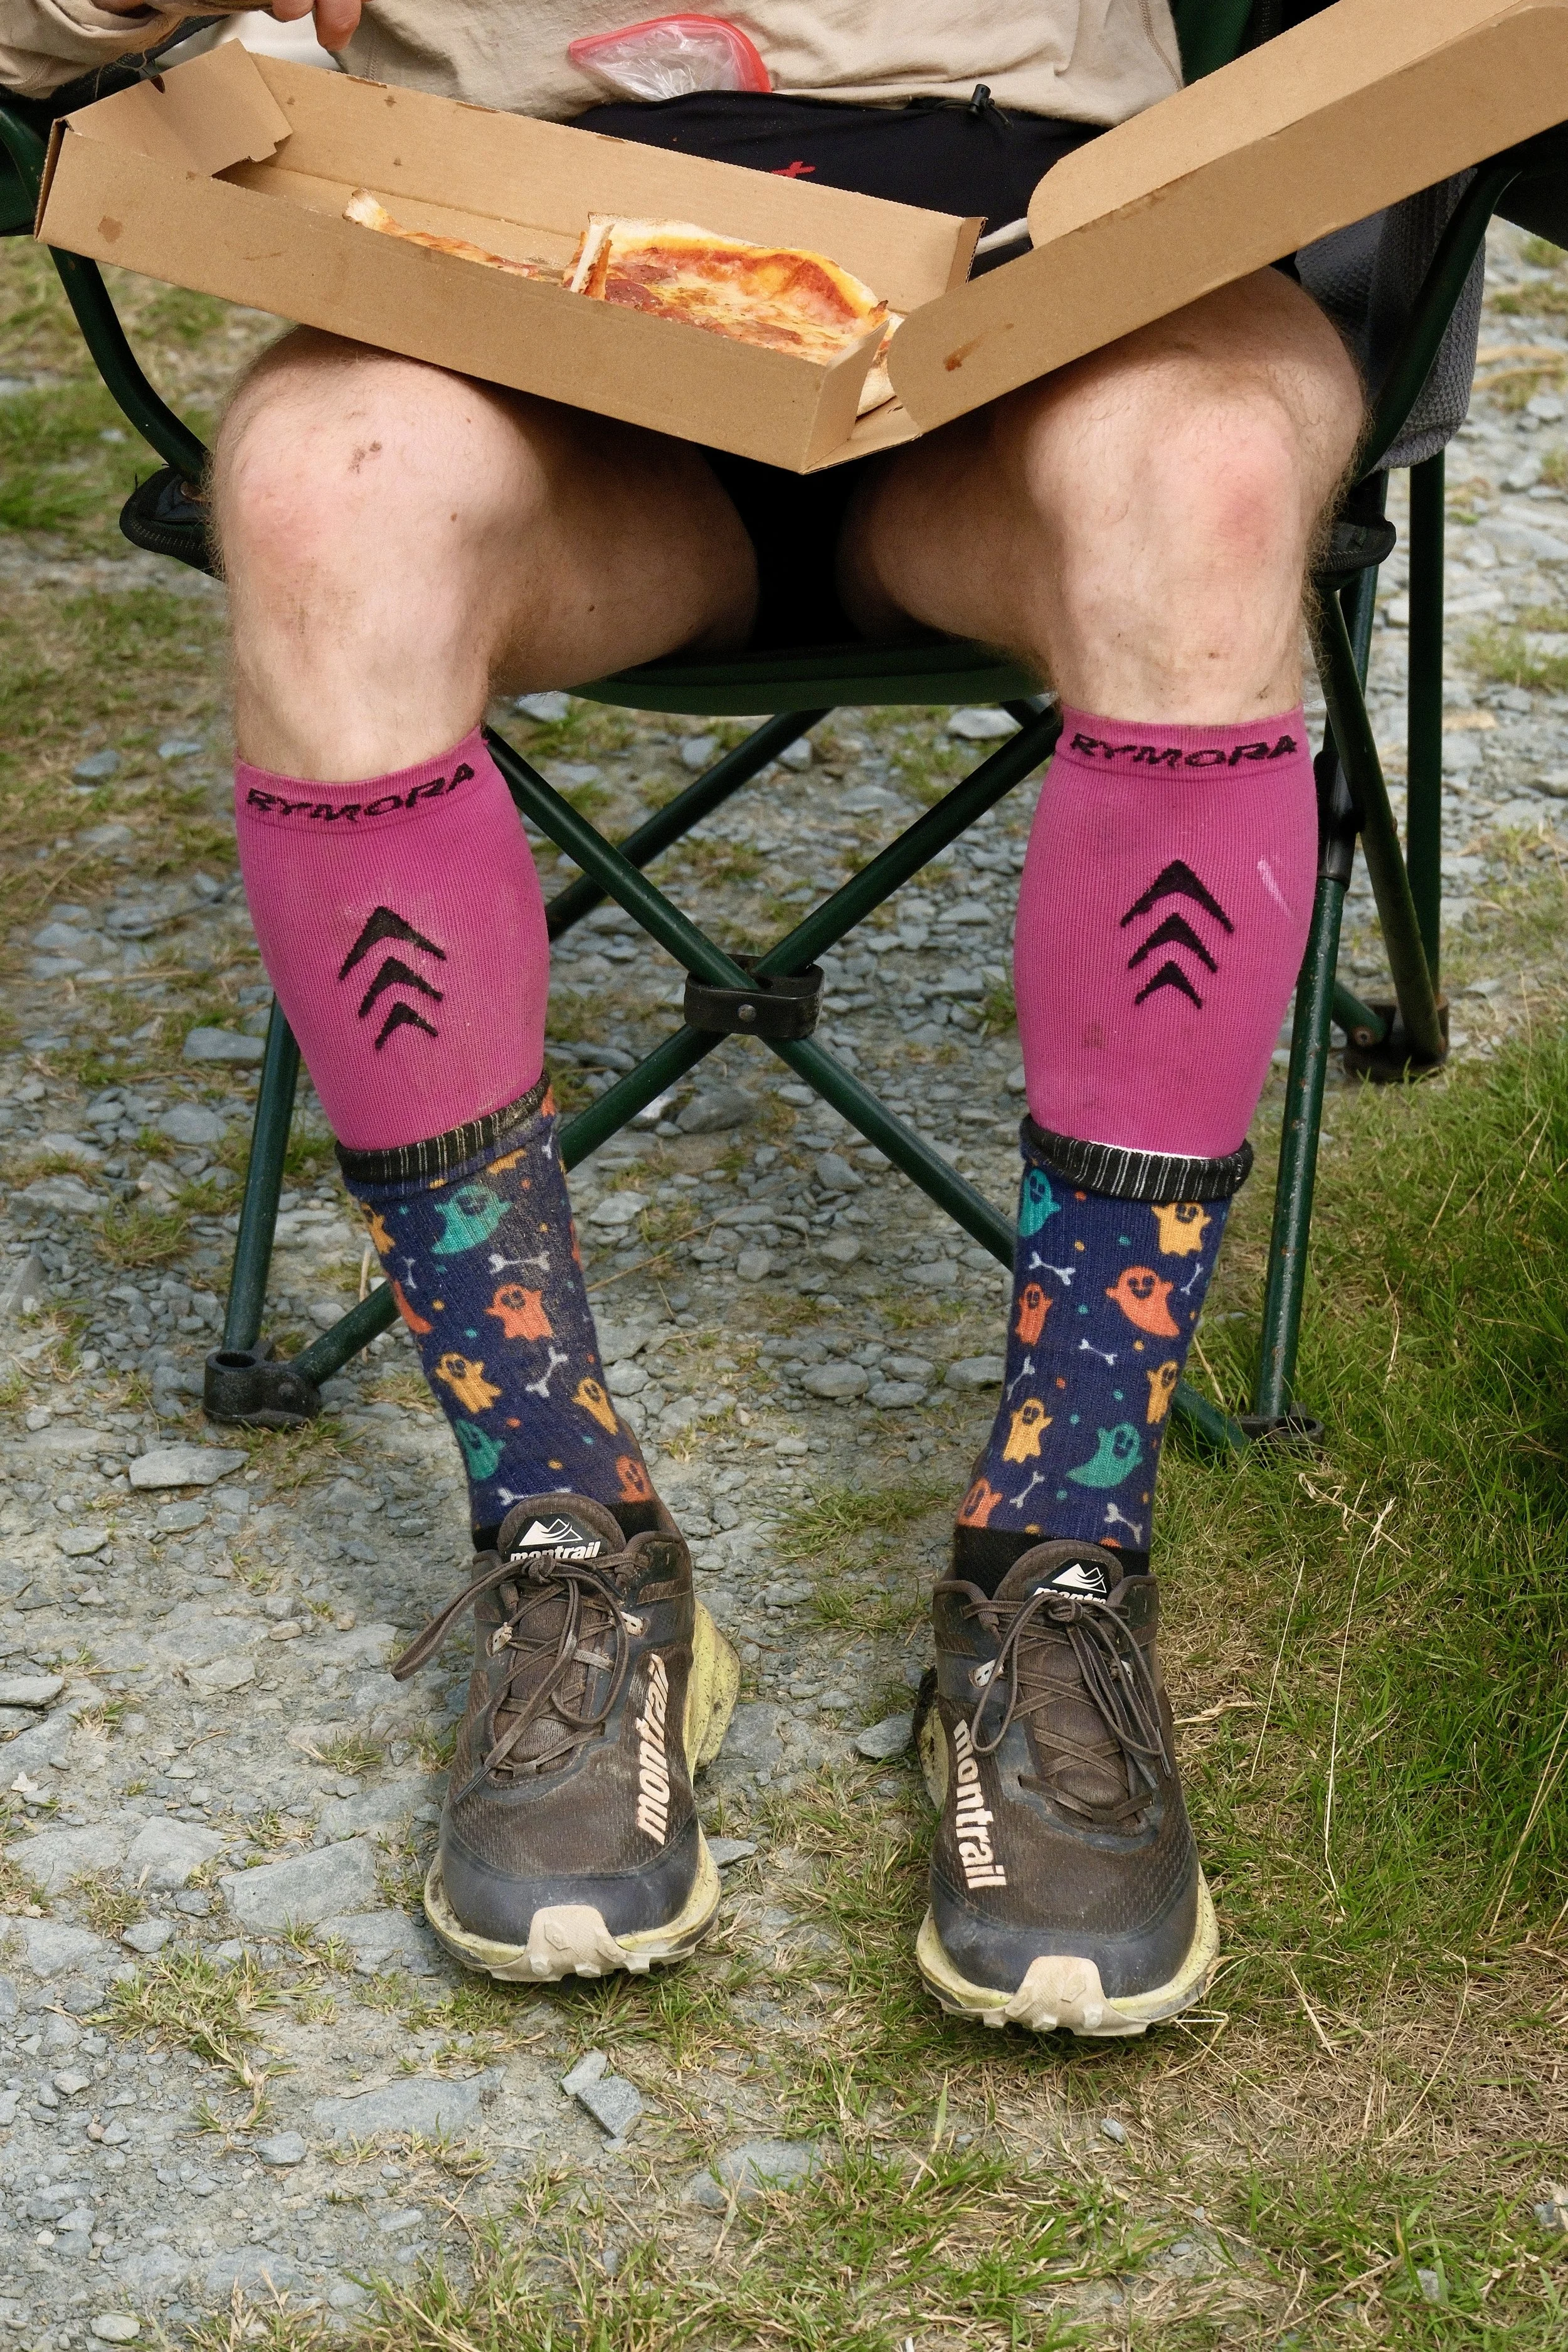
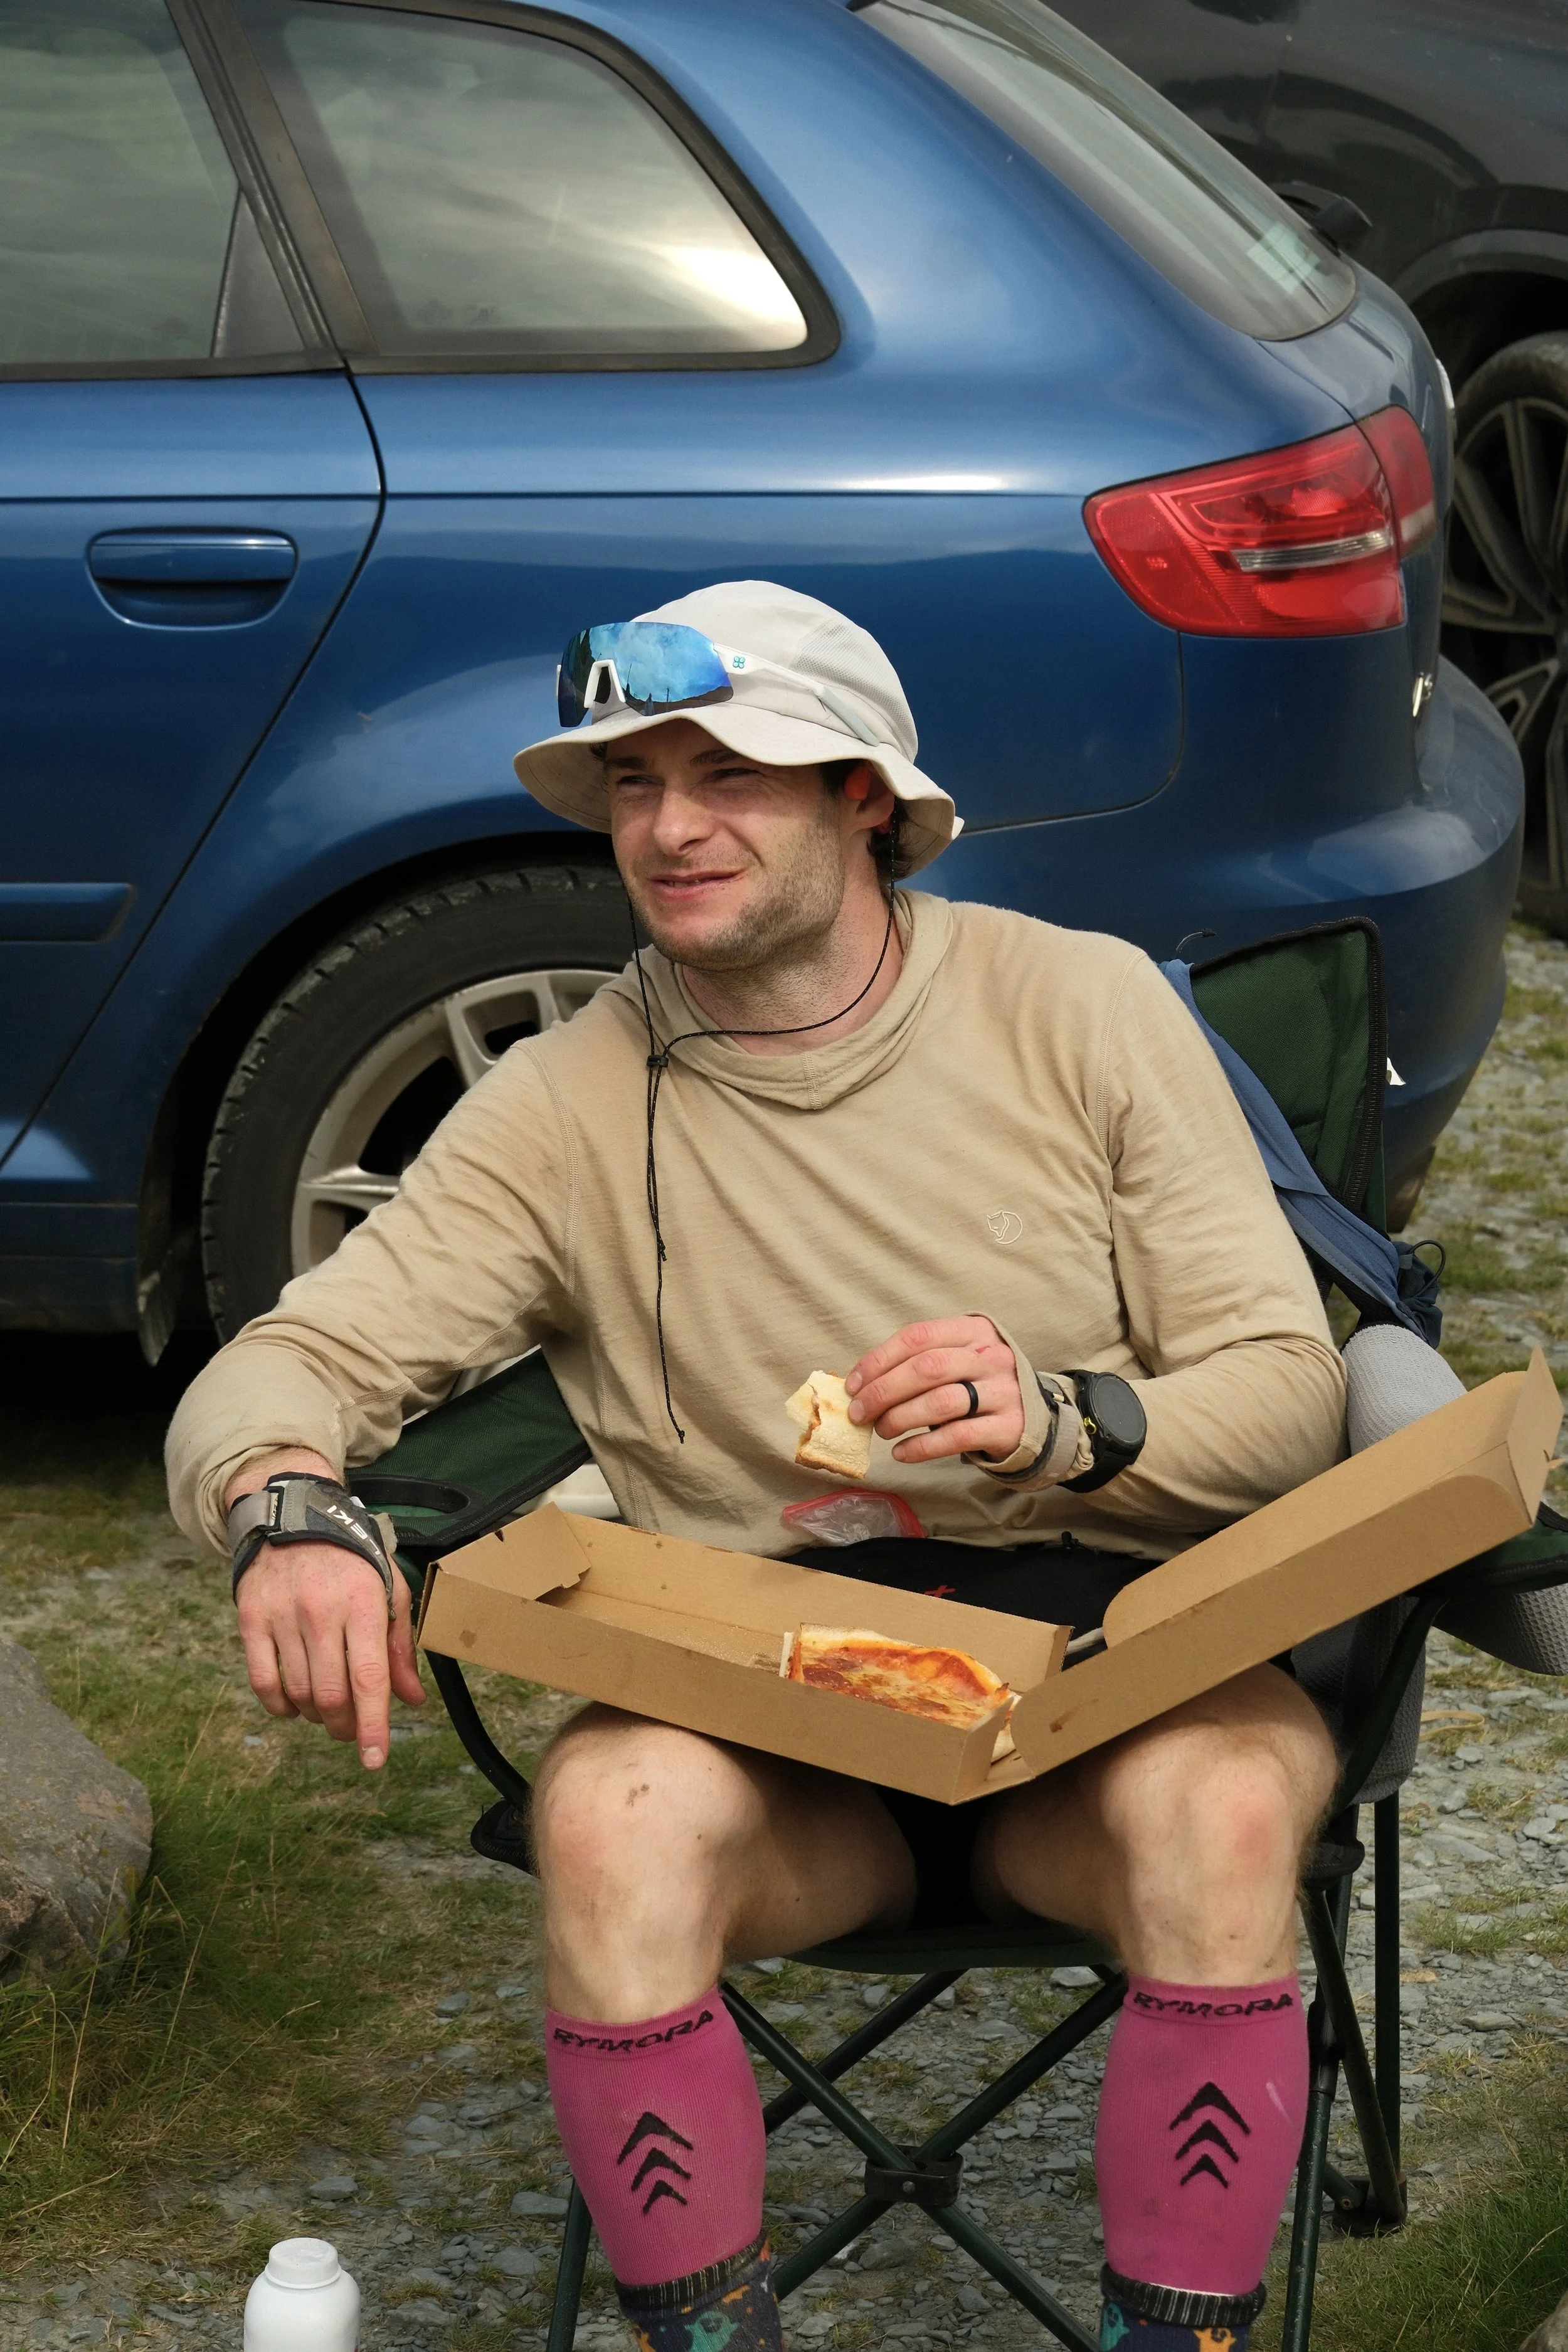
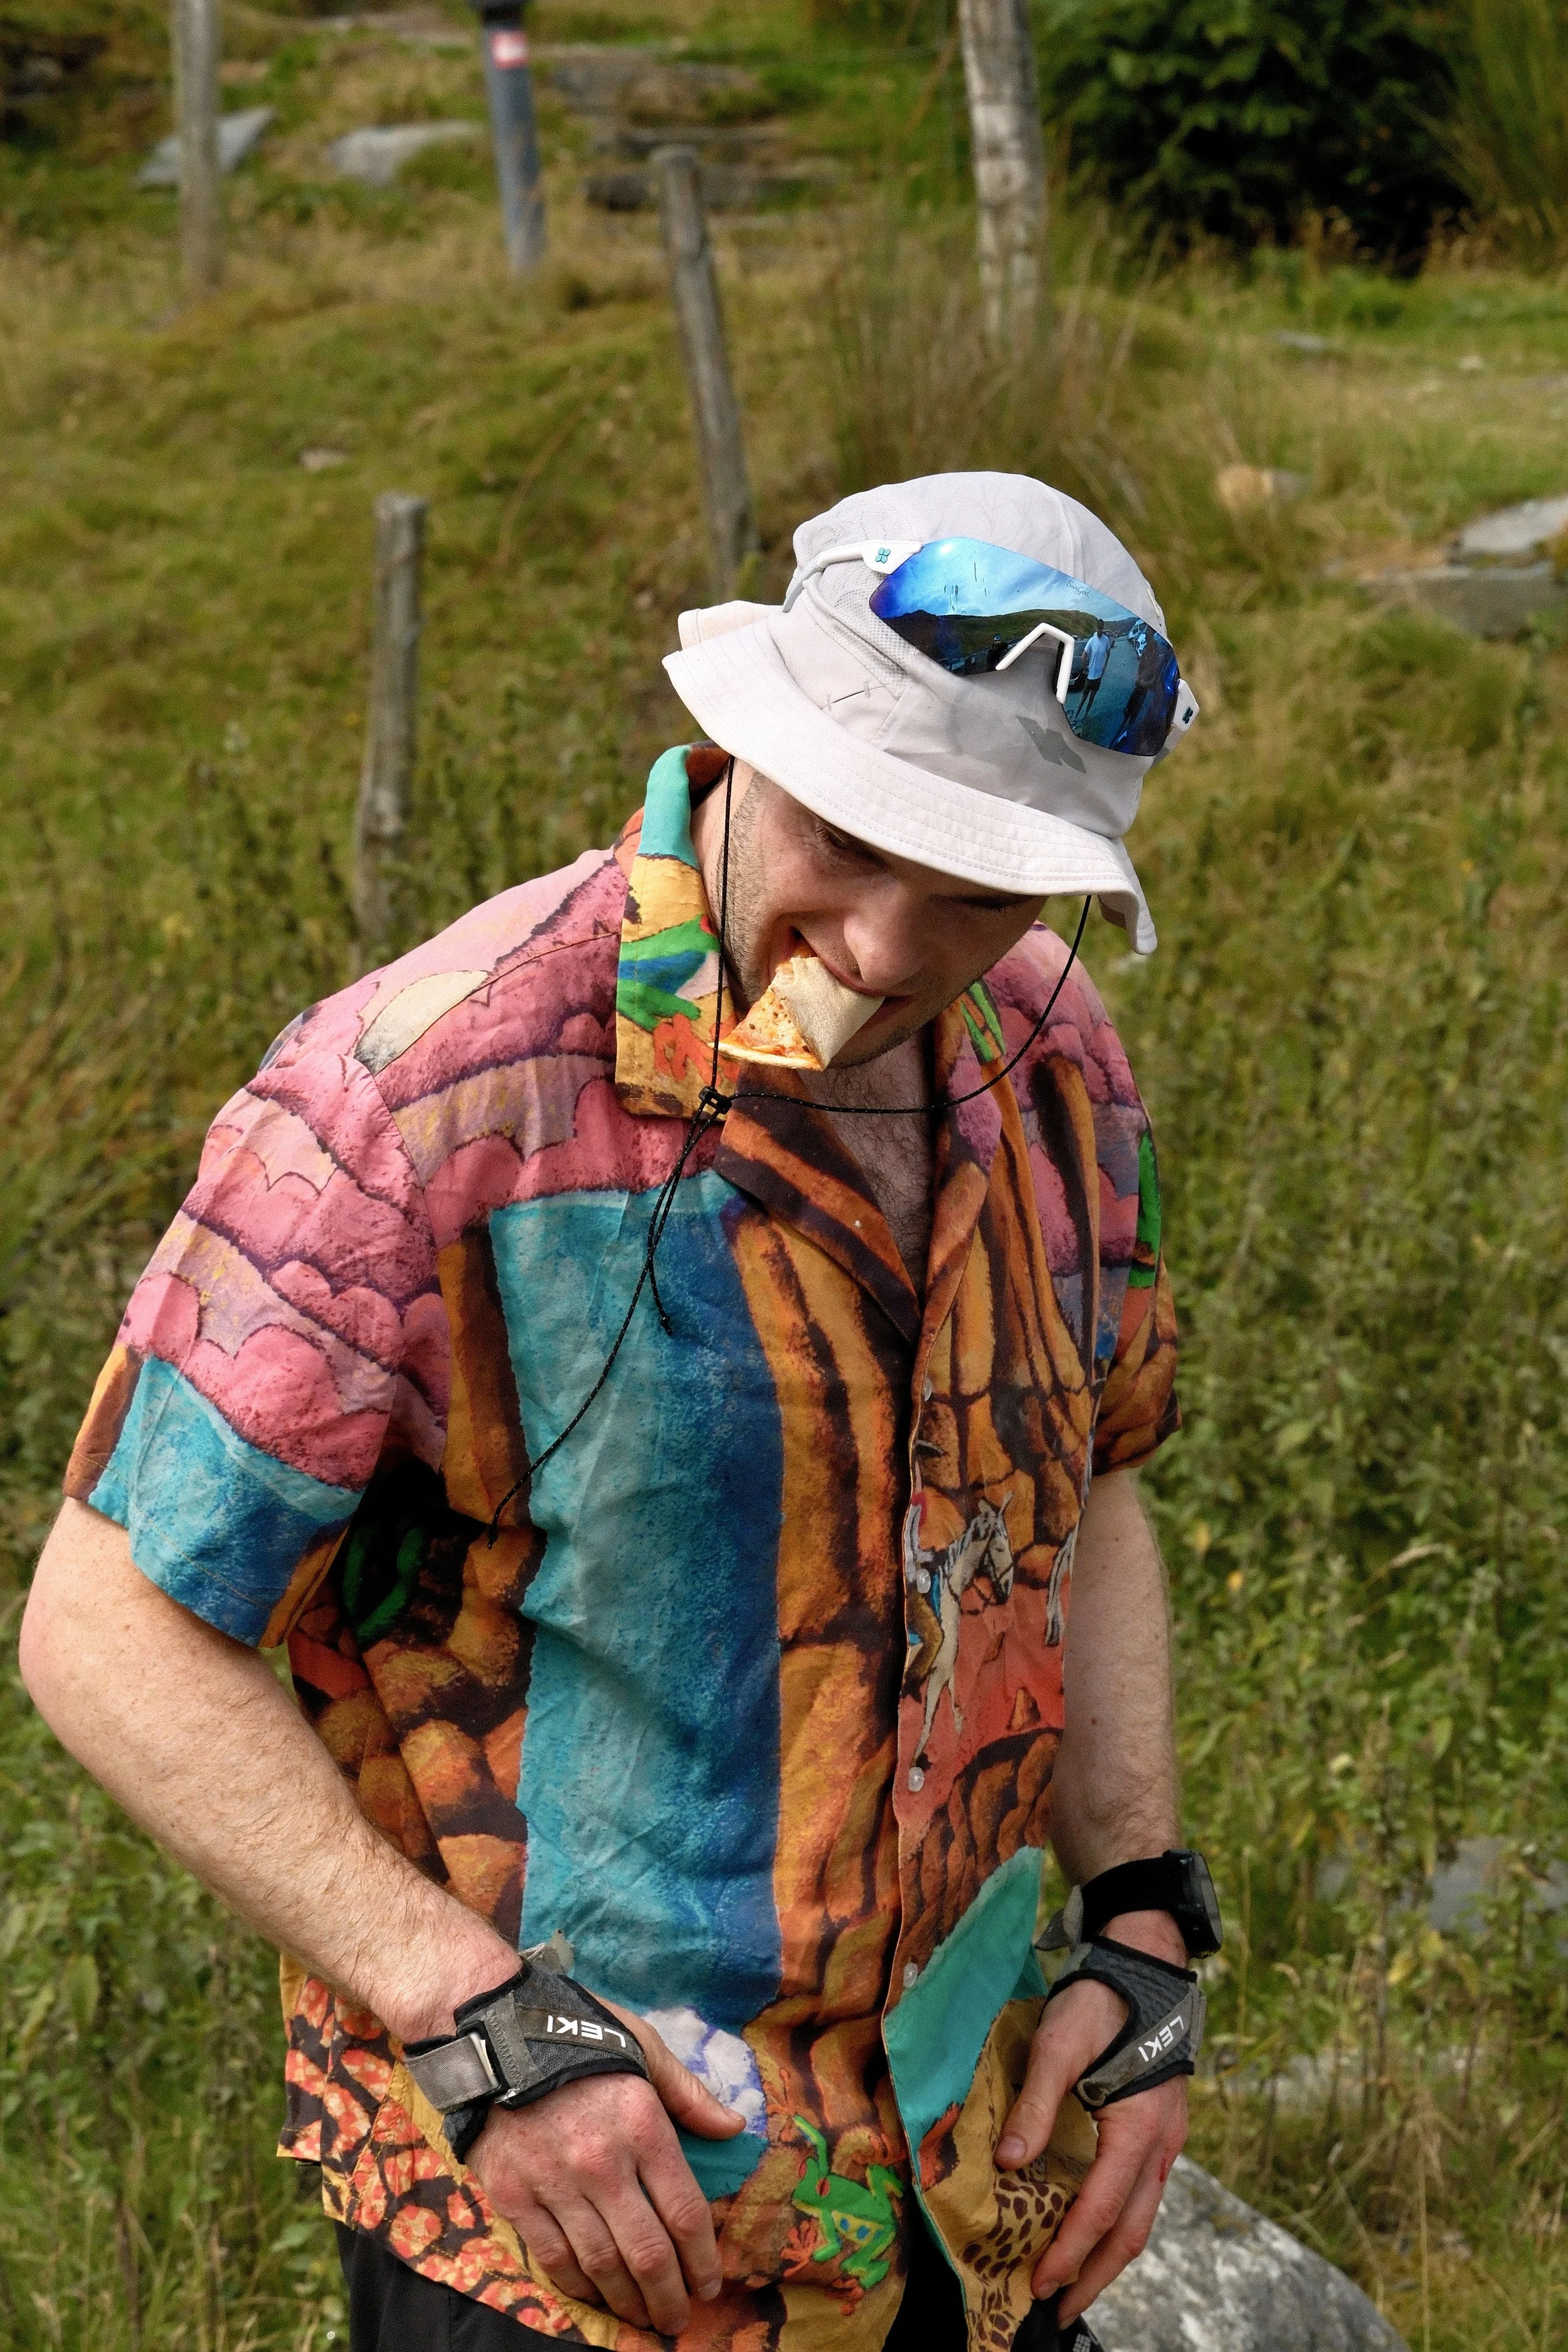
I had pepperoni pizza waiting for me at Honister and it tasted incredible.
Live tracking is essential.
Your schedule only tells everyone where you should be, whereas tracking tells them where you actually are. Over the course of 20 plus hours you are almost certainly going to gain or lose time somewhere, and both your road crew and incoming support runners need to adjust as the Round develops.
Make sure everyone has the tracking link beforehand, test that it works and make sure they know how to use it. I used my Garmin inReach Messenger Plus, which worked flawlessly and sent out an updated location every two minutes.
I would also create a WhatsApp group around 48 hours before the attempt containing everyone involved in the Round.
When I created mine, I initially restricted messaging so only I could post in the group, while asking everyone to message me directly if there were any problems or questions. This meant the important information wasn't immediately buried underneath unnecessary chat.
I used the group to share the support rota, schedule, live tracking link and important logistics, then opened it up on the day so everyone could communicate as the Round developed. It worked really well because supporters could update each other if I was ahead or behind schedule, somebody was delayed or a runner needed collecting.
Give everyone access to live tracking. You may be ahead or behind schedule, and both road crew and incoming support runners need to adjust as the Round develops.
Include contact details for everyone involved, so your road crew can easily get hold of somebody if plans change.
Finally, don't underestimate what you are asking of your road crew. They might not be climbing 42 mountains, but they can spend almost as long awake, drive for hours on narrow roads and spend the entire day working around you.
The more information you can give them beforehand, and the more organised you can make everything, the easier their day becomes and, ultimately, the easier your day becomes too
Leg 1: Keswick to Threlkeld
Distance: Around 21km
Elevation gain: Around 1,650m
Threkheld Car park: Google Maps / What Three Words
3 Summits: Skiddaw, Great Calva and Blencathra
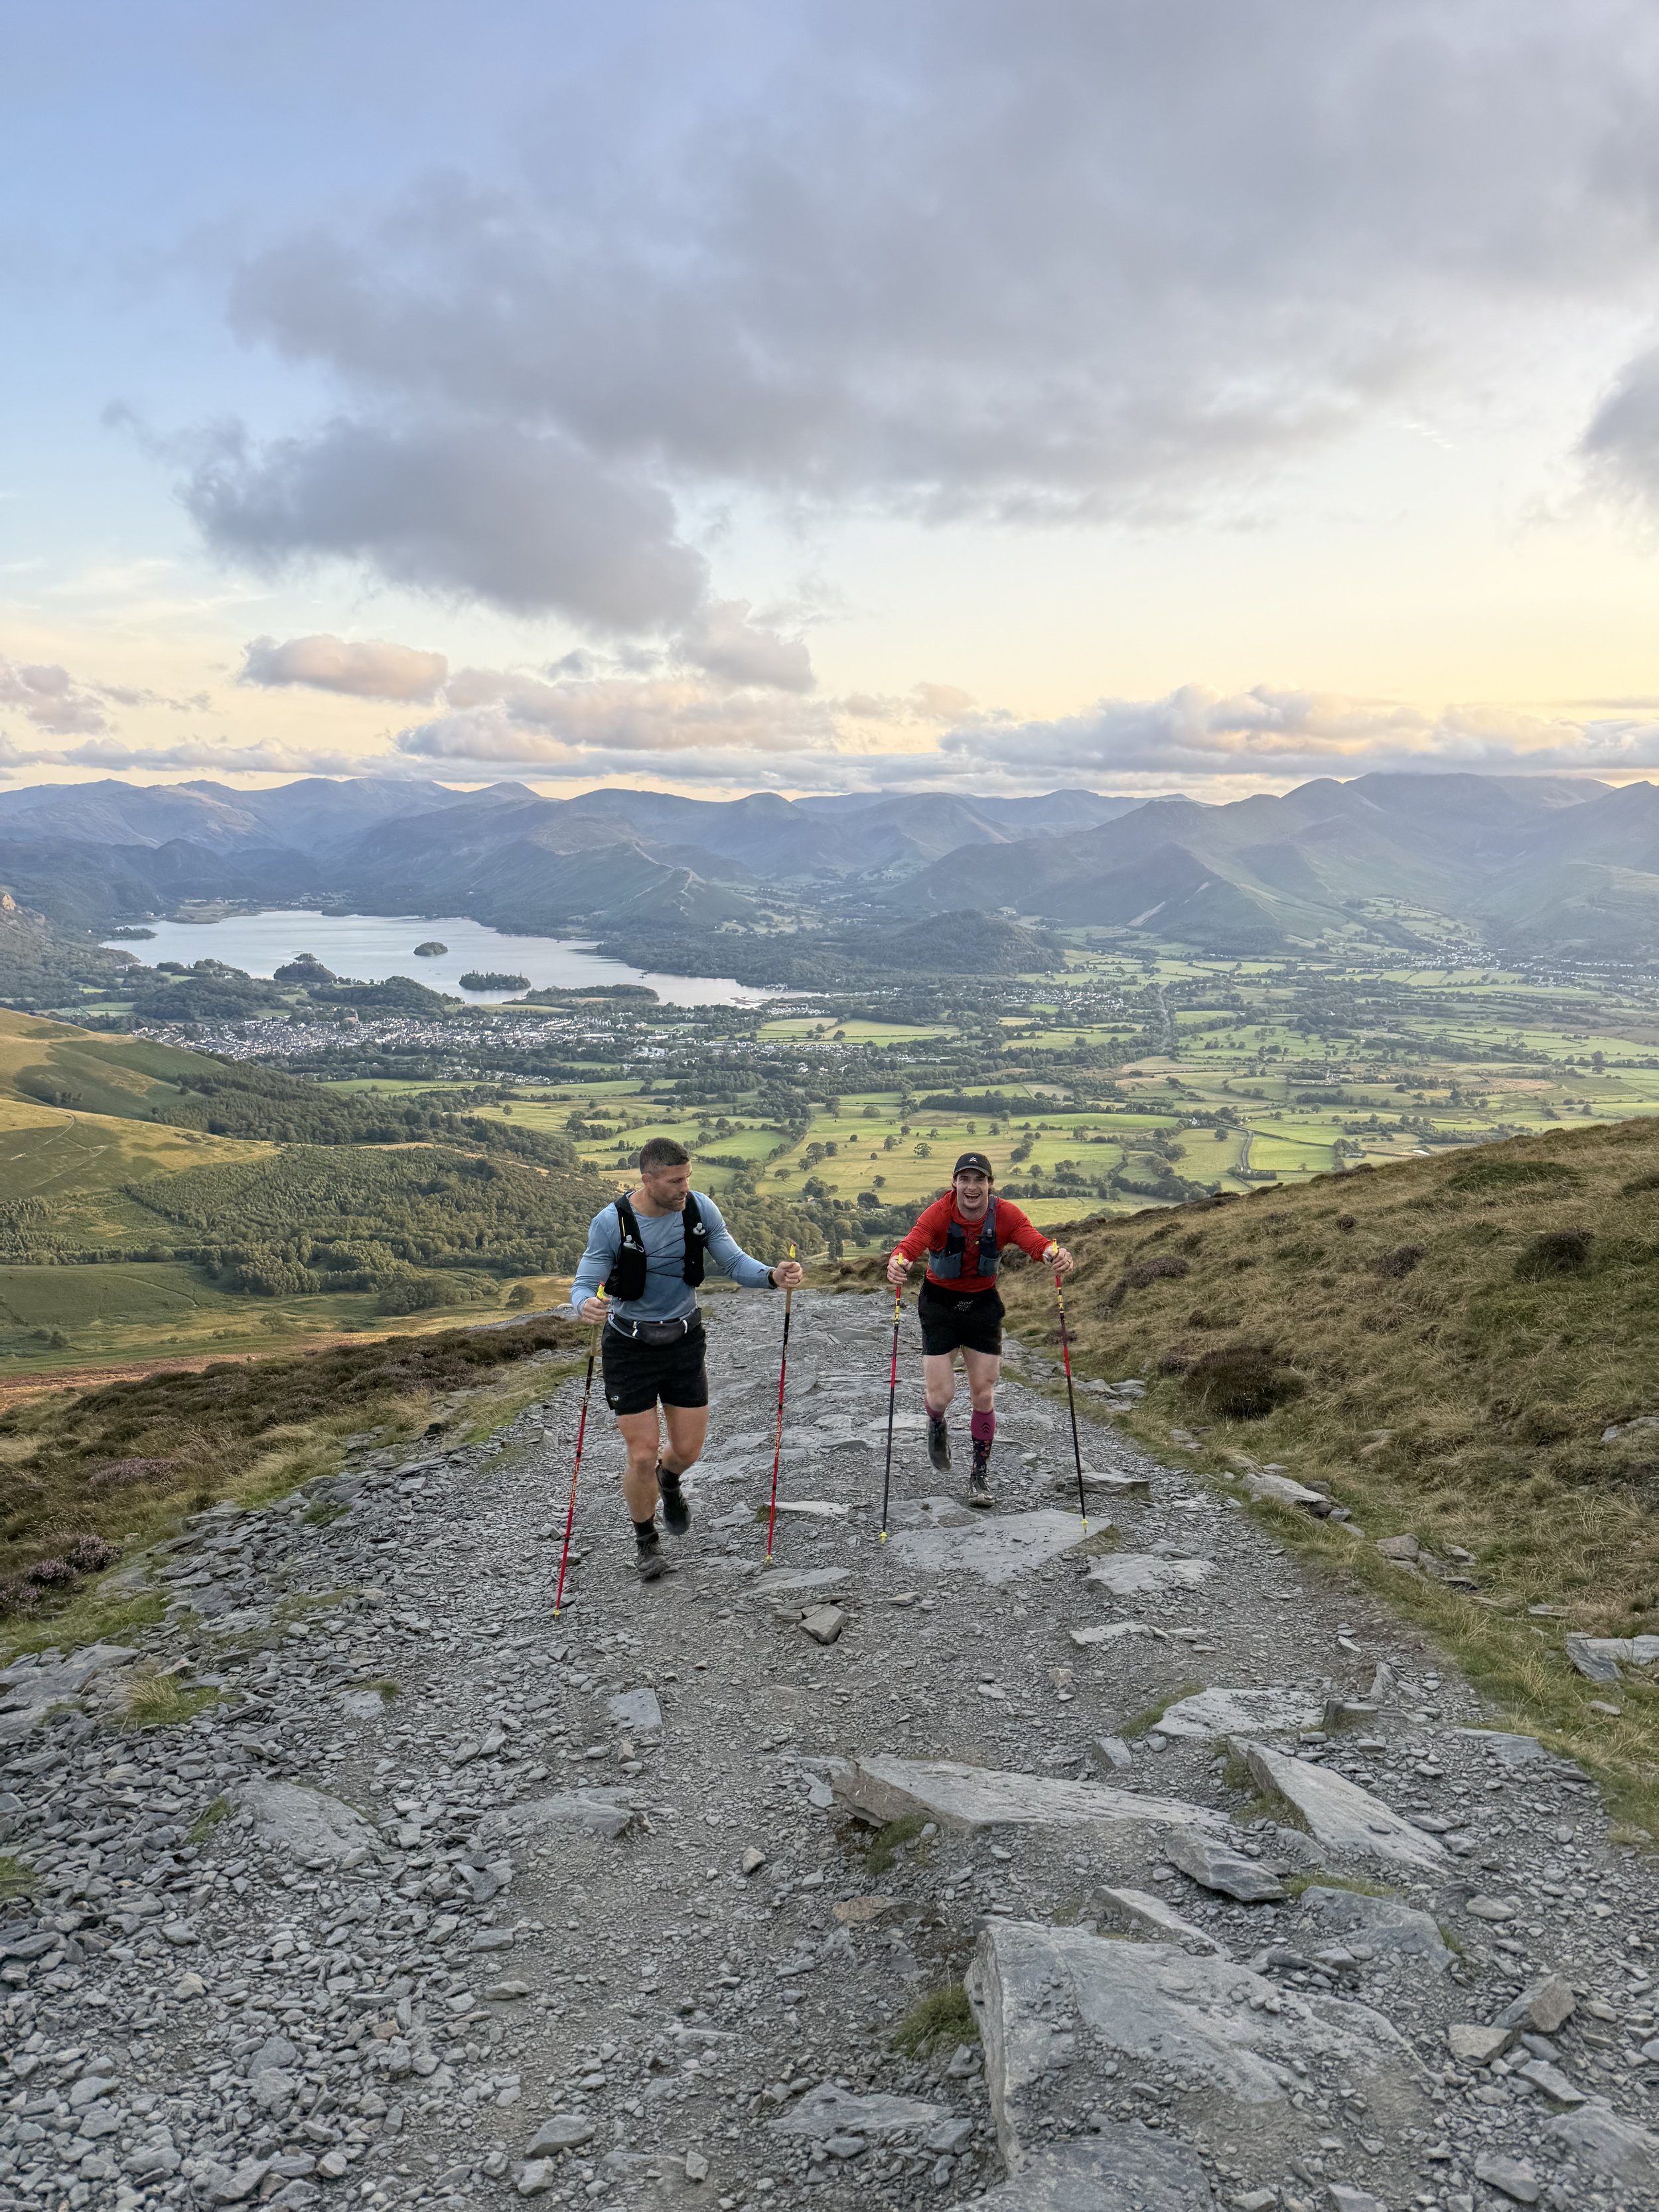
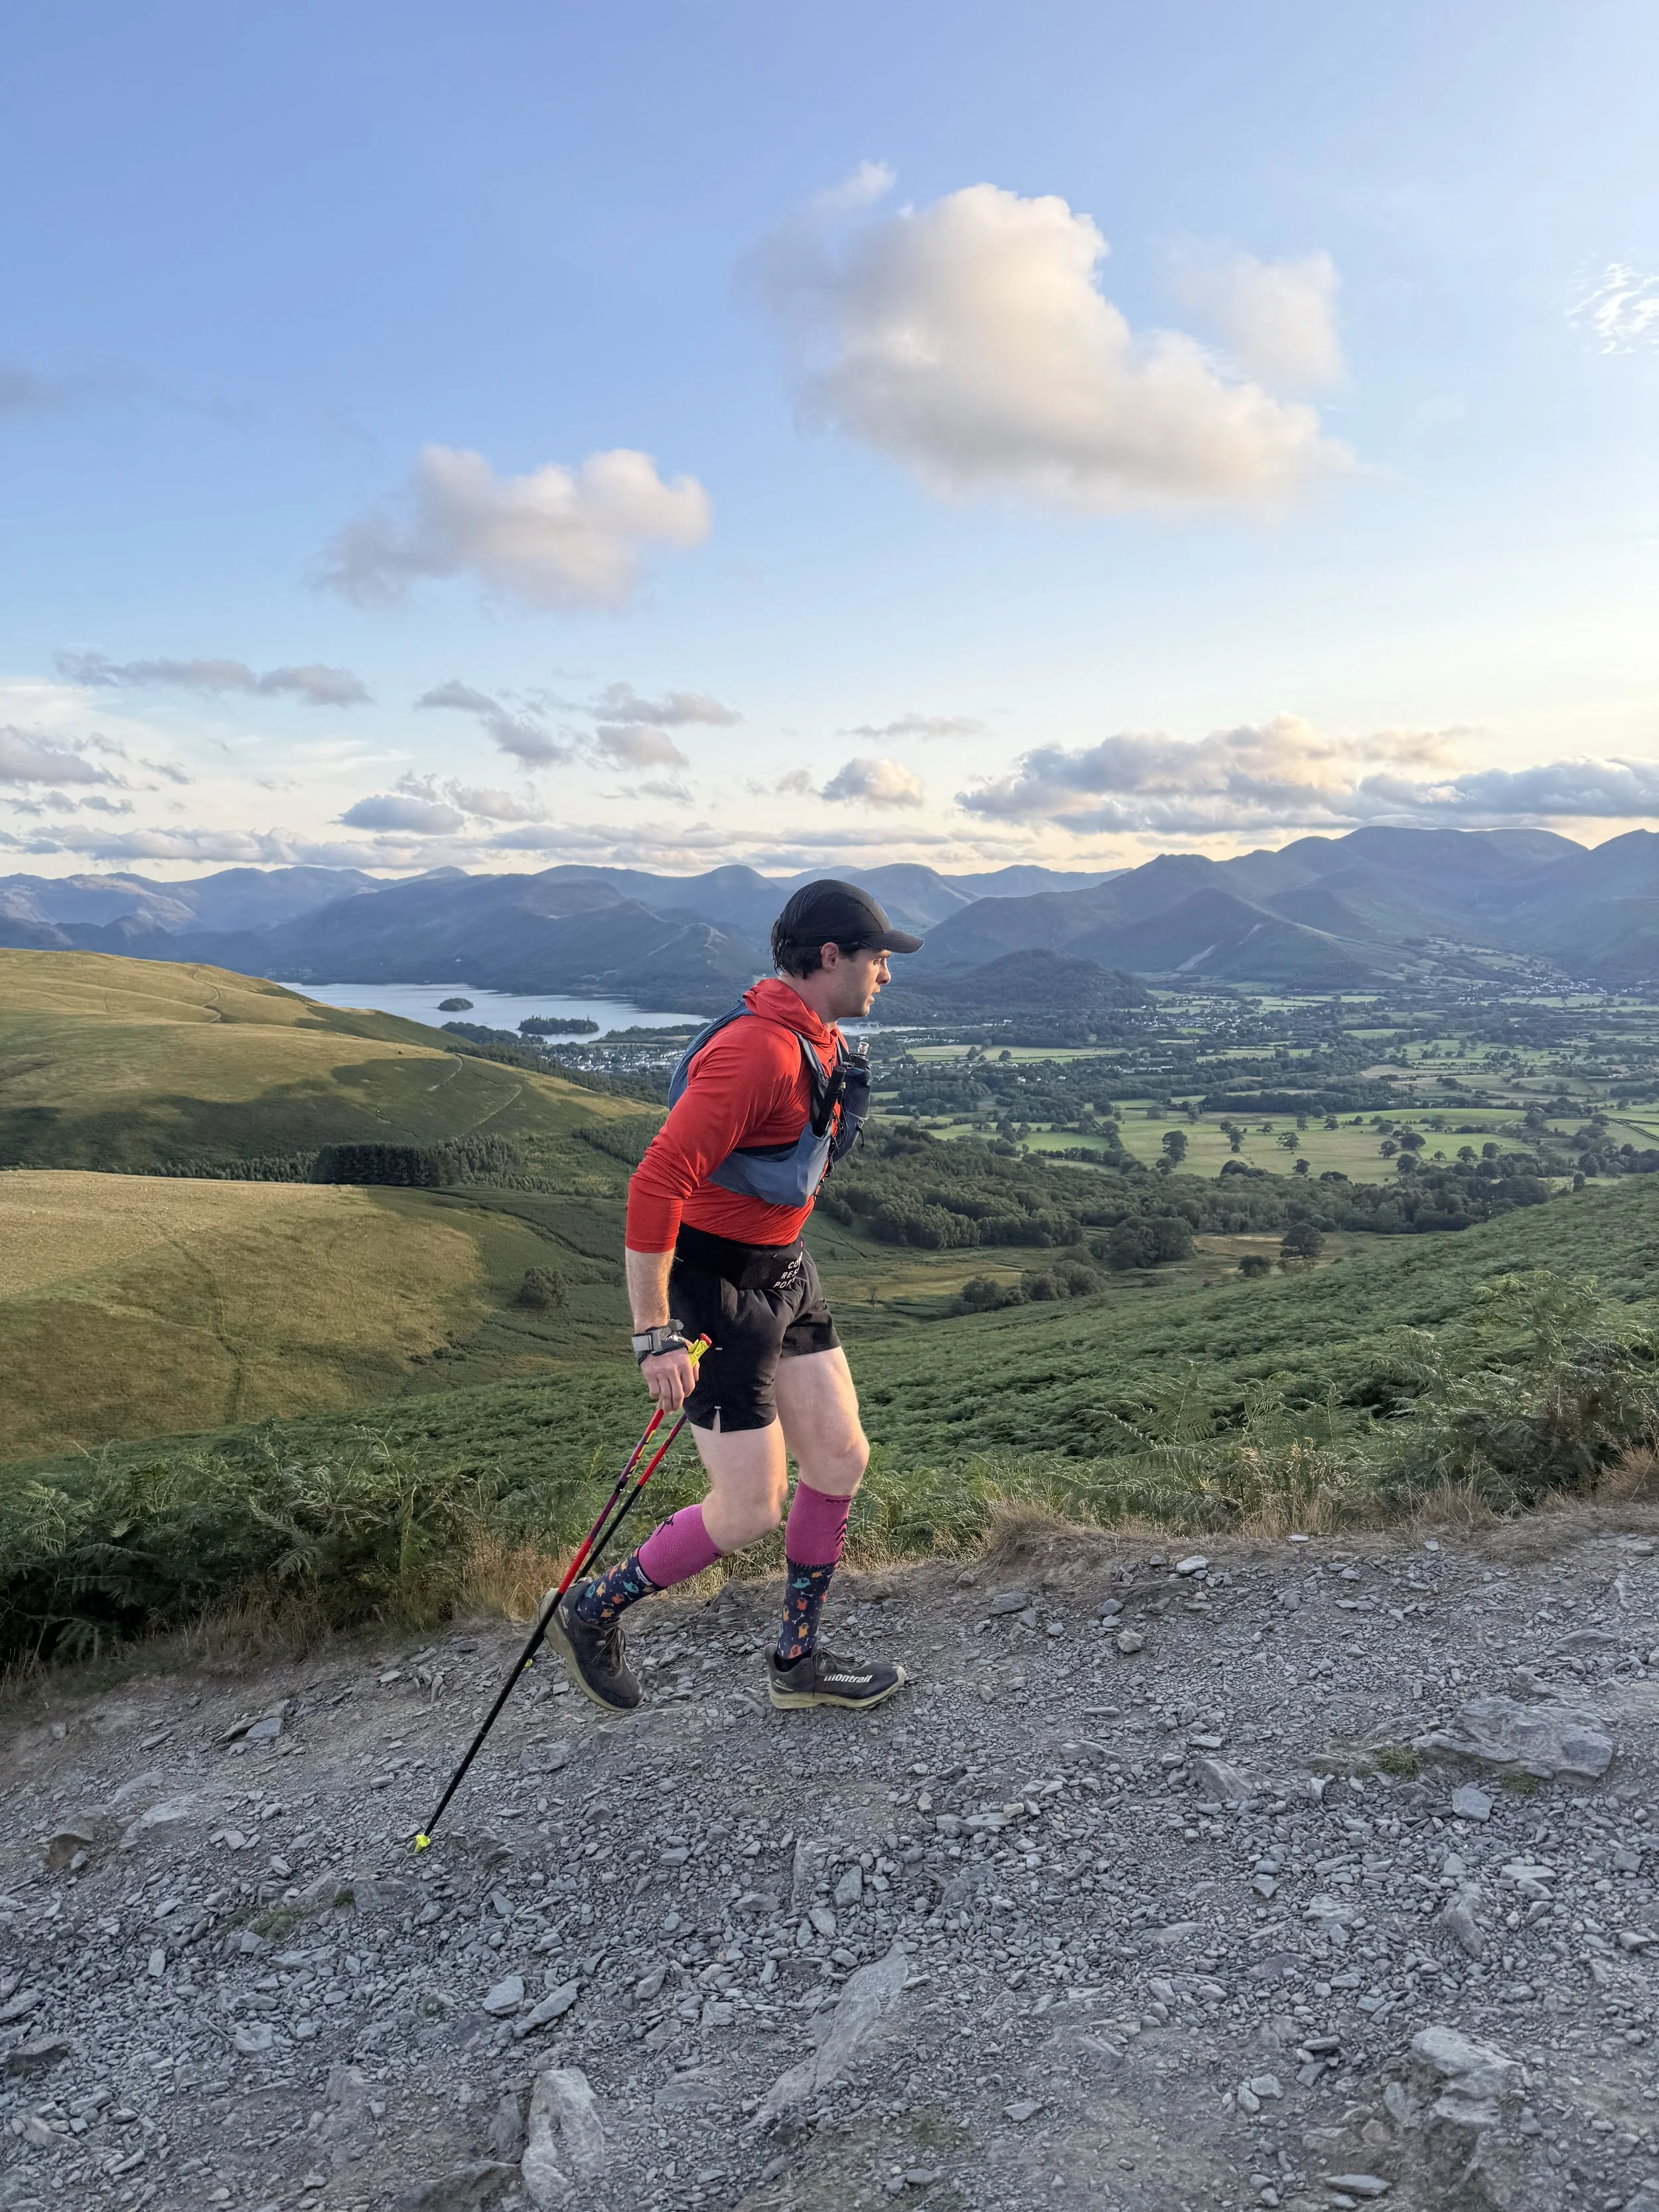
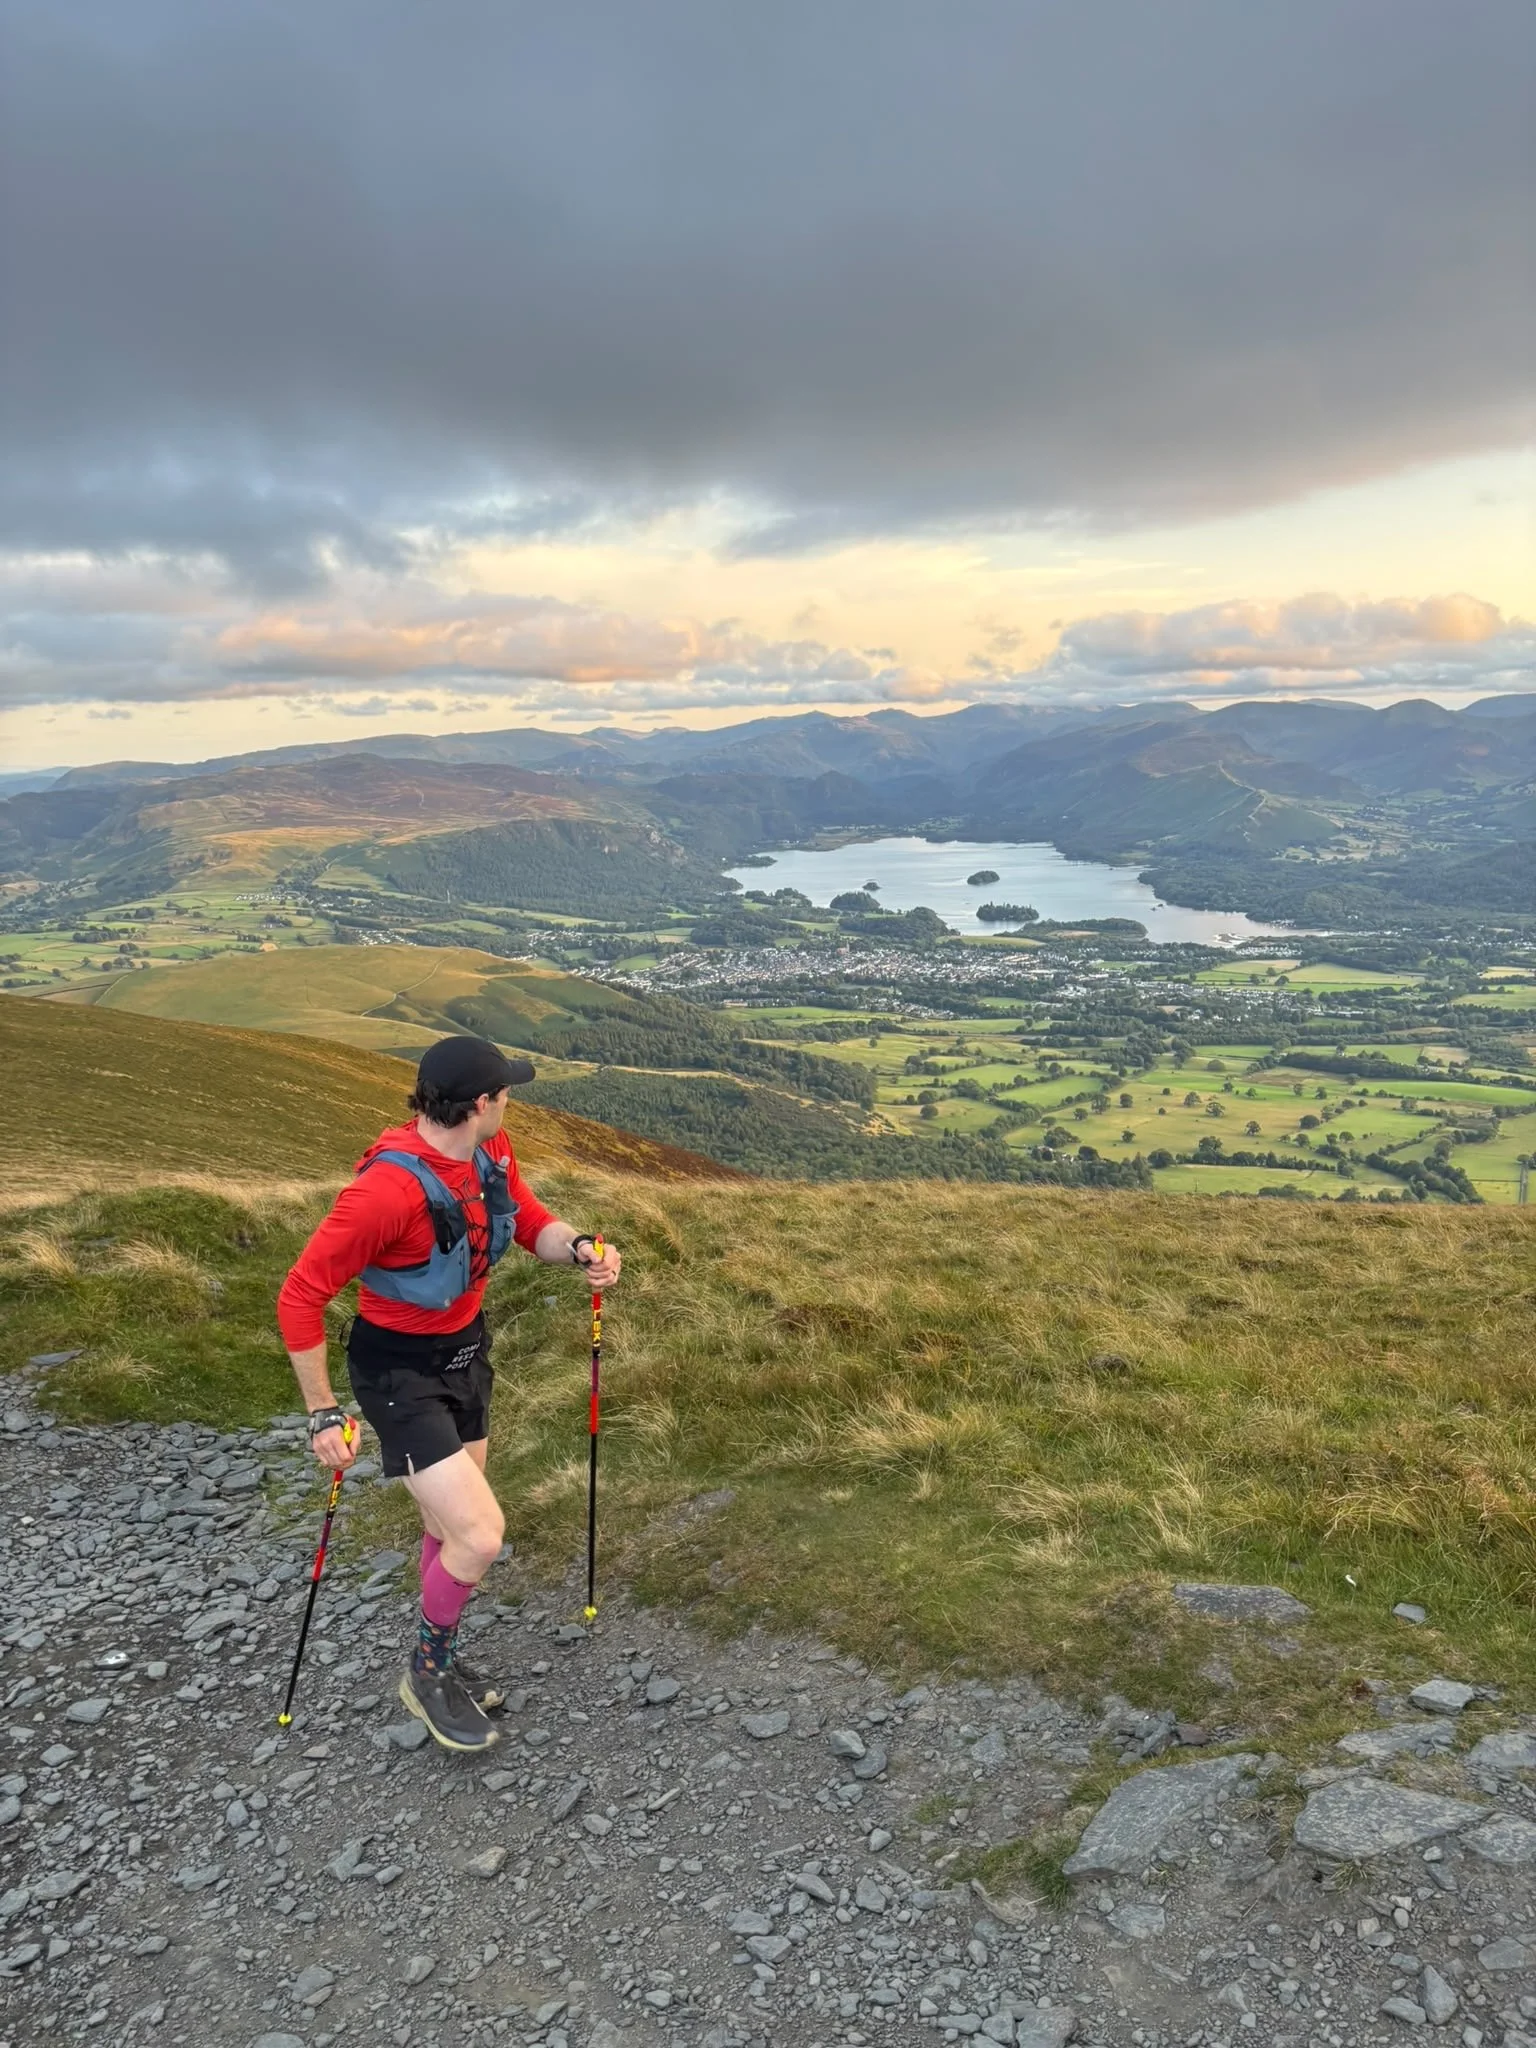
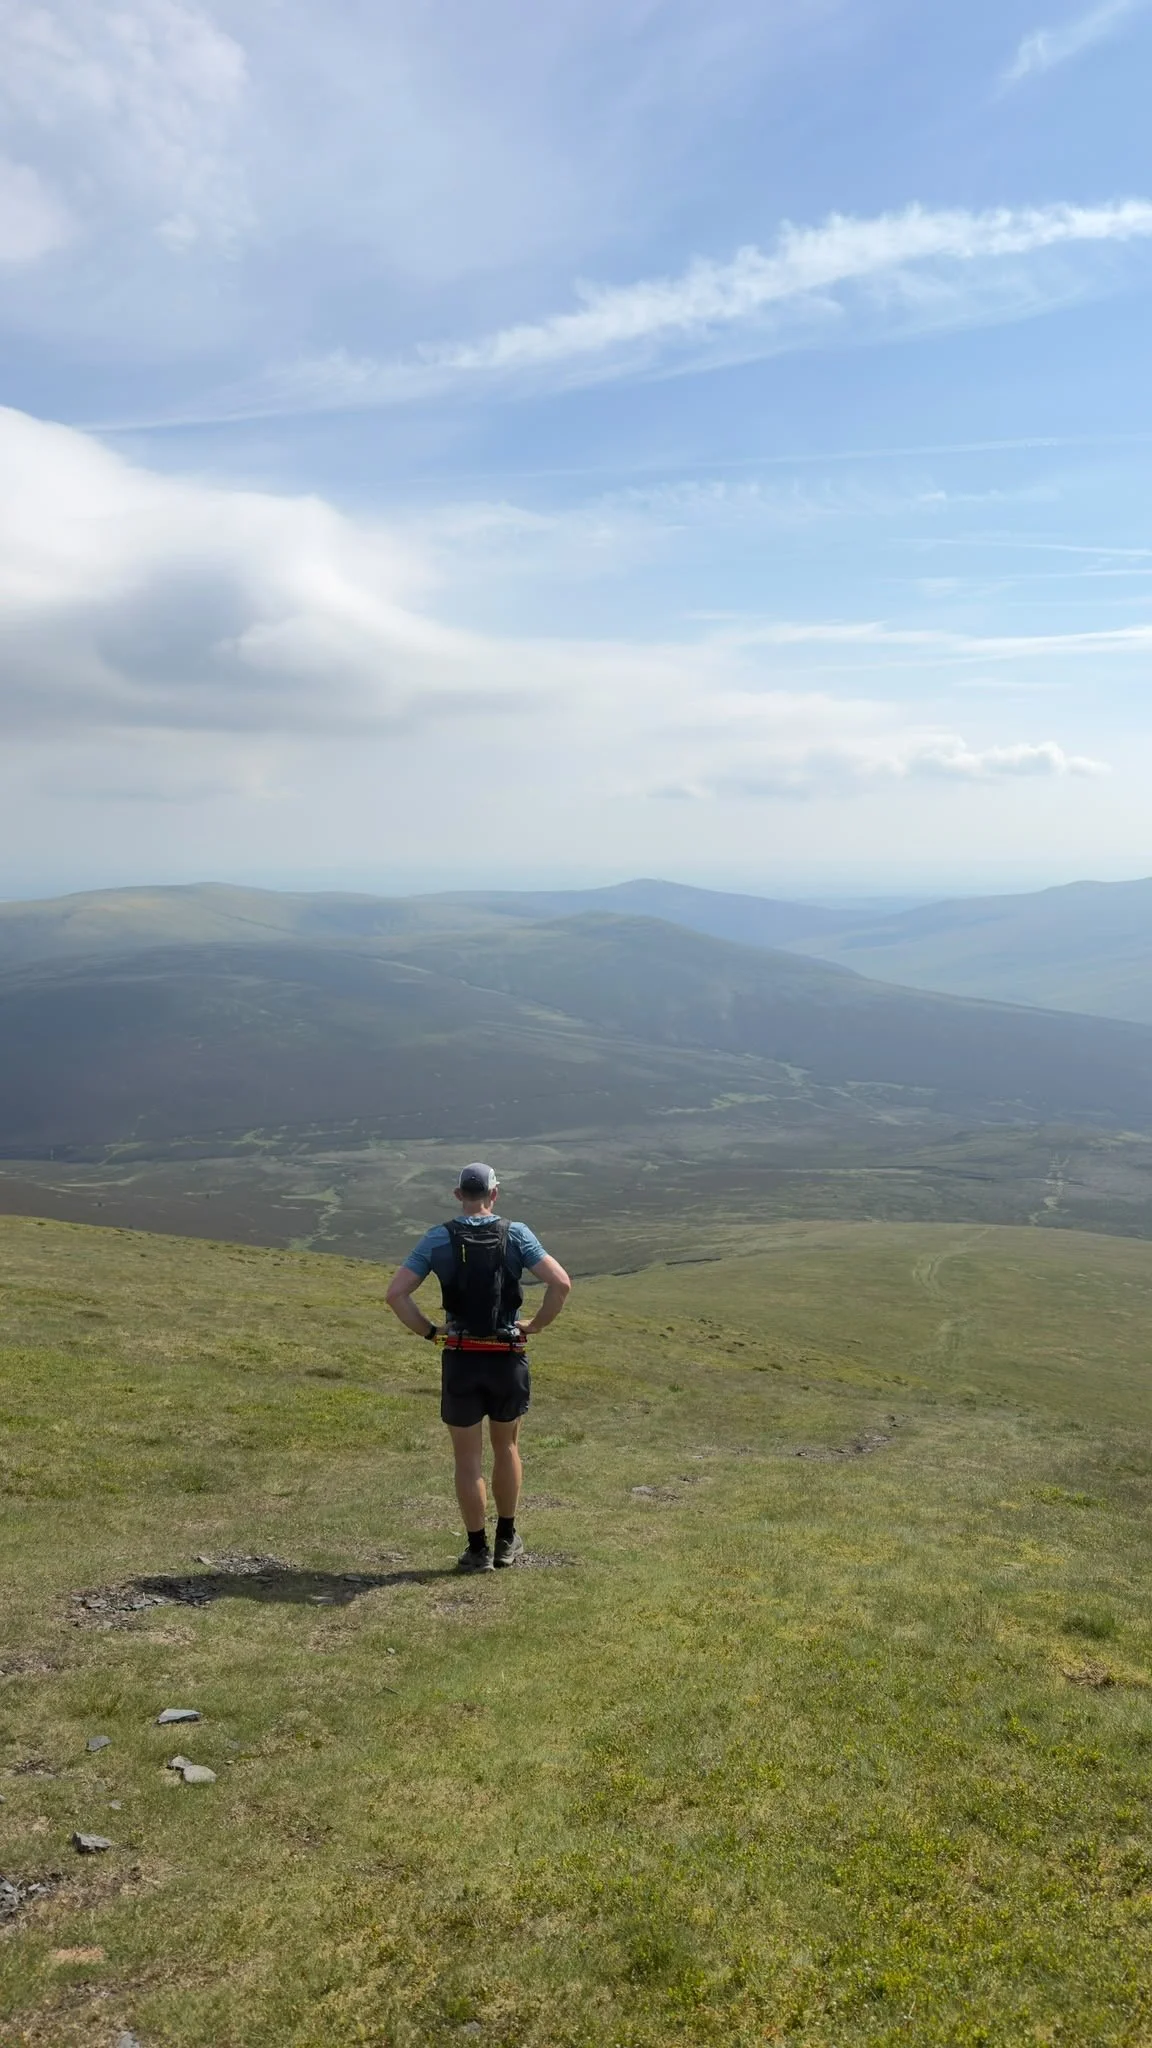
Leg 1 is a relatively friendly introduction to the Bob Graham, although with around 1,600m of ascent it is still a substantial opening few hours, and one where it is very easy to get carried away while your legs are fresh.
From Moot Hall, the route heads out through Keswick, across Fitz Park and towards Spooney Green Lane, where you begin the biggest sustained climb of the entire Round towards Skiddaw.
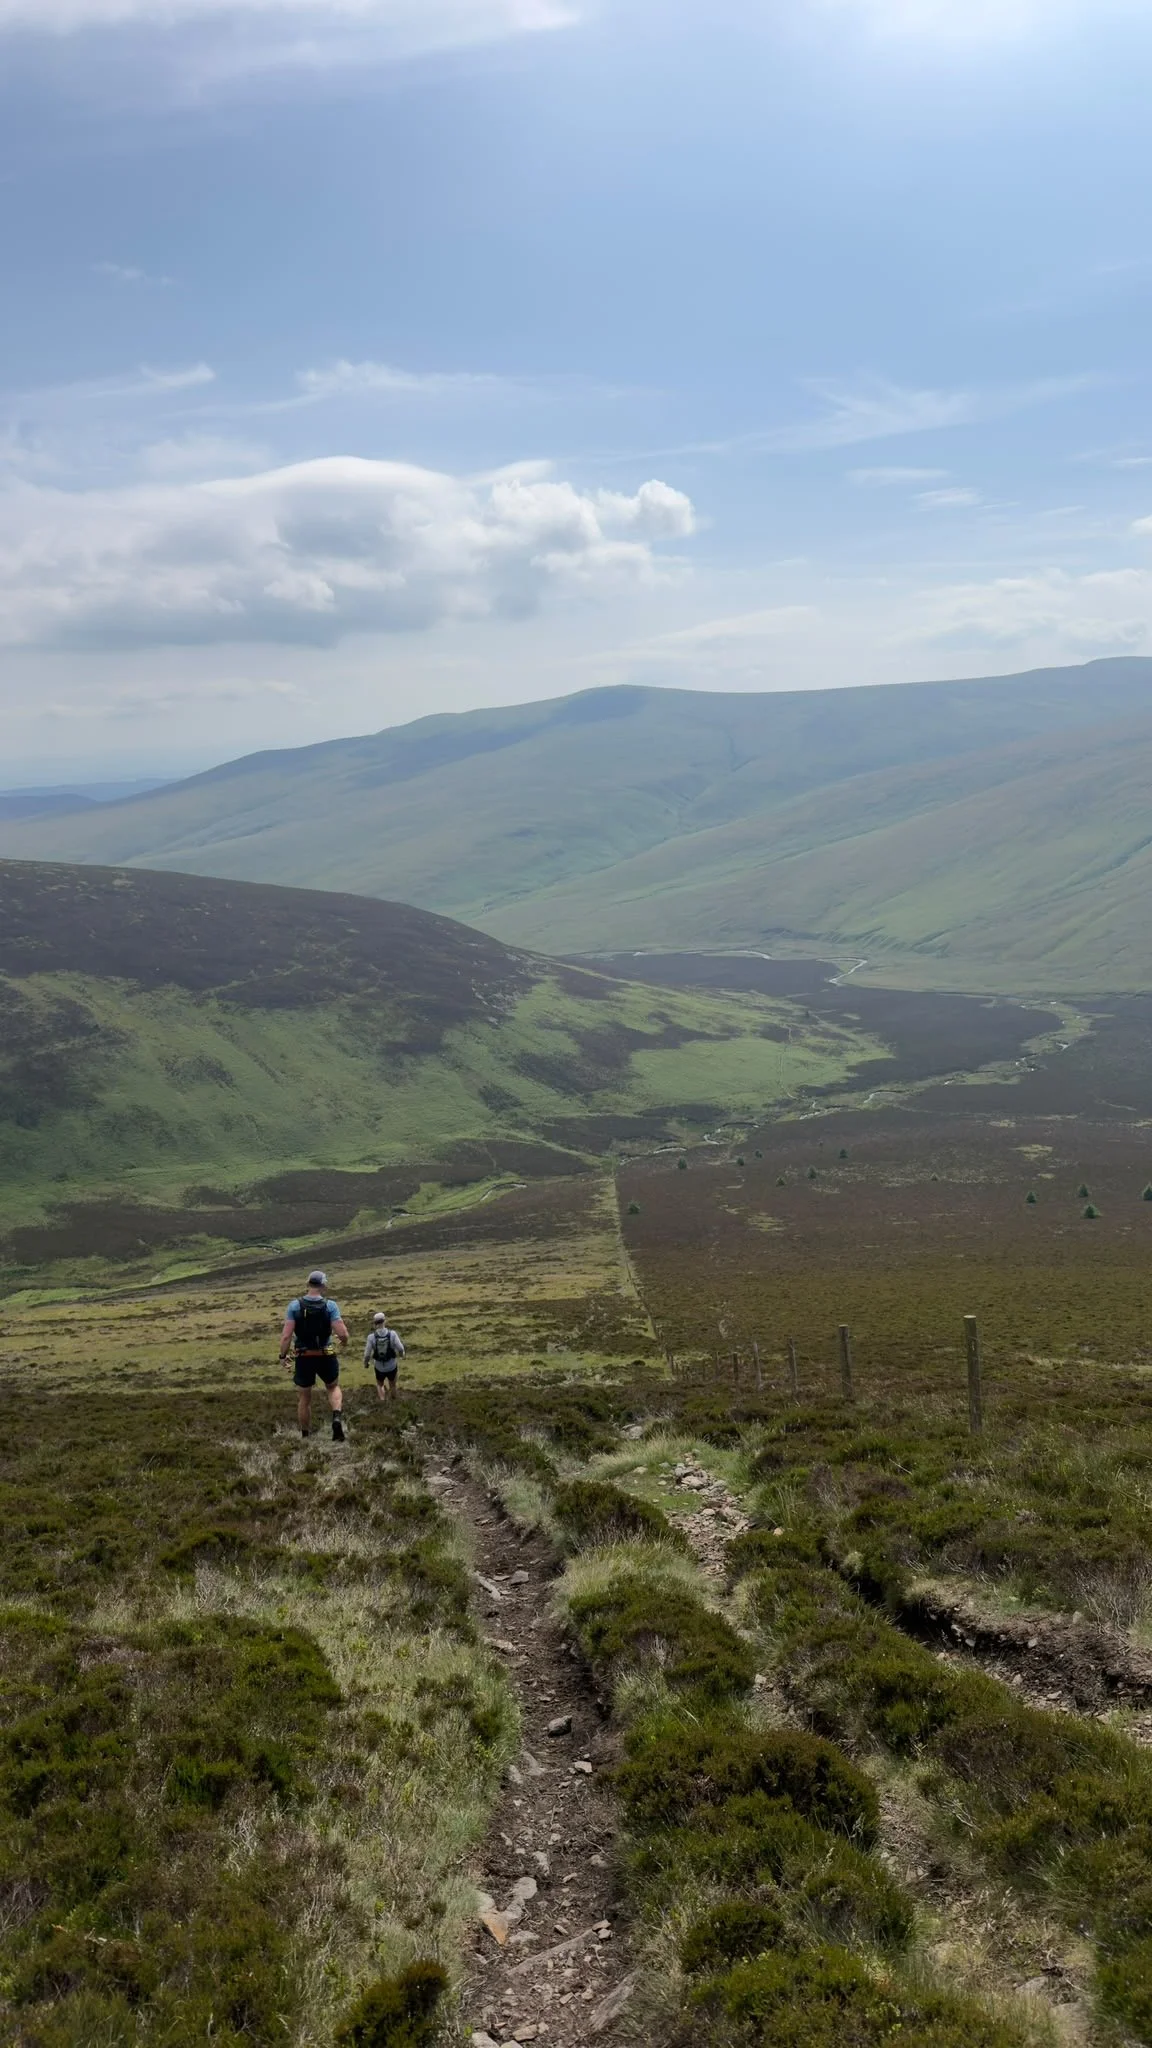
From Skiddaw you descend towards Skiddaw House before crossing the boggy, heather-clad ground towards Great Calva. From Great Calva there is a steep descent towards the River Caldew, followed by the river crossing and another long section of rough, boggy terrain as you make your way towards Blencathra.
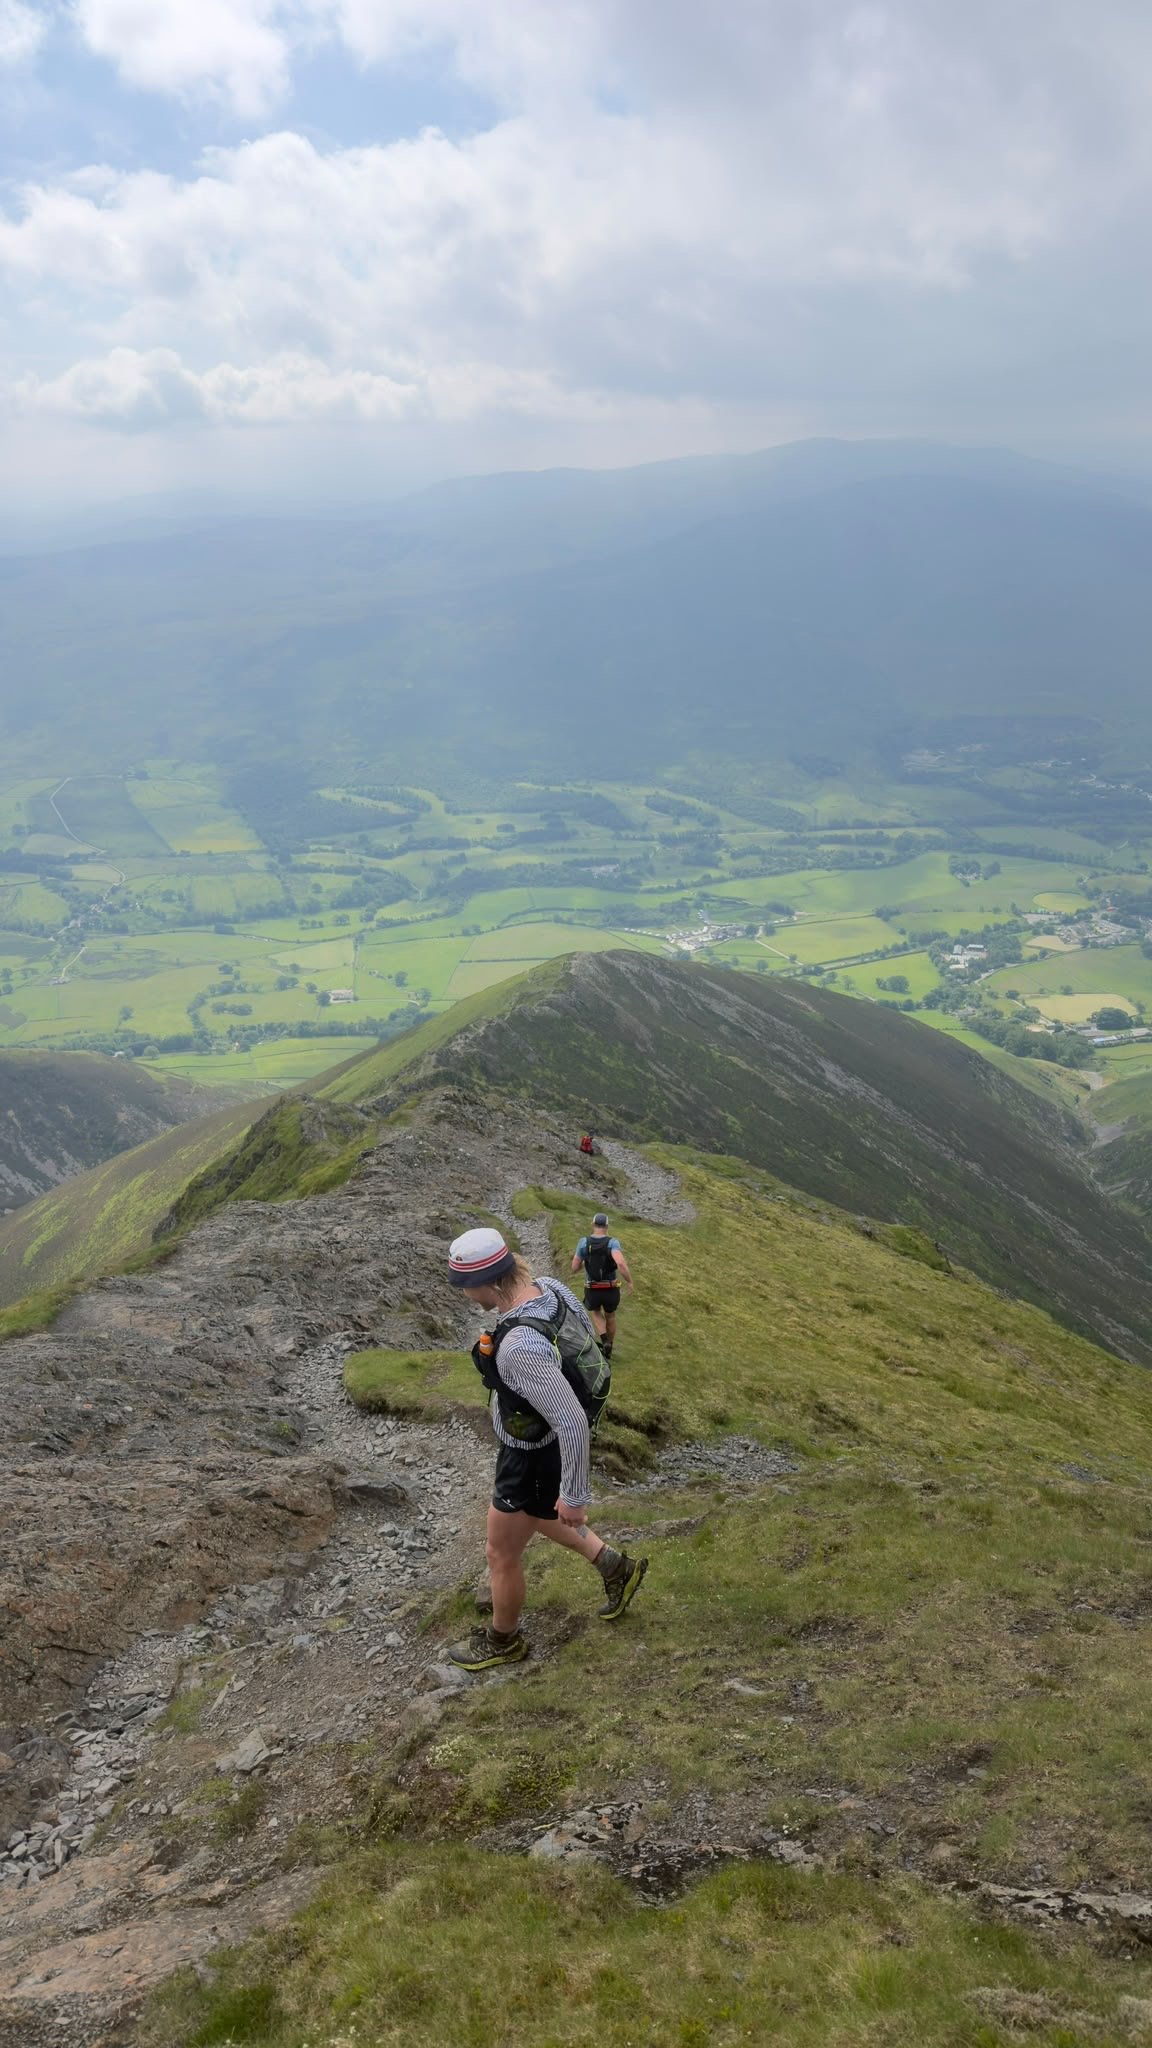
After reaching Blencathra, you are faced with a savagely steep descent towards the first road crossing at Threlkeld. Most clockwise attempts descend via Hall's Fell Ridge (which I did), although alternatives include Doddick Fell and the lesser-known Parachute Route, which may be worth considering depending on conditions and how confident you are on steep, technical terrain.
-
Don't smash the climb up Skiddaw. It is one of the easiest places to gain time while you are fresh, but those early efforts can come back to haunt you much later.
Know the line between Skiddaw and Great Calva the part of Leg 1 where route knowledge matters most, particularly if you are covering it in darkness or poor visibility, as there are plenty of opportunities to waste time fighting through boggy, heather clad ground.
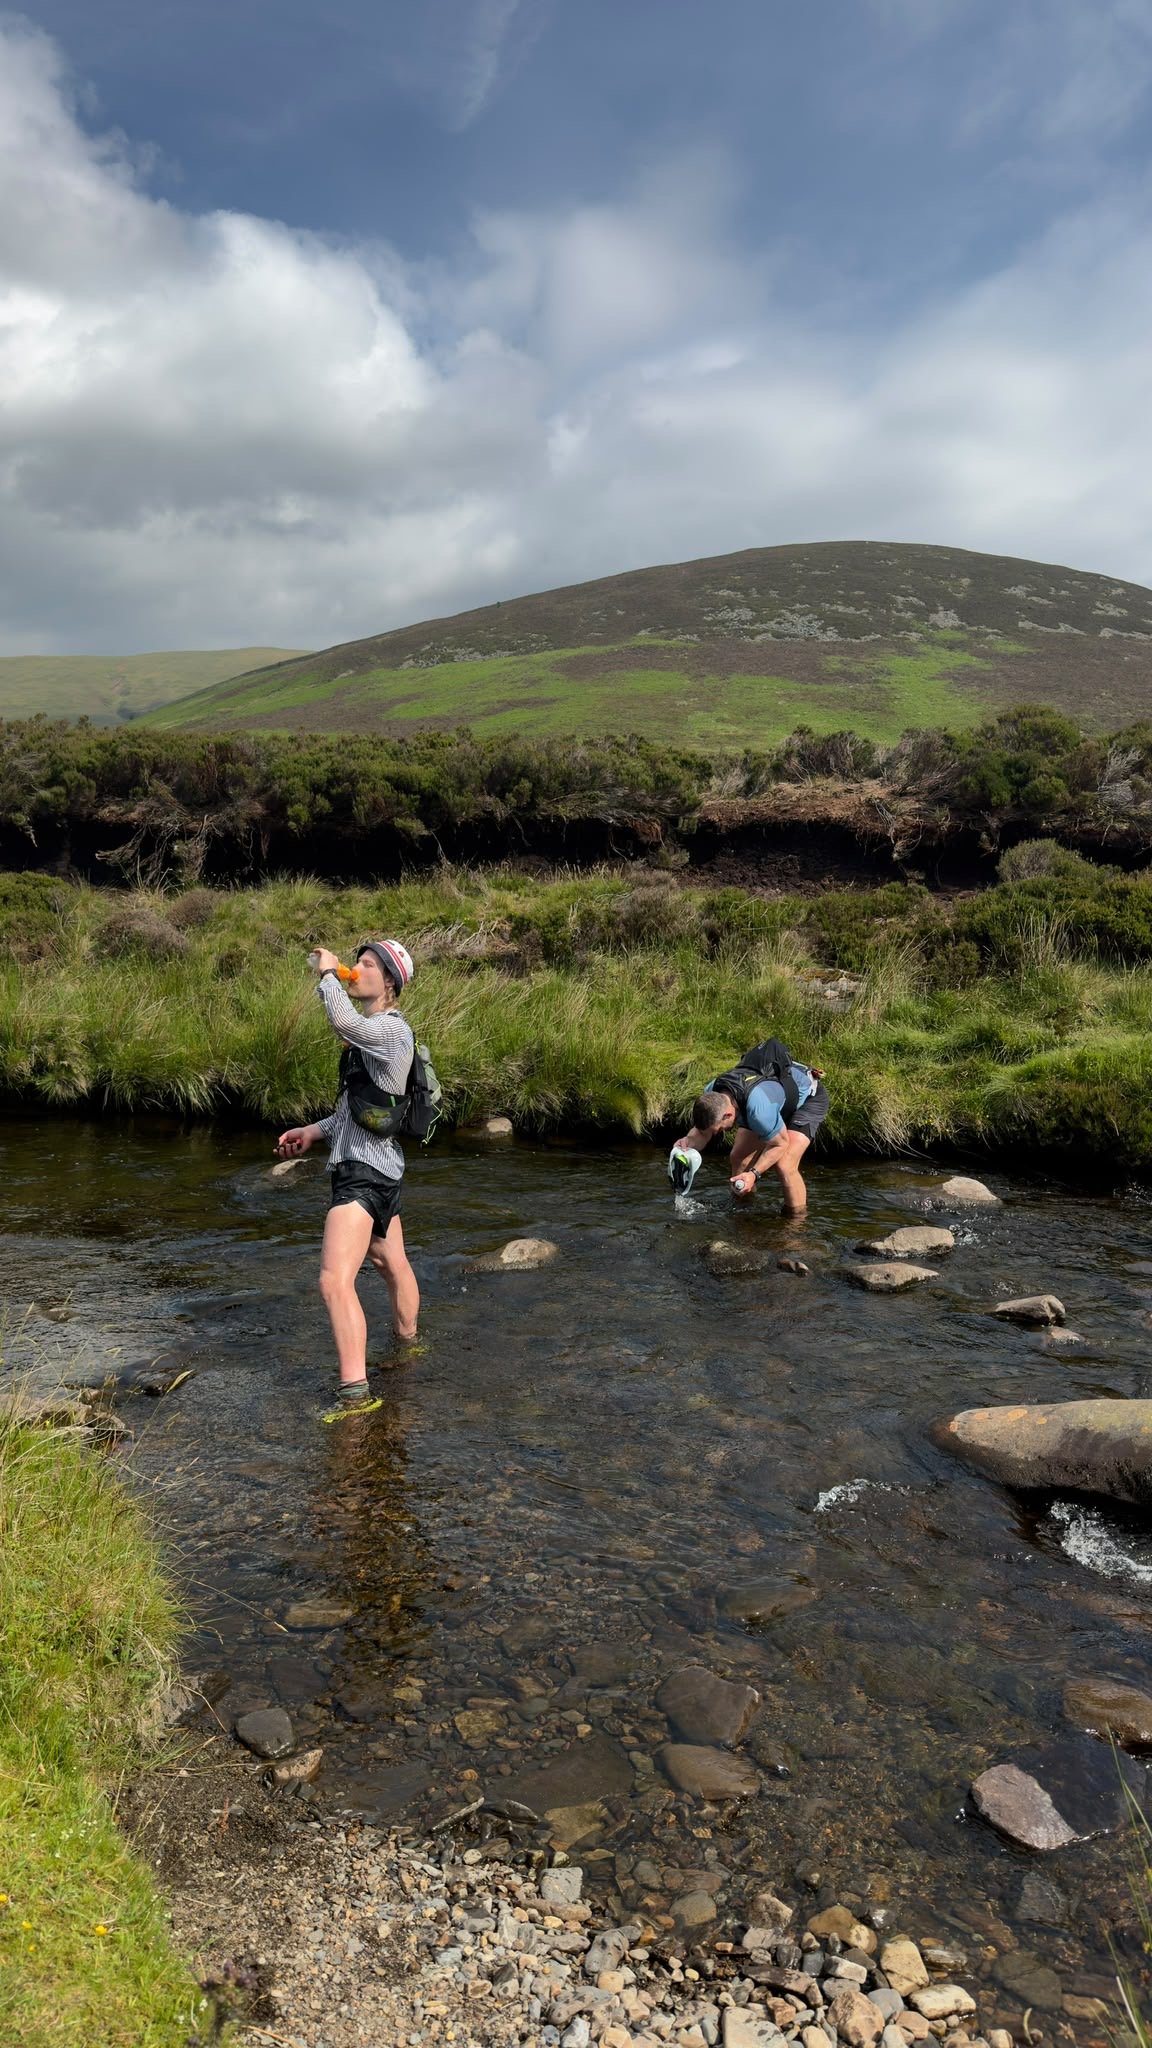
The River Caldew can vary massively. In dry conditions it can be straightforward, but after heavy rain it can become a much more serious crossing.
Hall's Fell is fast but technical. It is the common descent from Blencathra, although Doddick Fell provides a less exposed alternative if conditions are poor.
You should arrive at Threlkeld feeling fresh. The Bob Graham isn't won on Leg 1, but you can make the remaining 80 plus kilometres considerably harder by trying to bank too much time early.
-
Leg 1 is probably one of the easiest sections of the Bob Graham to organise as a standalone recce, and I would recommend doing the full route rather than splitting it into smaller sections.
If you have two cars, leave one at Threlkeld and drive the other into Keswick. If you only have one car, park near Threlkeld Cricket Club, where the road crossing and support vehicles will be. then walk into the village and catch the X5 bus to Keswick.
From there, start at Moot Hall and complete the full leg back to your car.
You can check the latest X5 timetable here: X5 bus timetable
Threkheld Car park: Google Maps / What Three Words
-
For someone working to an overall 22 to 24-hour schedule, a rough cumulative guide from Moot Hall would be:
Skiddaw: 1:20 to 1:30
Great Calva: 2:05 to 2:15
Blencathra: 3:10 to 3:25
Threlkeld: 3:40 to 4:00
On my own Round I reached Skiddaw in 1:19, Great Calva in 1:58, Blencathra in 3:02 and Threlkeld in 3:29, putting me around 16 minutes ahead of my 22.5-hour schedule by the end of Leg 1.
I wouldn't worry about trying to bank loads of time here though. If you are aiming for somewhere between 22 and 24 hours, reaching Threlkeld in roughly 3:40 to 4 hours while still feeling fresh puts you in a very sensible position
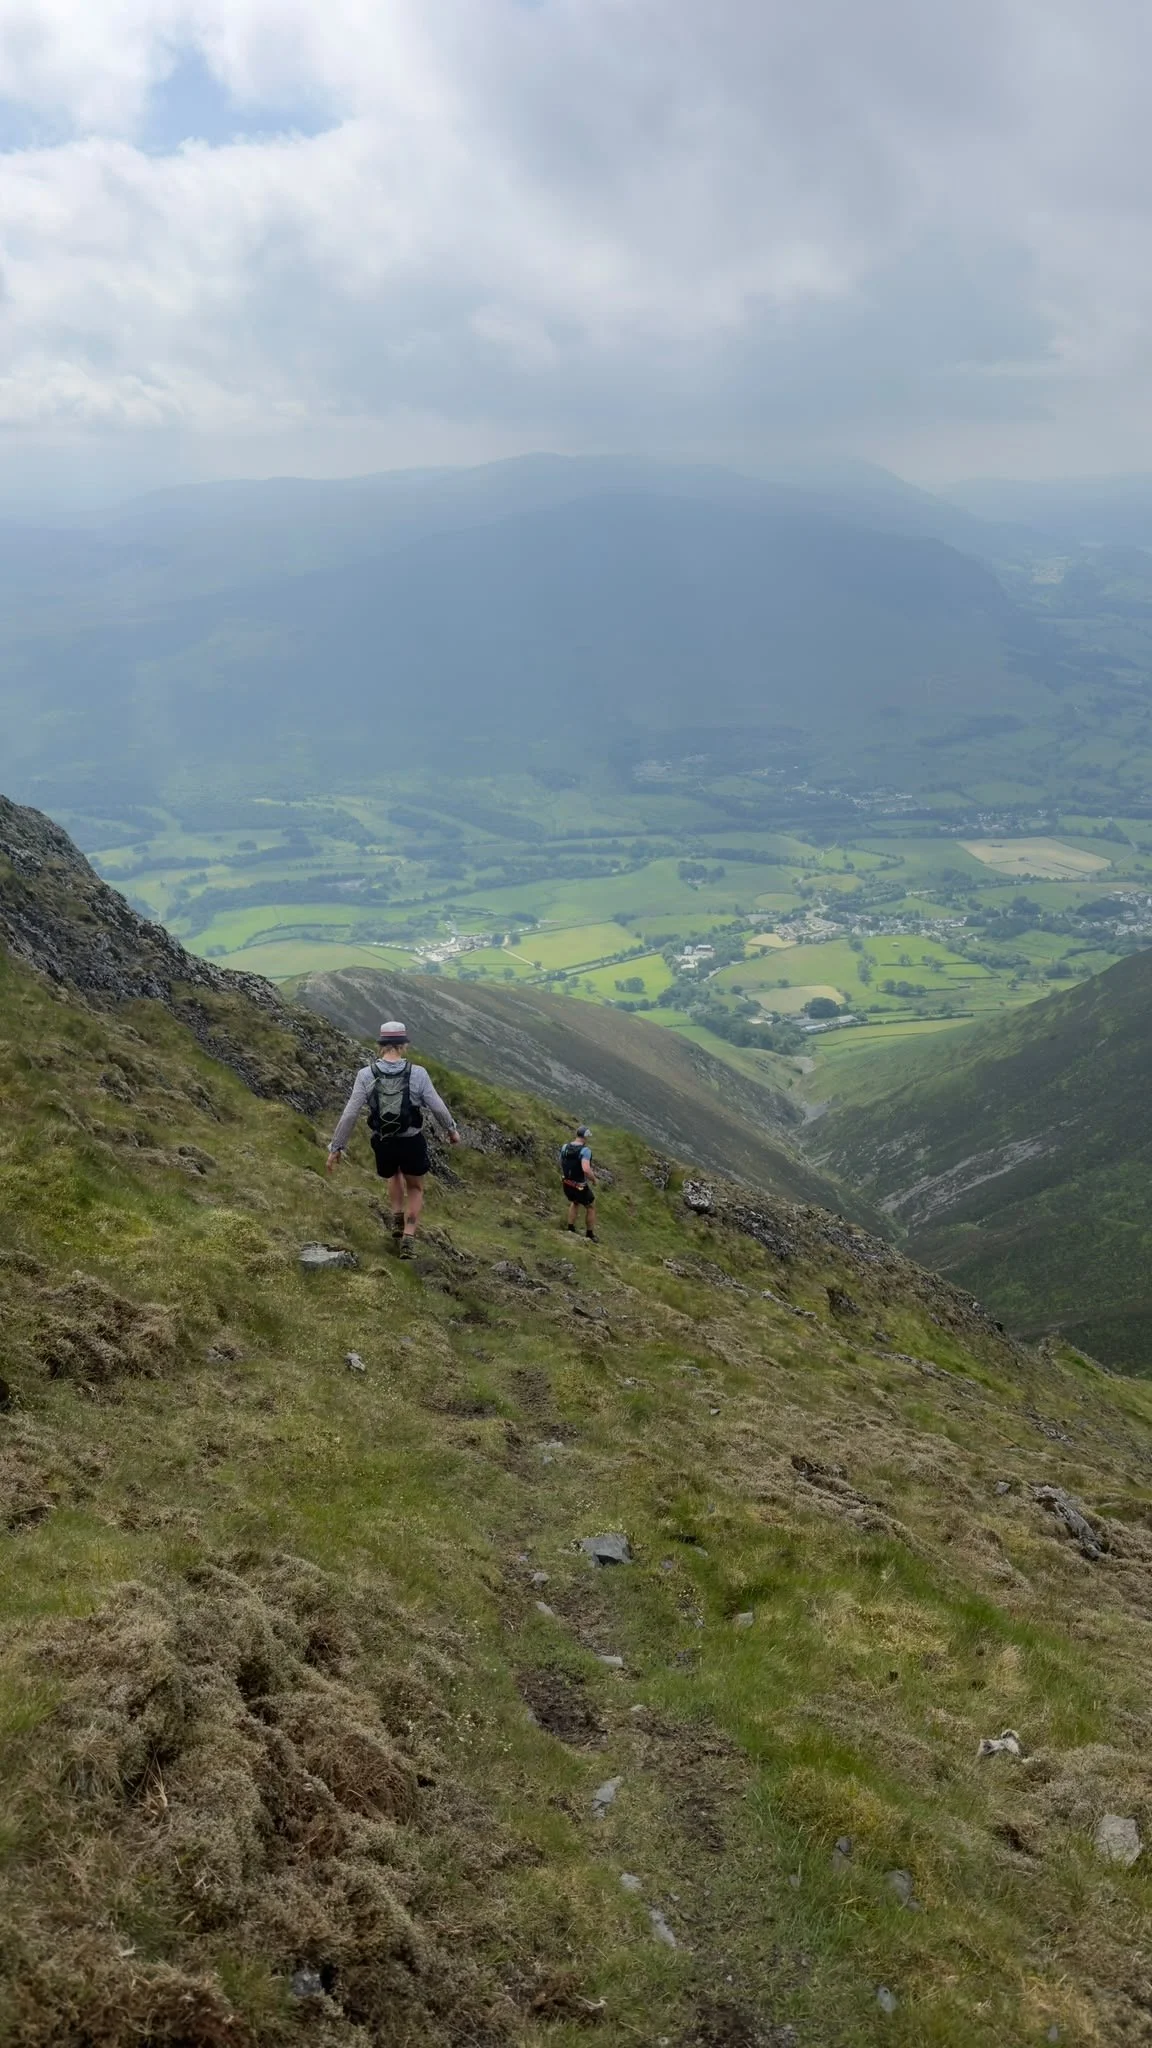
Leg 2: Threlkeld to Dunmail Raise
Distance: 22km
Elevation gain: 1,700m
Threkheld Car park: Google Maps / What Three Words
Dunmail Parking: Google Maps / What Three Words
12 Summits: Clough Head, Great Dodd, Watson's Dodd, Stybarrow Dodd, Raise, White Side, Helvellyn Lower Man, Helvellyn, Nethermost Pike, Dollywaggon Pike, Fairfield and Seat Sandal
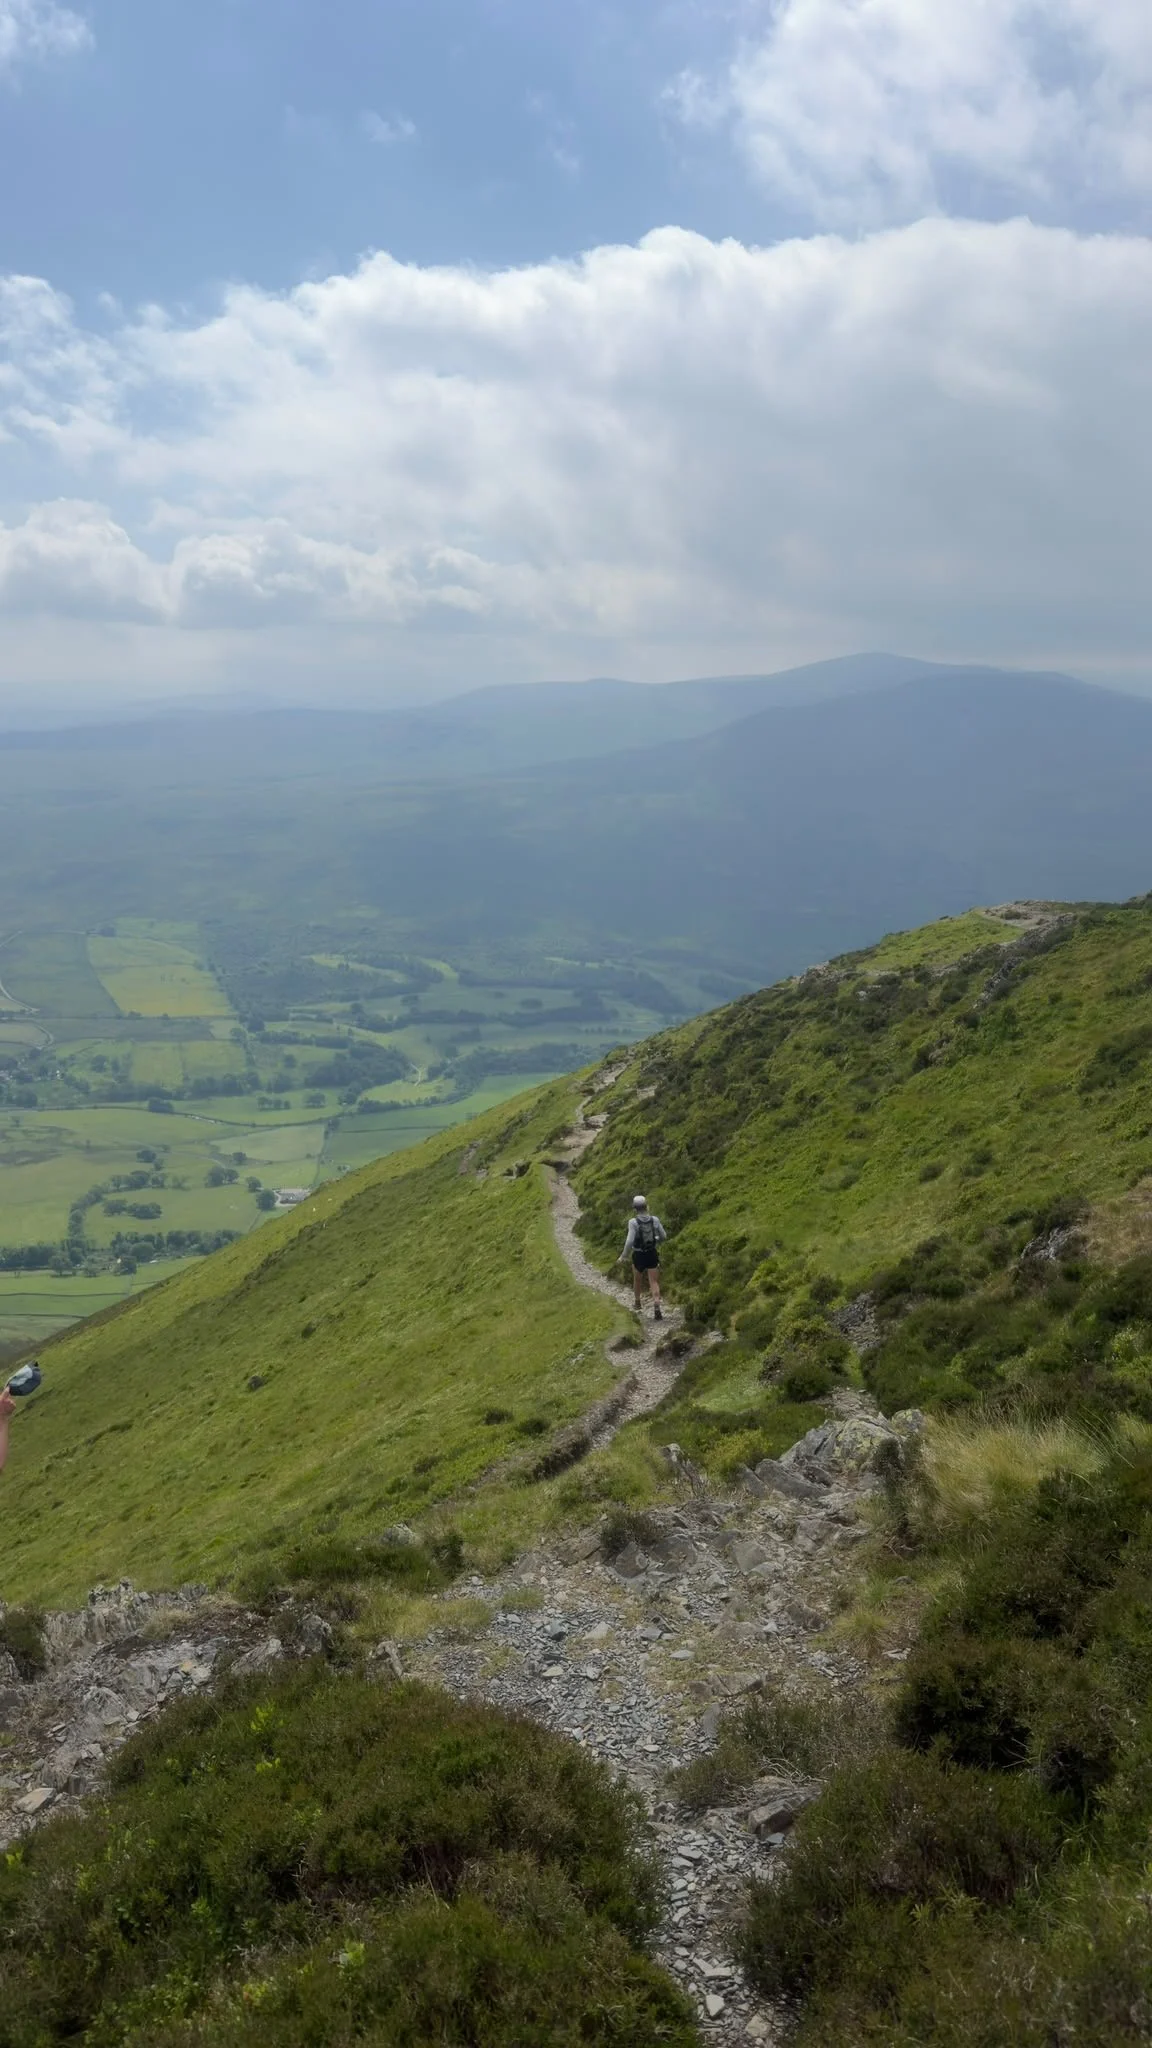
Leg 2 starts with a short section of road out of Threlkeld before heading towards the old coach road and beginning the brutally steep climb up Clough Head, which is a fairly rude introduction to the leg.
Once you have gained the main ridge, the character changes completely and the summits start coming thick and fast as you work your way across the Dodds towards Helvellyn. Despite having 12 summits, much of this section is relatively runnable and straightforward underfoot compared with what comes later in the Round, which is one of the reasons I deliberately chose to cover Leg 2 in darkness.
After Helvellyn you continue across Nethermost Pike and Dollywaggon Pike before dropping steeply towards Grisedale Tarn, where you are faced with the rather unpleasant out-and-back to Fairfield. From there you return towards the tarn, climb Seat Sandal and finally descend to the second road crossing at Dunmail Raise.
-
Clough Head is heinously steep. After the relatively easy road section out of Threlkeld, the climb suddenly ramps up and is definitely one to settle into rather than attack.
Don't be intimidated by the 12 summits. Once you reach the ridge, many of them come very quickly and there are long sections where you can move well.
There are a few summits that are surprisingly easy to miss. The main path contours around Stybarrow Dodd, so you need to deliberately leave it for the summit cairn, while Nethermost Pike has several cairned tops and the true summit is easy to second guess in poor visibility.
There is also a tempting path towards High Crag between Nethermost Pike and Dollywaggon Pike, so it is worth knowing the correct line beforehand.
Leg 2 works well in darkness. Compared with Legs 3 and 4, much of the terrain is relatively straightforward, although those broad grassy tops and slightly ambiguous summits become considerably easier to mess up when you add darkness and clag.
There are several ways to tackle Fairfield. The most common option and what I did is to take the steep descent descent from Dollywaggon towards Grisedale Tarn, navigate around it to Grisedale Hause and then do the out and back to Fairfield.
Fairfield can be confusing in poor visibility. The summit is a broad rocky plateau with several cairns, so make sure you know which one is the summit
Dunmail is an important road crossing. Leg 3 is the longest section of the Round, so this is a good opportunity to properly replenish food and fluids and sort any developing problems before heading back into the mountains.
-
I would recommend doing Leg 2 exactly as it is, from Threlkeld to Dunmail Raise.
If you have two cars, leave one at Dunmail Raise and drive the other to Threlkeld. If you only have one car, it becomes a little more awkward as you will need to use two buses.
I always recommend leaving your car at the end of the route and using public transport to get back to the start. That way you can plan your morning around the bus timetable, rather than finishing a long day in the mountains and hoping there is still a bus waiting for you.
For Leg 2, I would park at Dunmail Raise, catch the 555 bus to Keswick, then change onto the X5 to Threlkeld before starting the recce.
-
For someone working to an overall 22 to 24-hour schedule, a rough cumulative guide from Moot Hall would be:
Clough Head: 4:30 to 5:00
Helvellyn: 6:00 to 6:30
Fairfield: 7:00 to 7:35
Dunmail Raise: 7:50 to 8:40
On my own Round I reached Clough Head in 4:29, Helvellyn in 6:04, Fairfield in 7:05 and Dunmail Raise in 7:46, having completed Leg 2 itself in around 4 hours 10 minutes.
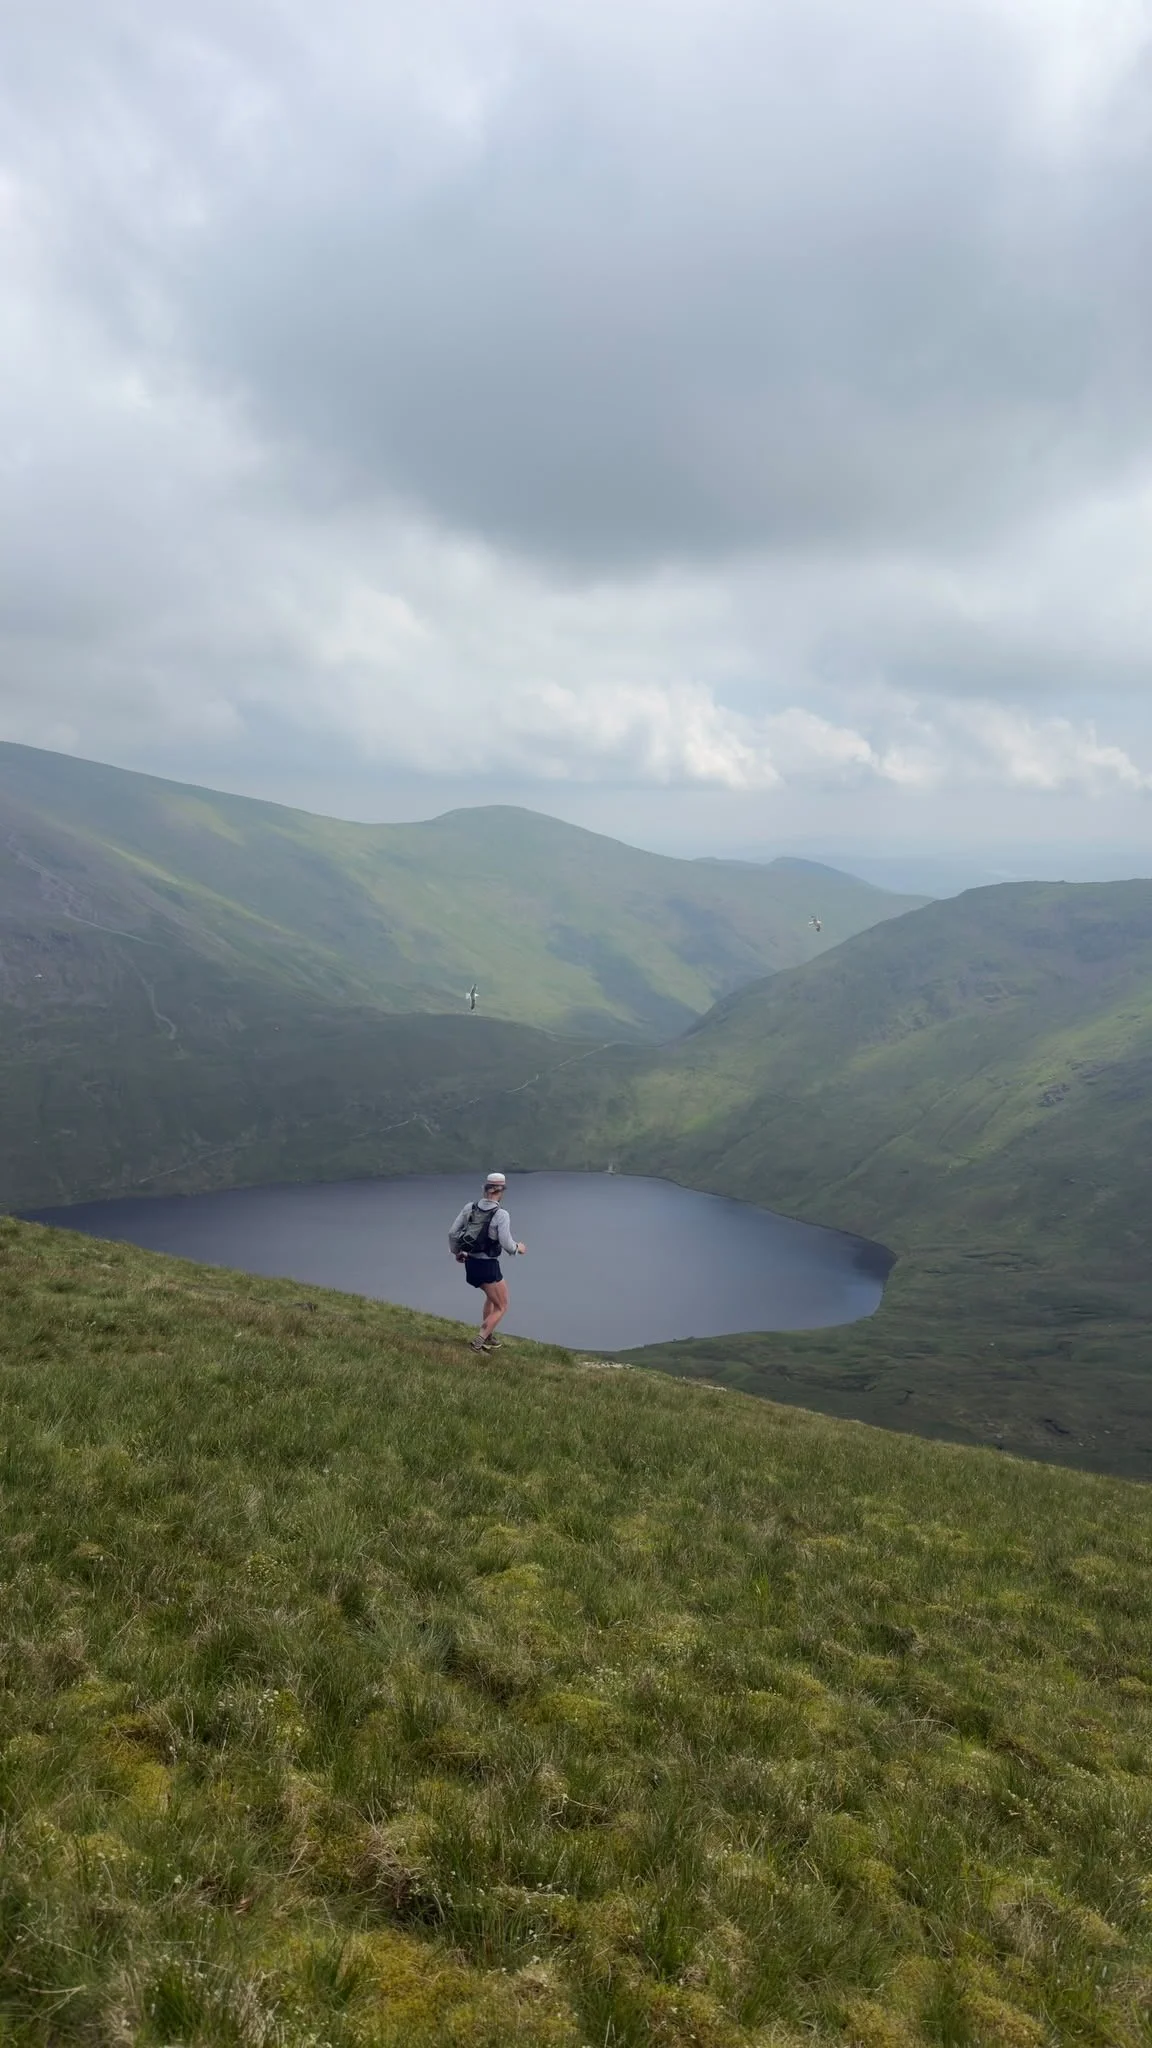
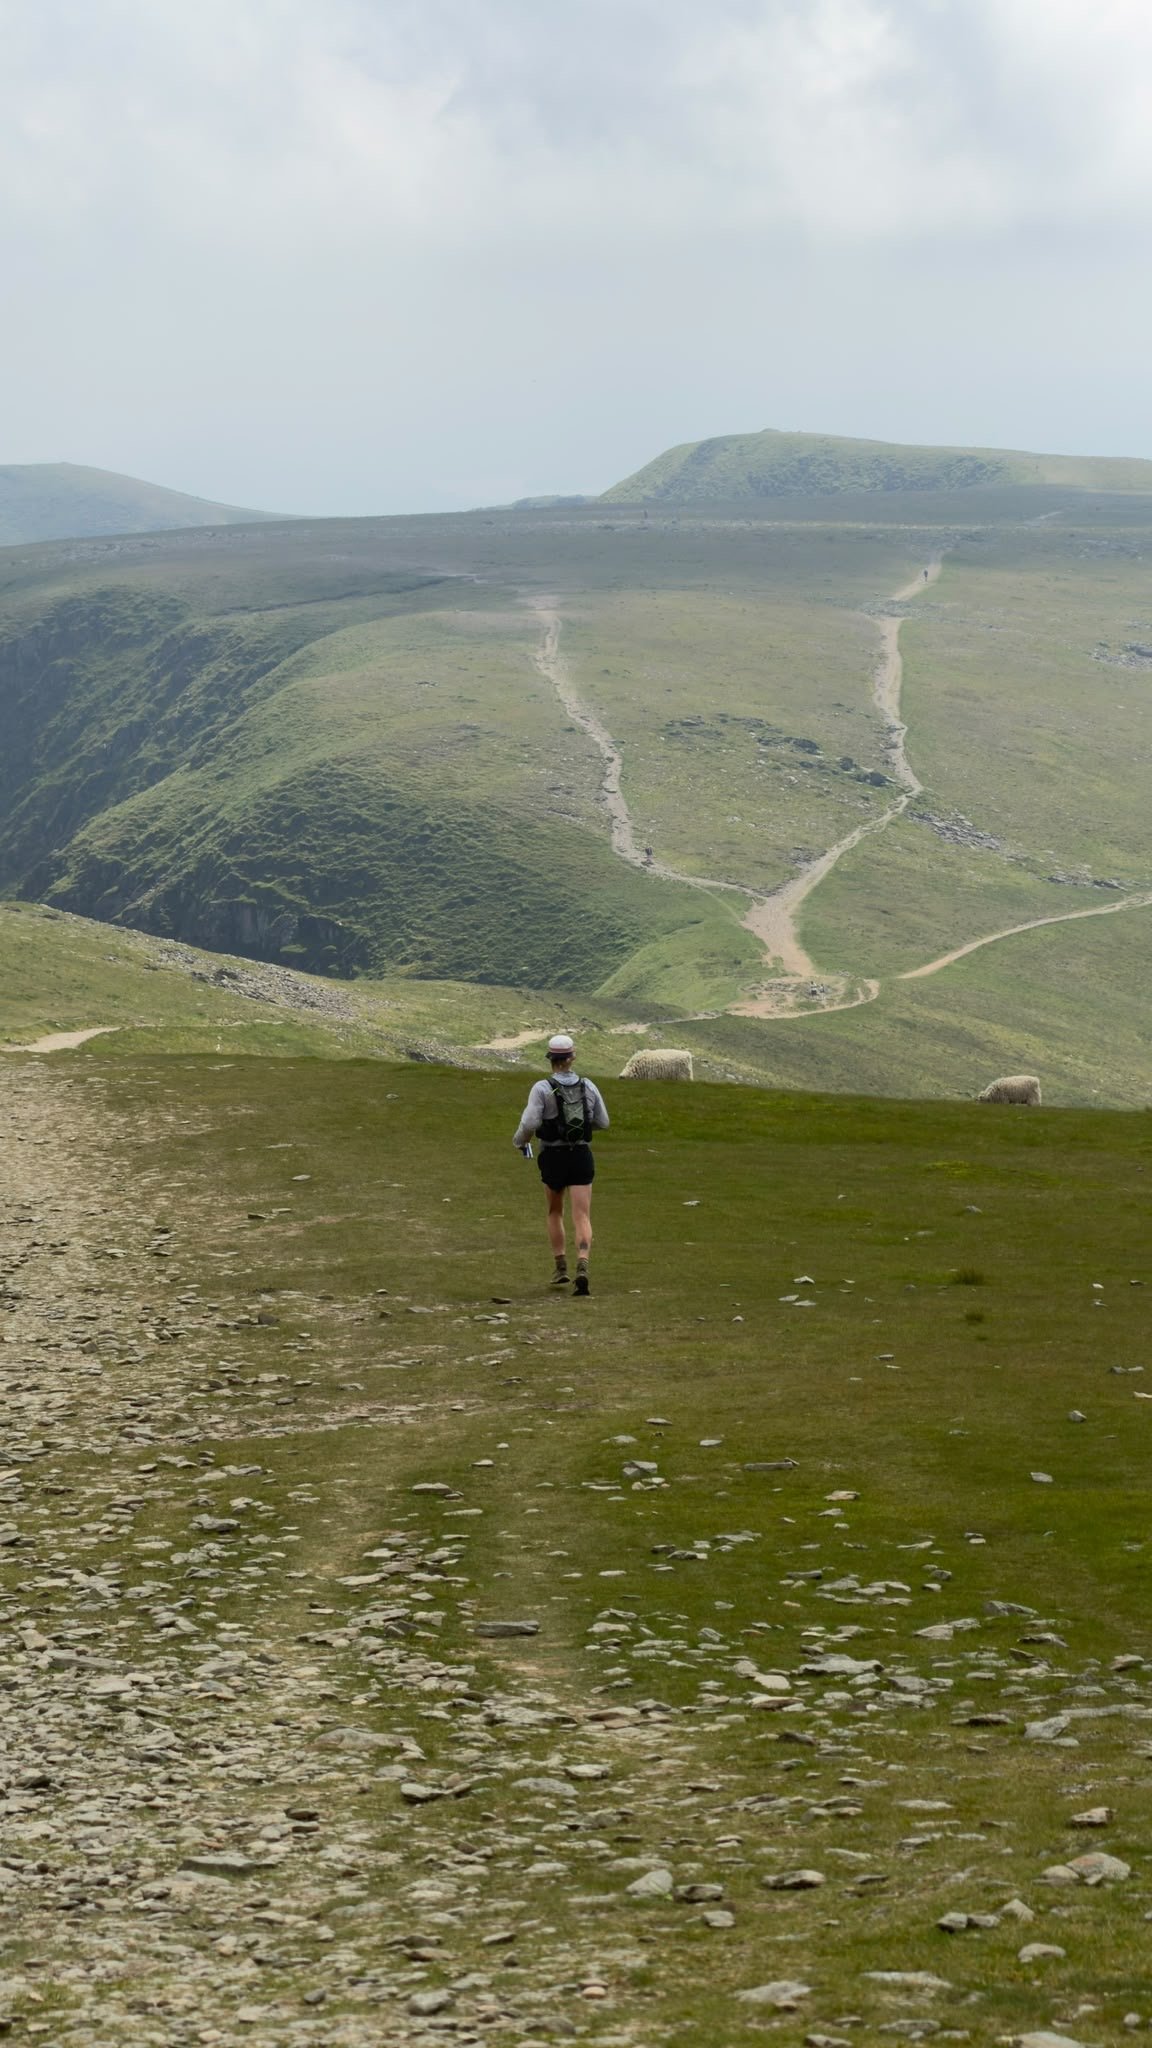
Leg 3: Dunmail Raise to Wasdale
Distance: 25-27km
Elevation gain: Around 2,100m
Dunmail Parking: Google Maps / What Three Words
Wasdale Parking: Google Maps / What Three Words
15 Summits: Steel Fell, Calf Crag, Sergeant Man, High Raise, Thunacar Knott, Harrison Stickle, Pike o' Stickle, Rossett Pike, Bowfell, Esk Pike, Great End, Ill Crag, Broad Crag, Scafell Pike and Scafell
Leg 3 is the longest leg of the Bob Graham Round and arguably the most difficult, both logistically and physically.
It contains some of the roughest and most technical terrain of the entire Round, with the ground becoming progressively rockier as you make your way towards the Scafells.
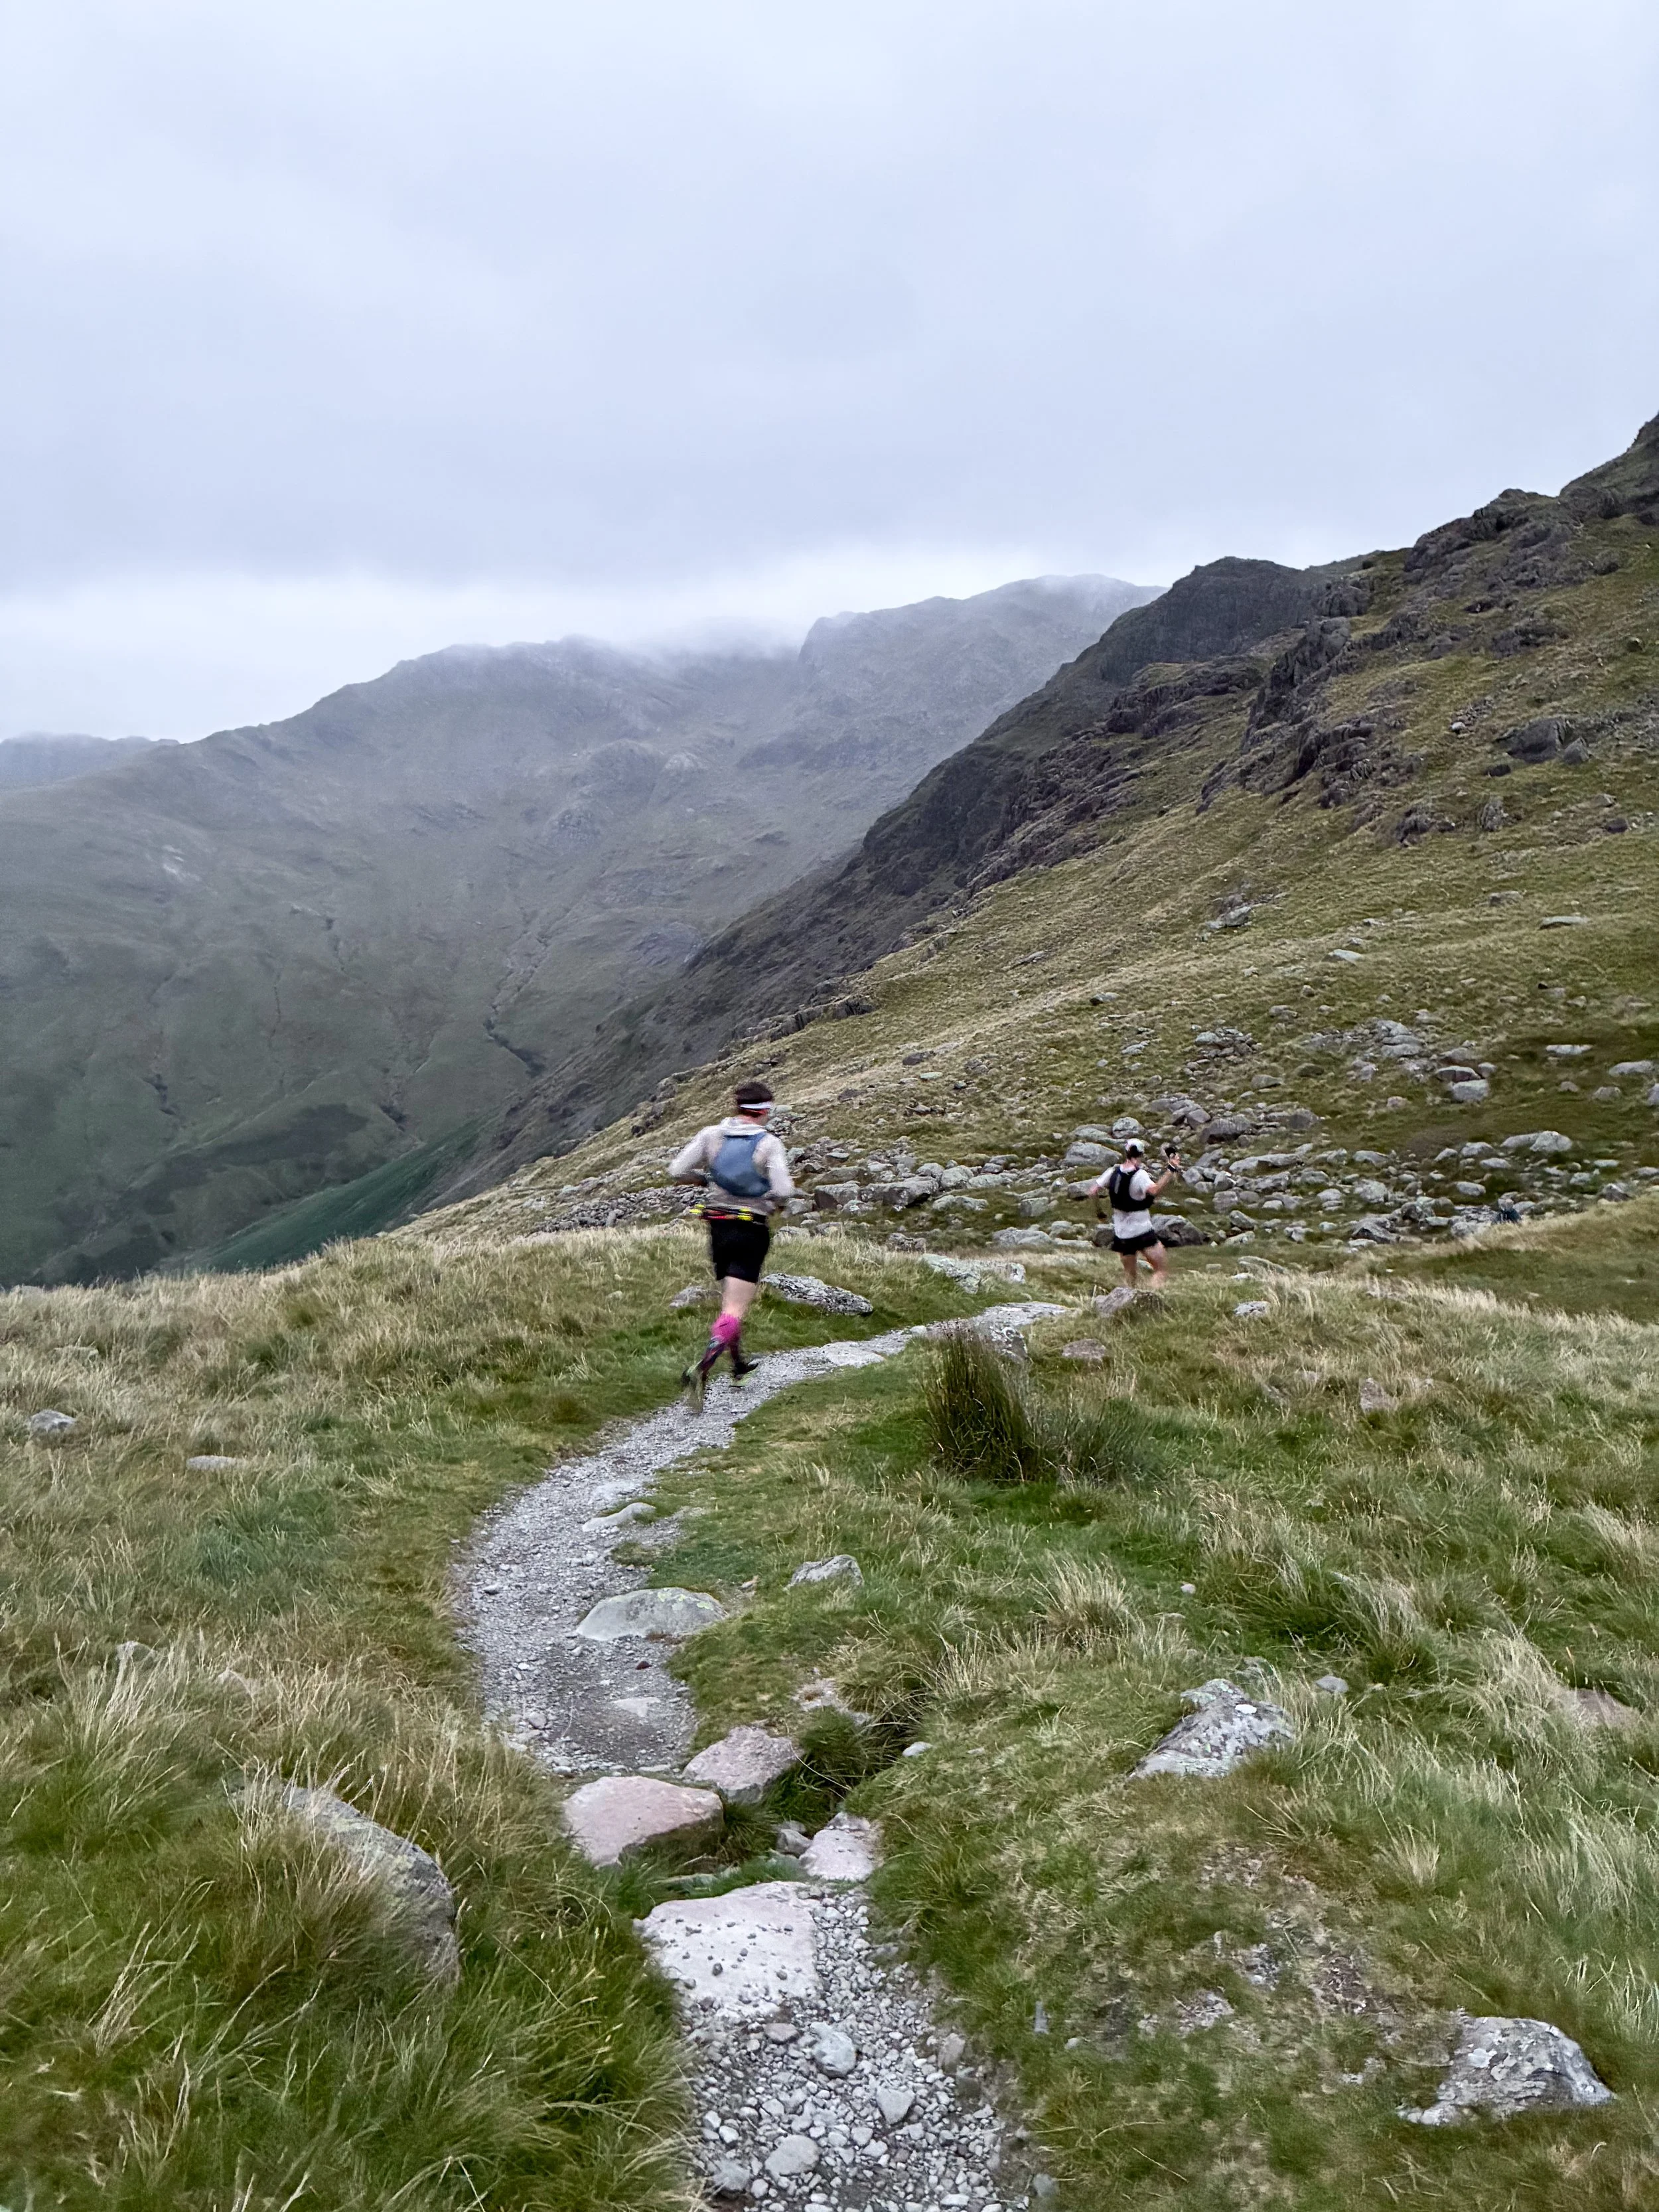
From Dunmail Raise you are immediately greeted by the steep climb up Steel Fell, before heading across the rolling, grassy and often very boggy terrain towards the Langdales. There are numerous trods and different lines through this first section, so knowing where you are going can save a surprising amount of time and unnecessary trudging through bog.
After Pike o' Stickle You will cross a very boggy Musgrave common to begin the first of two tough climbs, the first is up to Rossett Pike, then again to Bowfell.
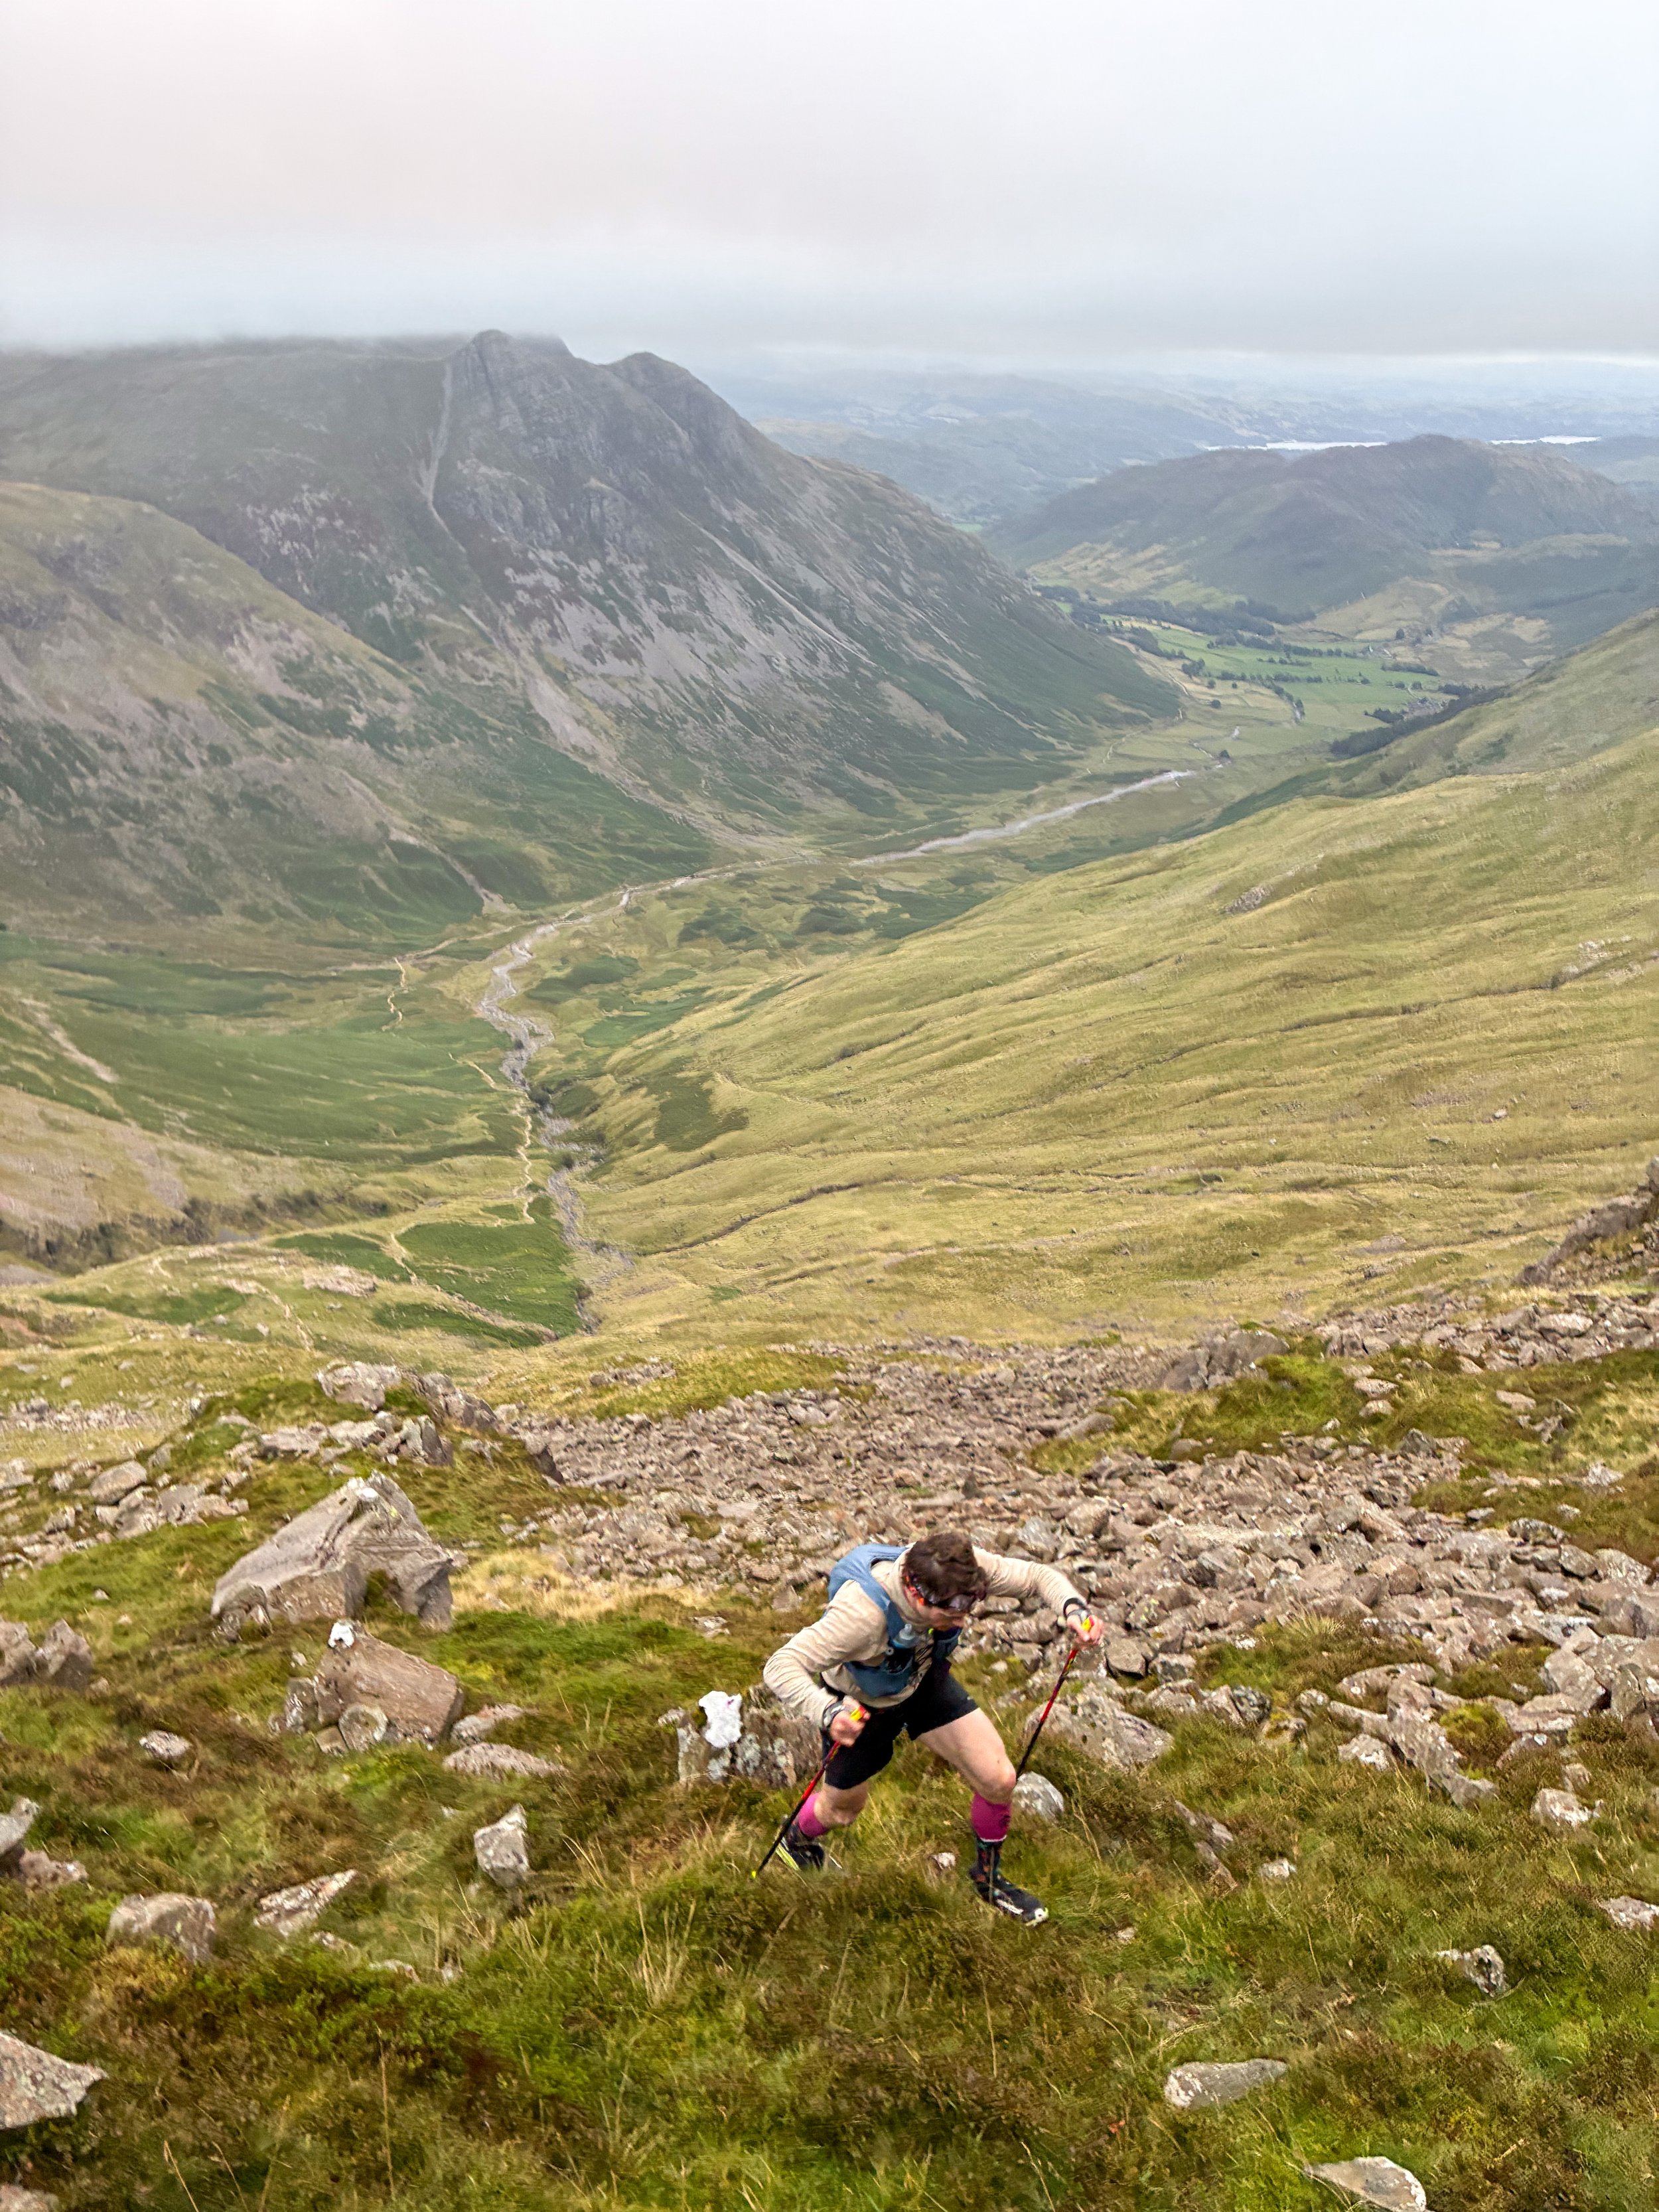
Form Bowfell the terrain changes considerably and becomes much rockier underfoot. You will continue across Esk Pike, Great End, Ill Crag and Broad Crag before eventually reaching Scafell Pike, the highest mountain in England.
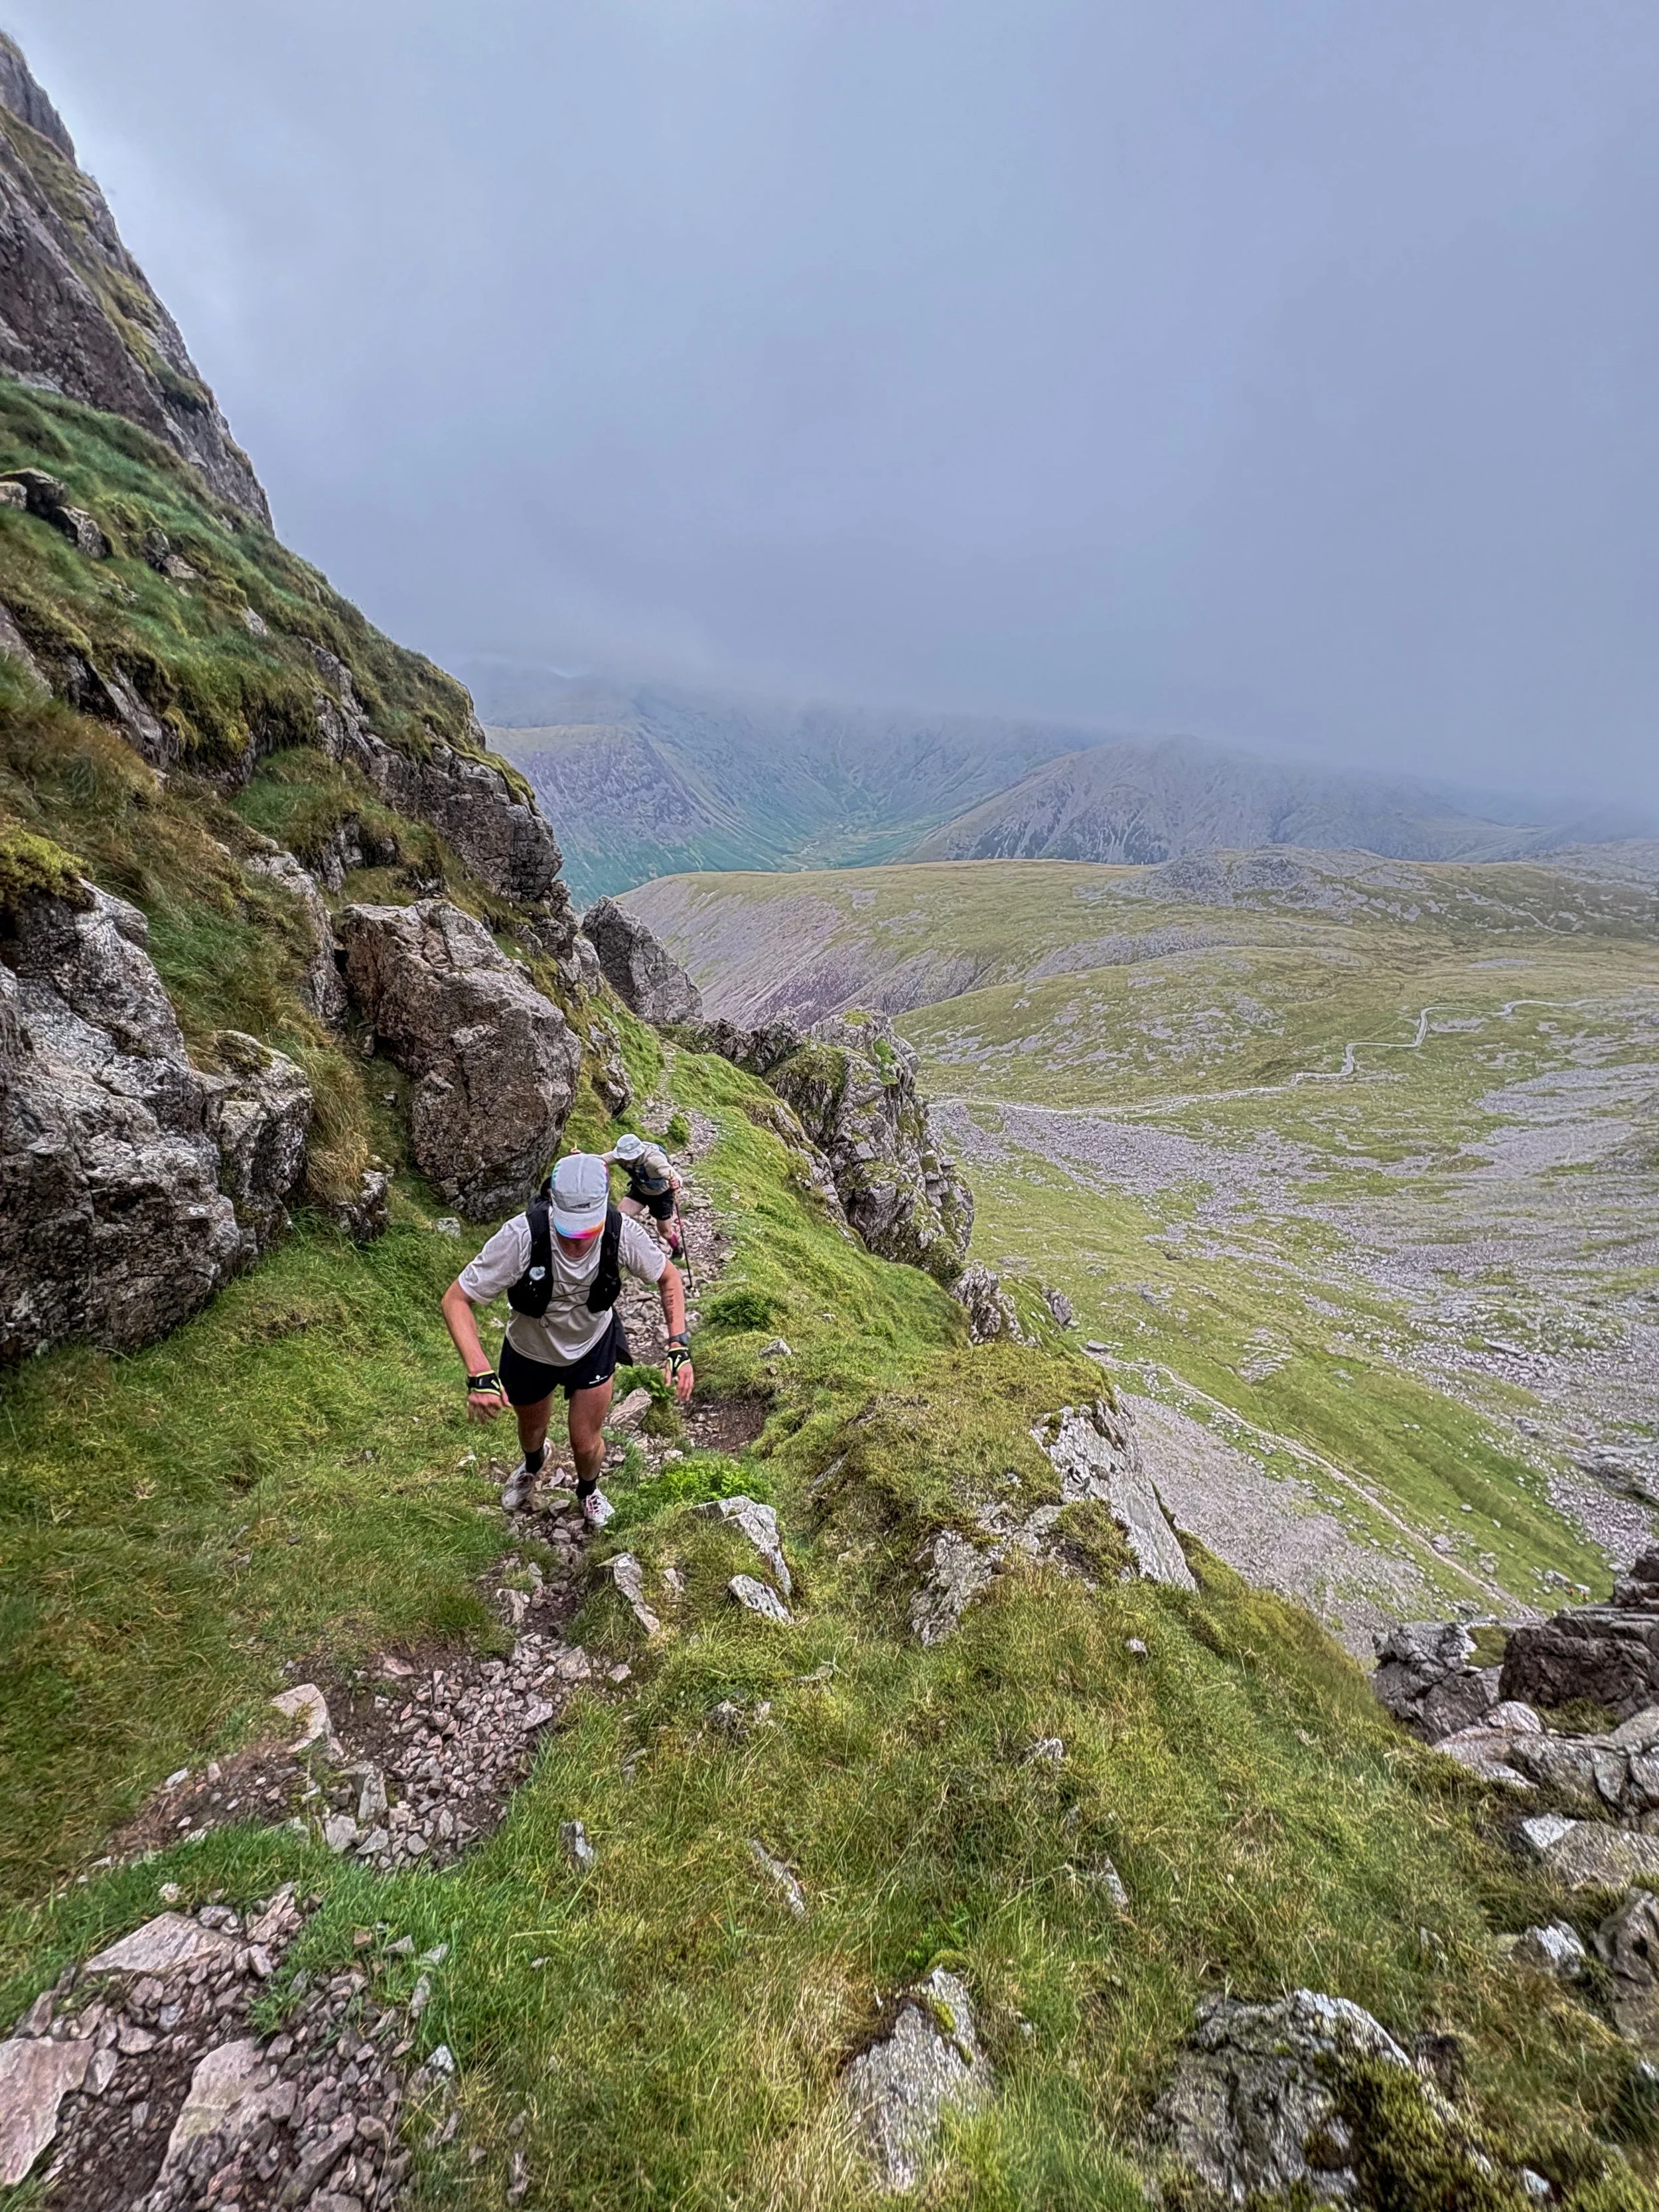
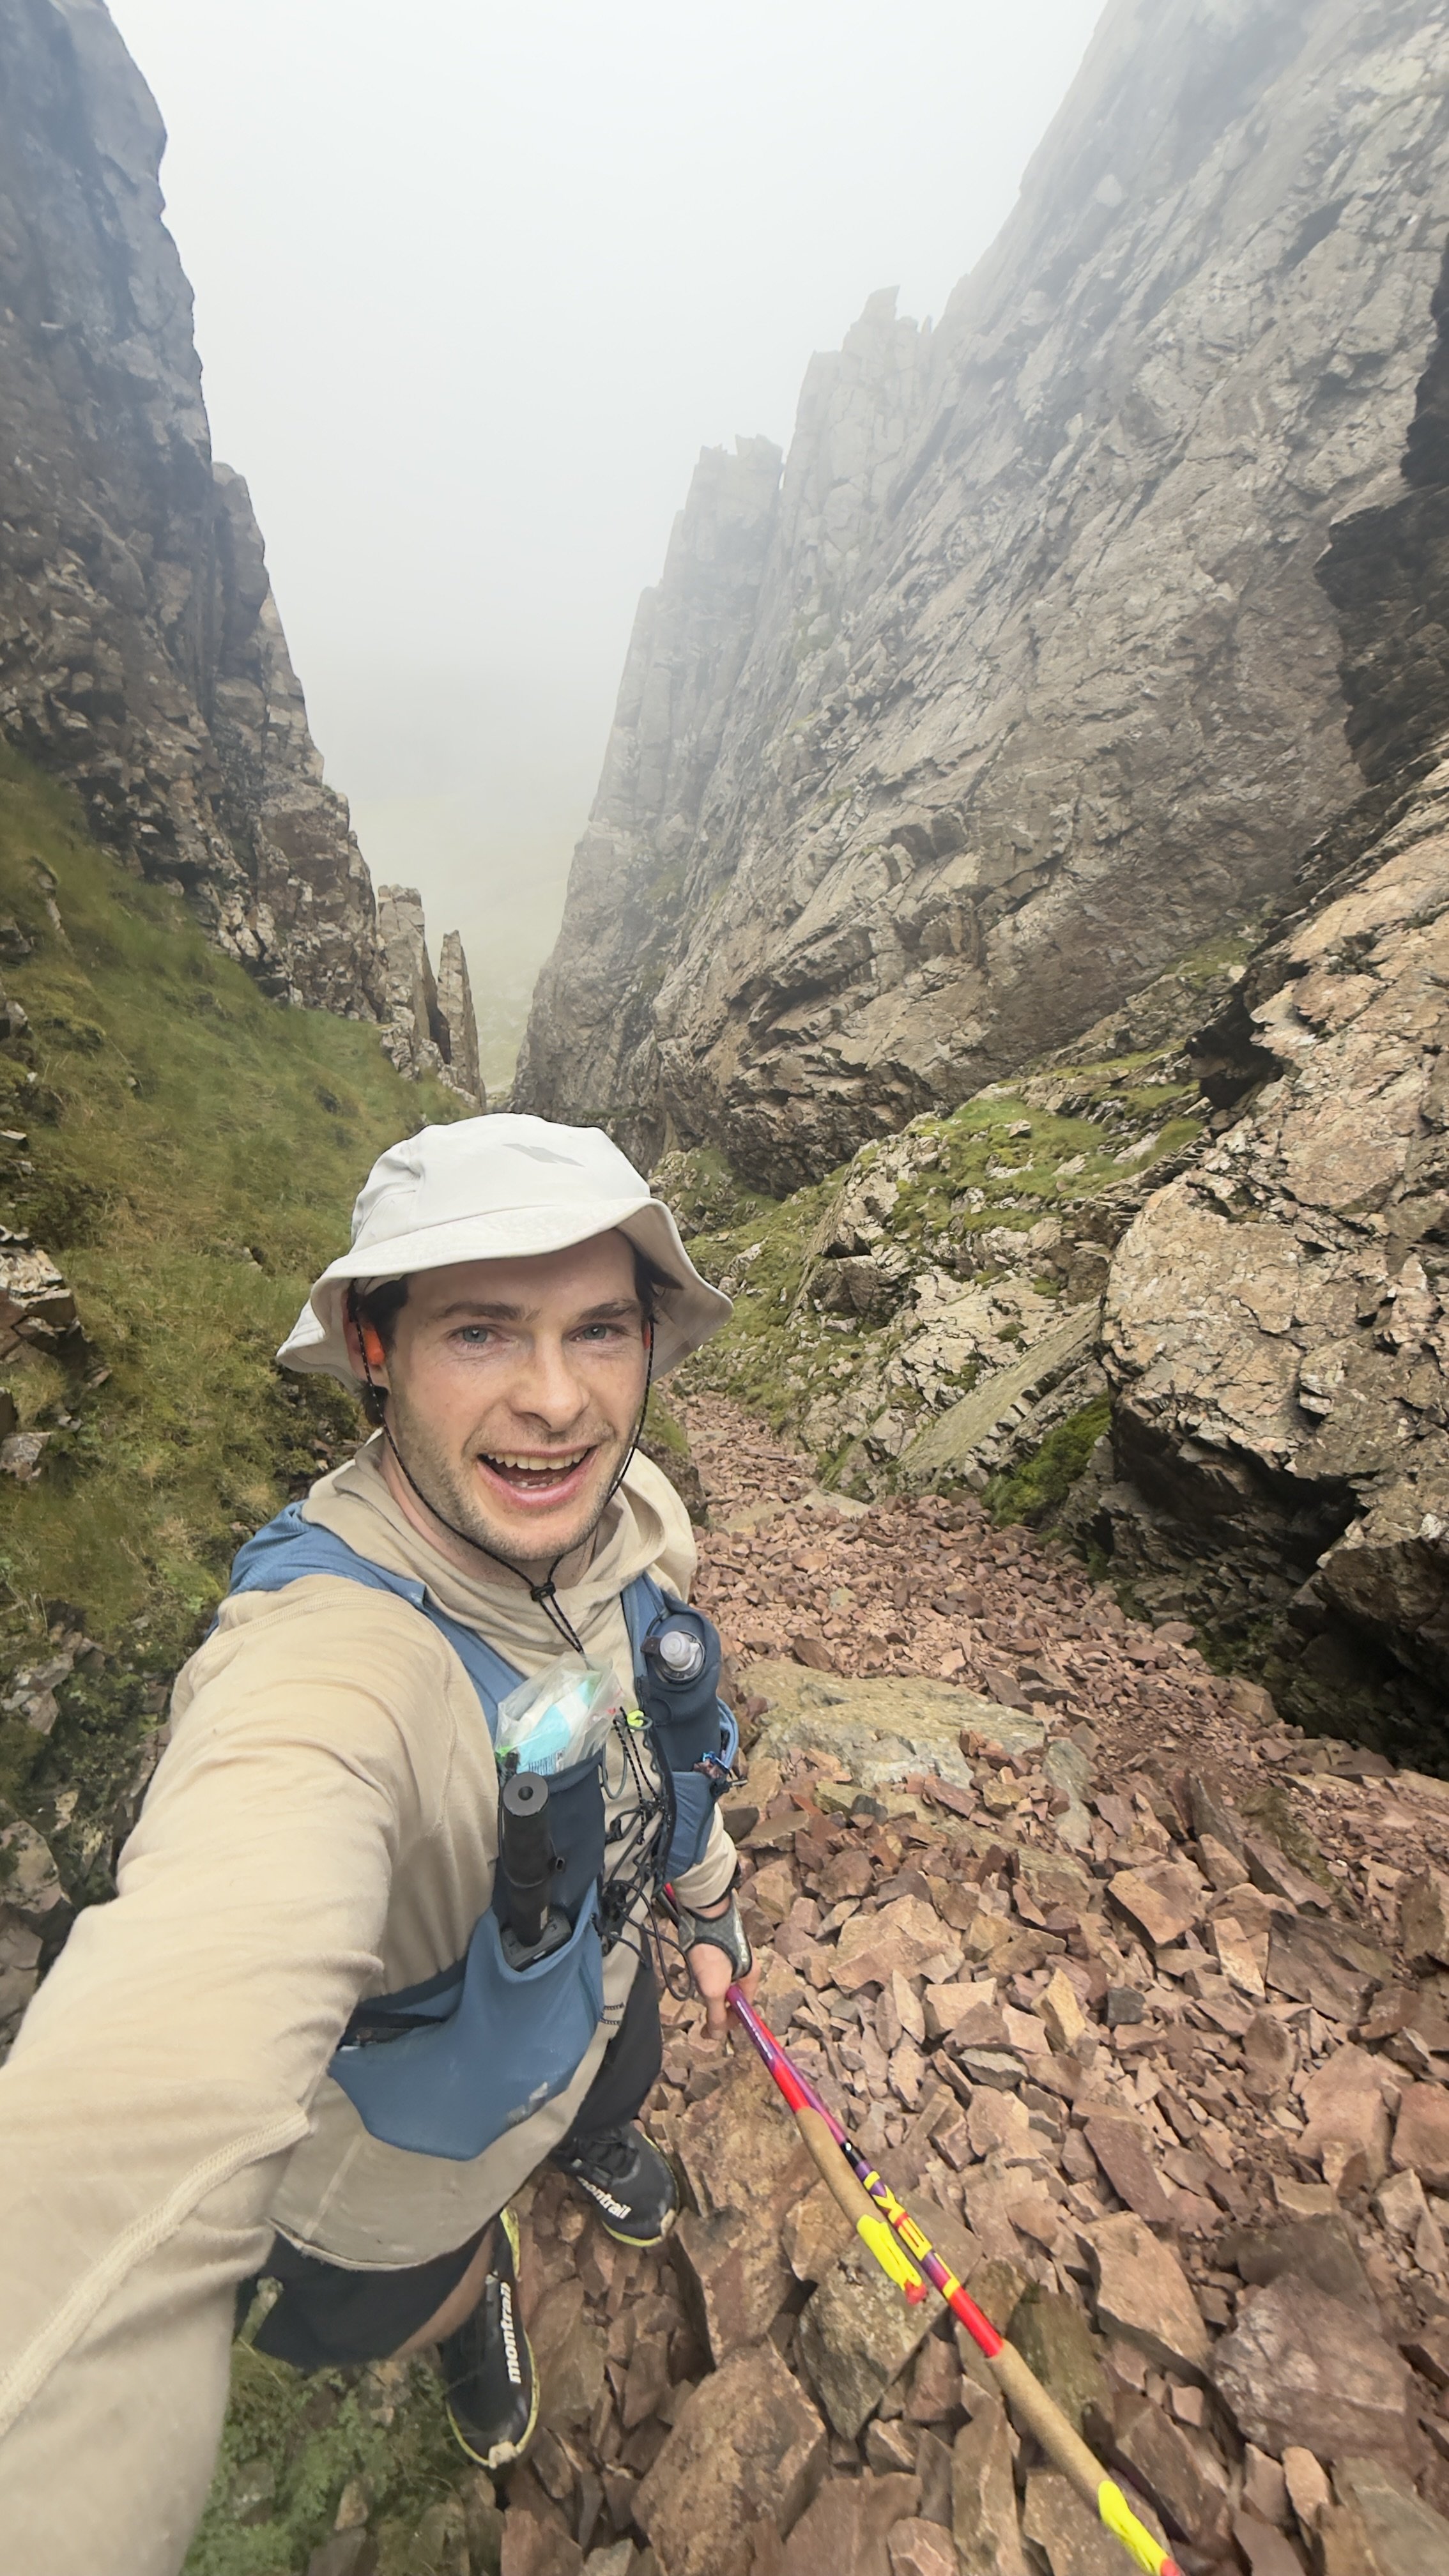
The final major challenge is getting from Scafell Pike to Scafell, where I would consider the two main options to be Lord's Rake and the West Wall Traverse, or Foxes Tarn. I personally used Lord's Rake, which I had recced beforehand, because it is the more direct option and avoids some of the additional descent and climbing involved with Foxes Tarn.
Foxes Tarn requires you to drop considerably further below Mickledore before climbing back towards Scafell, adding roughly another 100m of ascent depending on the exact line you take. Lord's Rake avoids much of that additional height loss, but it is steeper, looser and more technical, so I would strongly recommend reccying whichever option you plan to use rather than making that decision for the first time deep into your Round.
Once Scafell is finally ticked off, you have a long and steep descent into Wasdale for the third road crossing.
-
Leg 3 is the longest leg of the Round. At around 27km with roughly 2,100m of ascent, make sure you leave Dunmail properly fuelled and carrying enough food and fluid to get you through to Wasdale.
The first half is runnable but slower than it looks. Although much of the terrain is grassy, bog, tussocks and poor route choices can quickly eat into your schedule
You can choose whether to summit Sergeant Man or High Raise first. This is the only point on the Bob Graham where you have a choice over the order in which you tick off the summits. I went to Sergeant Man first, which was the option recommended to me and the line I had seen used on many of the faster rounds, before crossing over to High Raise.
The direct line across Martcrag Moor towards Rossett Pike is a bogfest - Even after dry weather, be prepared to end up waist deep
There is a good water source before the climb up towards Rossett Pike. The route crosses Stake Gill in Langdale Combe. It is roughly halfway through Leg 3 so it can be a very useful place to refill bottles and reduce how much water you need to carry
There two tough climbs in the middle of the round, the first up to Rosett Pike, then again to Bowfell
Terrain gets considerably rougher after Rosett Pike. Bowfell onwards contains a lot more rock and boulder hopping, particularly around Great End, Ill Crag, Broad Crag and Scafell Pike, so don't expect your pace to remain anything like it was across the grassy opening section.
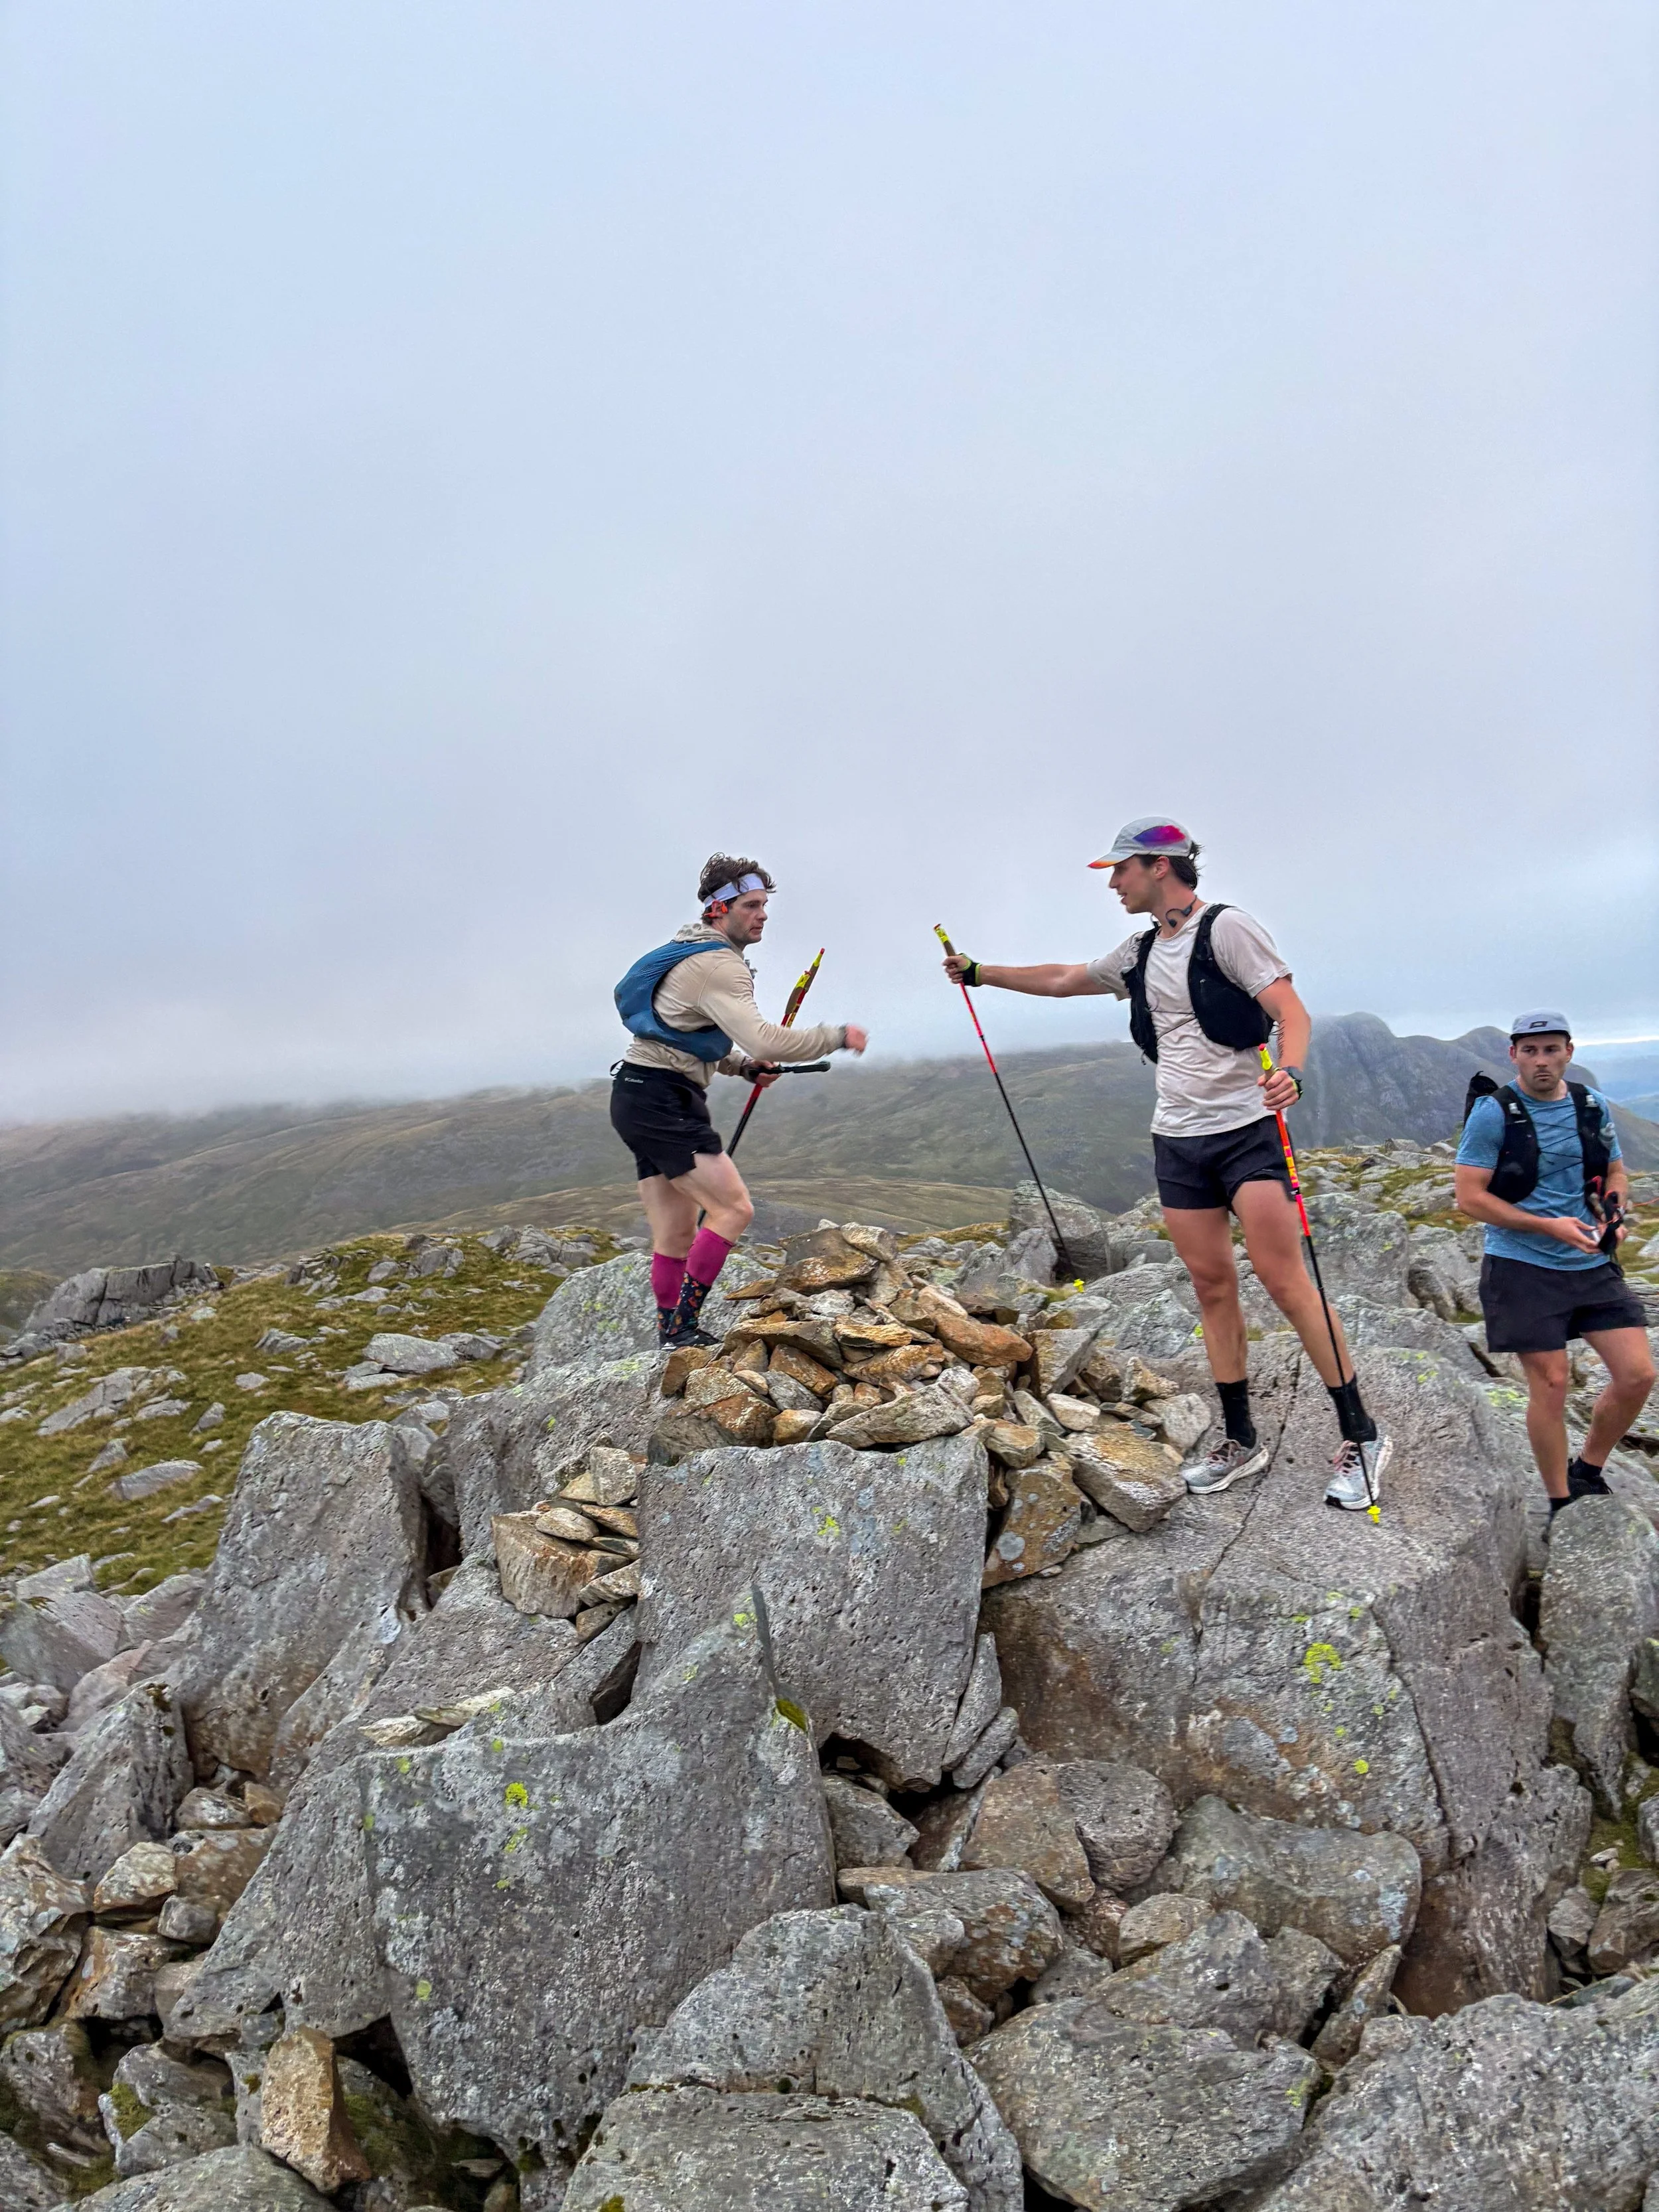
Touch both summits on Esk Pike, just incase
Either of the two recognised tops on Great End is suitable. once you have reached the first accepted summit get moving towards Ill Crag
Reccy how you are getting from Scafell Pike to Scafell. I used the more technical and direct route up Lord's Rake to avoid some of the additional descent and re-ascent involved with dropping towards Foxes Tarn.
Pick the right descent from Scafell to Wasdale. From Scafell I found the quickest line was to initially backtrack towards the top of the West Wall Traverse before cutting down towards the northern side of the ridge, here the terrain is noticeably less rocky and much quicker to descend. From there, aim towards Rakehead Crag, and take the scree gully towards Lingmell Gill, before crossing the beck and joining the main path into Wasdale.
Good visibility makes a big difference on Leg 3. There are plenty of route choices in the first half and some of the most technical ground of the Round in the second, so this is one of the legs I would personally prefer to have at least partly in daylight.
Wasdale can be a logistical nightmare.It is roughly a 90-minute drive from Dunmail Raise to Wasdale and another 90 minutes from Wasdale to Honister without traffic, much of it along narrow Lake District roads.
If you only have one road crew member, I would consider sourcing a second person to crew at Wasdale, or at least having two people in the road crew so they can share the driving rather than leaving one exhausted person to do it all.
Parking at Wasdale can also be difficult. On a sunny summer weekend it can be absolutely rammed as its the most direct route to Scafell Pike, England highest mountain. Make sure your crew arrive early rather than planning to roll in five minutes before you do.
Wasdale is the only road crossing which has toilets and a water fountain.
-
Because Wasdale is such a pain to get to and from, I wouldn't necessarily recommend trying to recce the entire leg from Dunmail Raise to Wasdale in one go, even if you have two cars.
Instead, I would start at Dunmail Raise, follow the Bob Graham route as far as Great End, then descend into Seathwaite.
If you only have one car, leave it at Seatoller beforehand, and catch the Bus to Keswick, and then a bus to Dunmail.
You can view my OS Maps Route here
You can then cover the final part of Leg 3: ill Crag, Broad Crag, Scafell Pike, Scafell, and the descent to Wasdale as part of a loop from Wasdale, which also covers most of Leg 4.
If you are reccying Leg 3 and want a rough idea of pace, these were my cumulative timings from leaving Dunmail:
Steel Fell: 0:25
Calf Crag: 0:49
Sergeant Man: 1:23
High Raise: 1:32
Thunacar Knott: 1:46
Harrison Stickle: 1:55
Pike o' Stickle: 2:06
Rossett Pike: 2:48
Bowfell: 3:16
Esk Pike: 3:39
Great End: 4:00
Ill Crag: 4:16
Broad Crag: 4:26
Scafell Pike: 4:40
Scafell: 5:14
Wasdale: 5:49
I wouldn't treat these as times you need to beat, but they should give you a useful benchmark for how quickly you need to move between the summits if you are aiming for a <22 hour schedule.
-
For someone working to an overall 22 to 24-hour schedule, a rough cumulative guide from Moot Hall would be:
Steel Fell: 8:30 to 9:10
Pike o' Stickle: 10:15 to 11:00
Bowfell: 11:20 to 12:10
Scafell Pike: 12:45 to 13:45
Scafell: 13:20 to 14:25
Wasdale: 14:00 to 15:15
On my own Round I reached Steel Fell in 8:26, Pike o' Stickle in 10:07, Bowfell in 11:17, Scafell Pike in 12:41, Scafell in 13:15 and Wasdale in 13:50, completing Leg 3 itself in 5 hours 48 minutes.
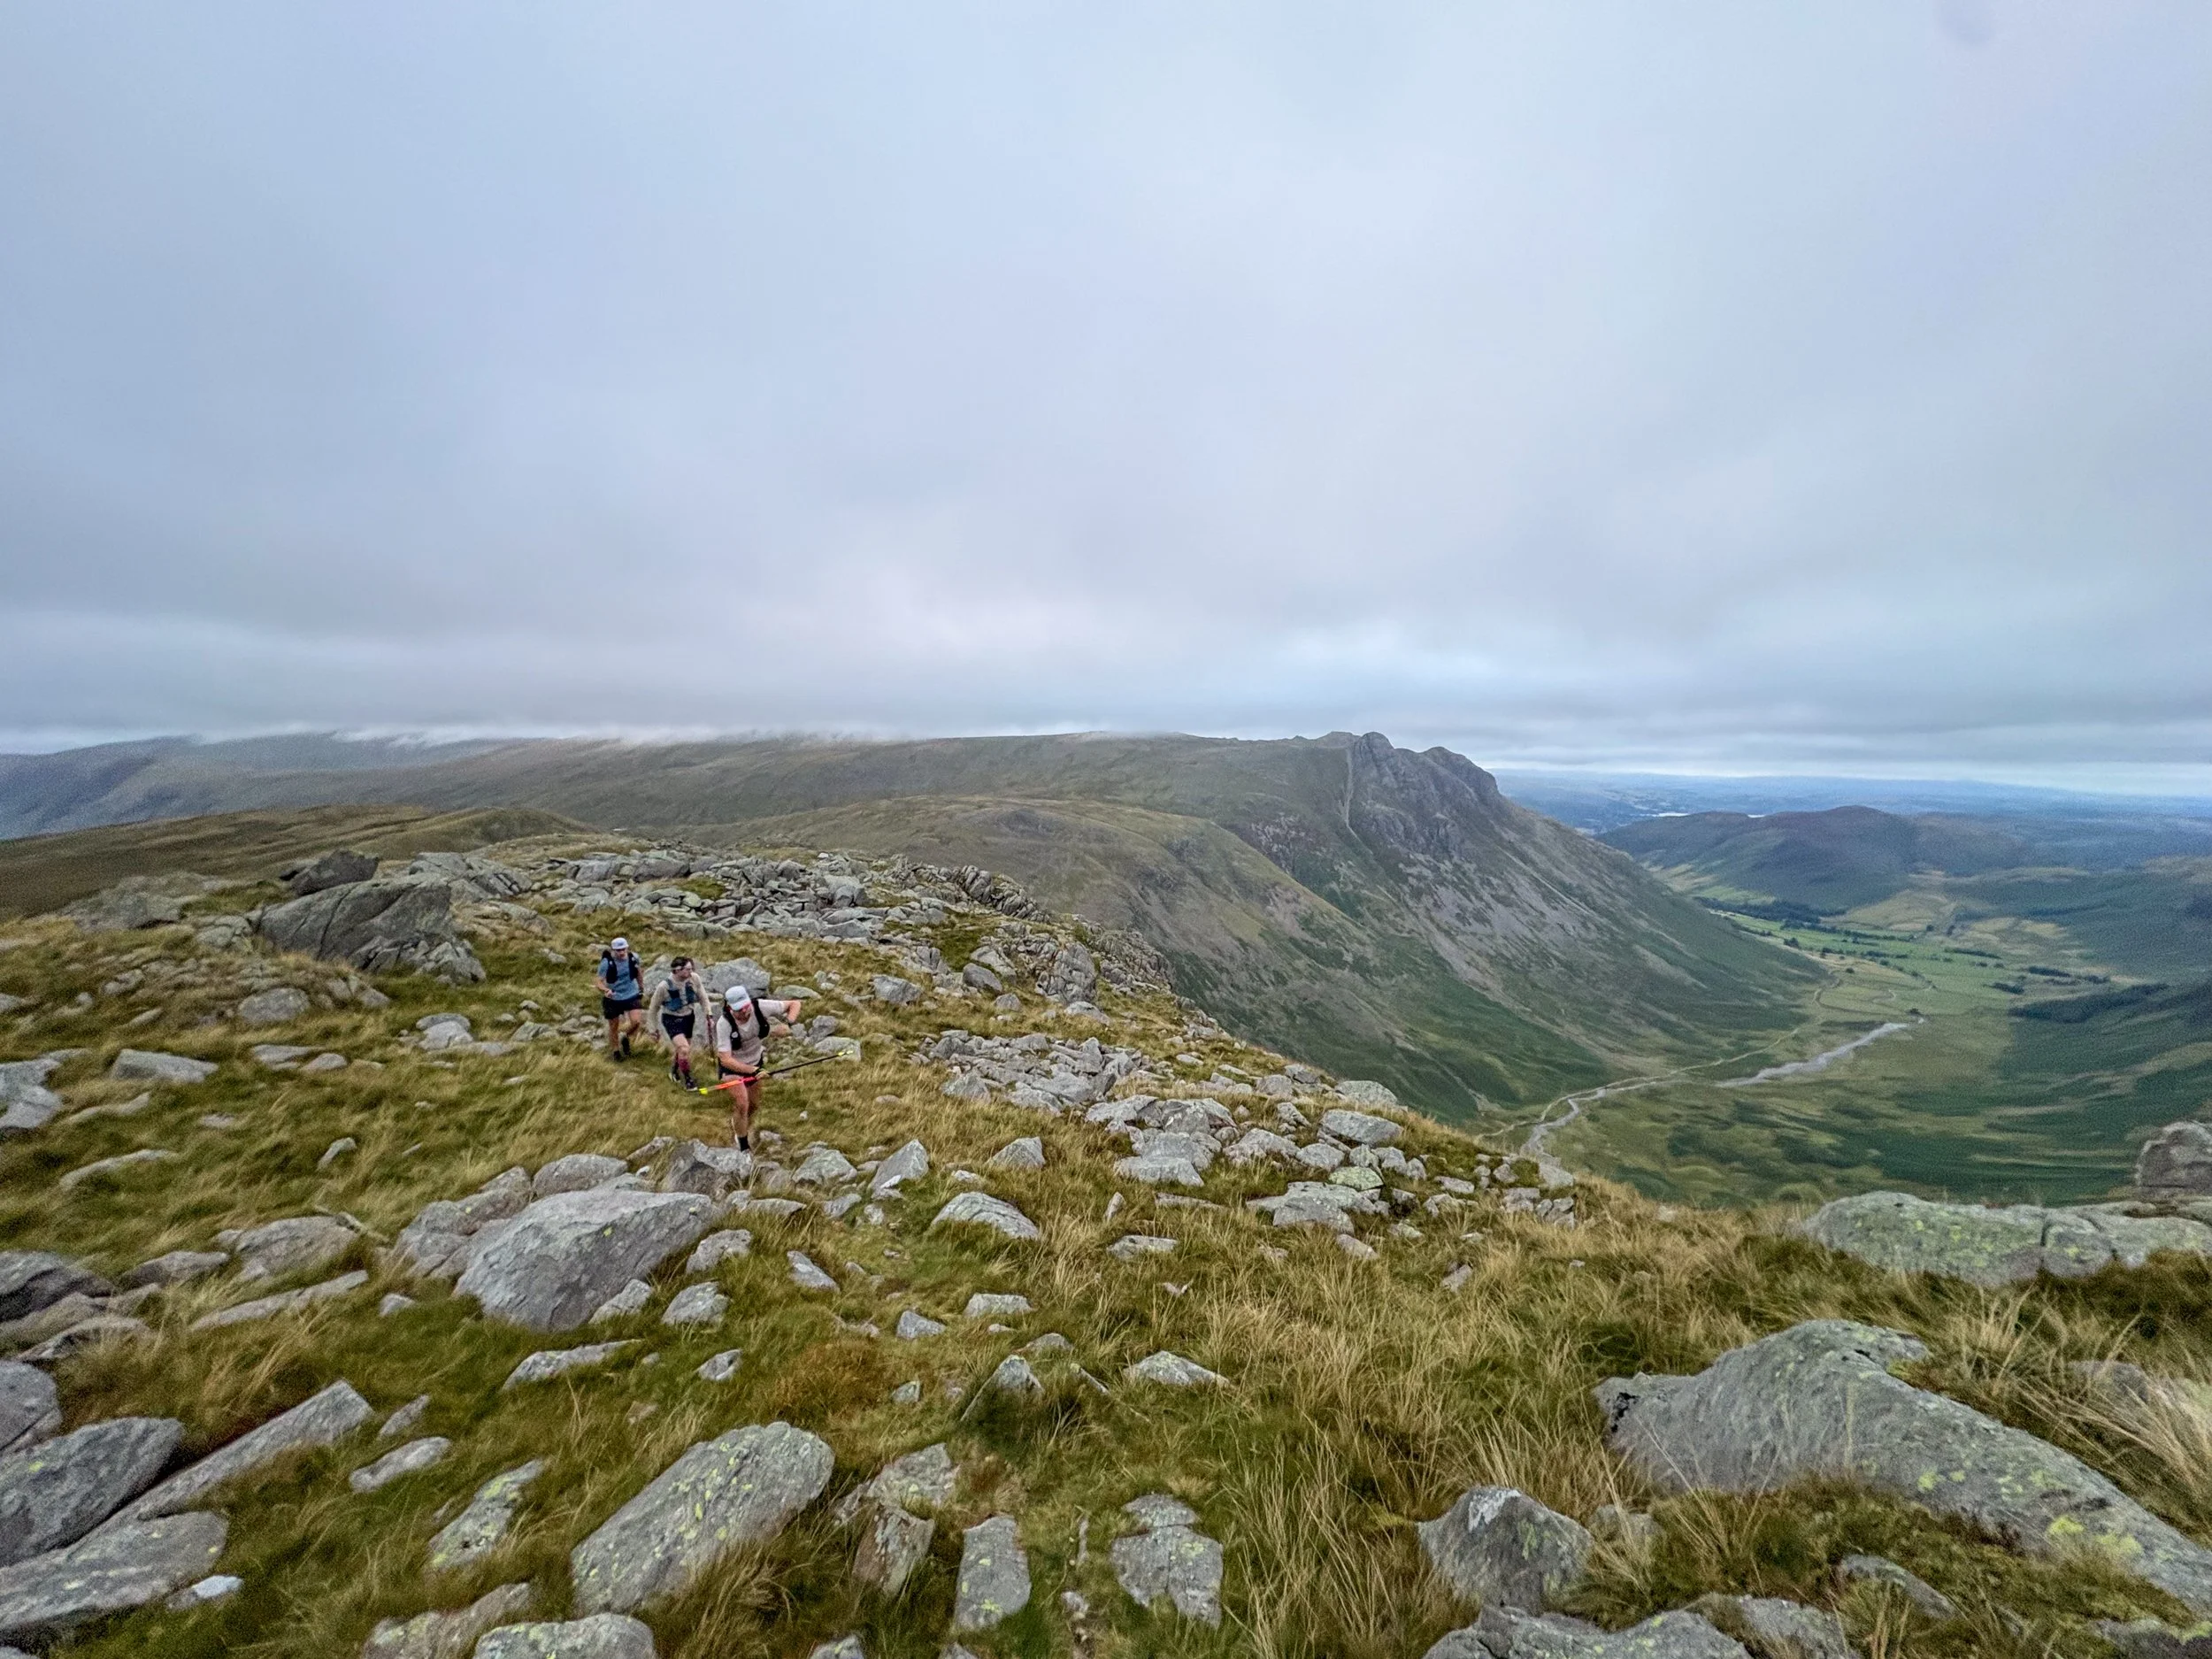
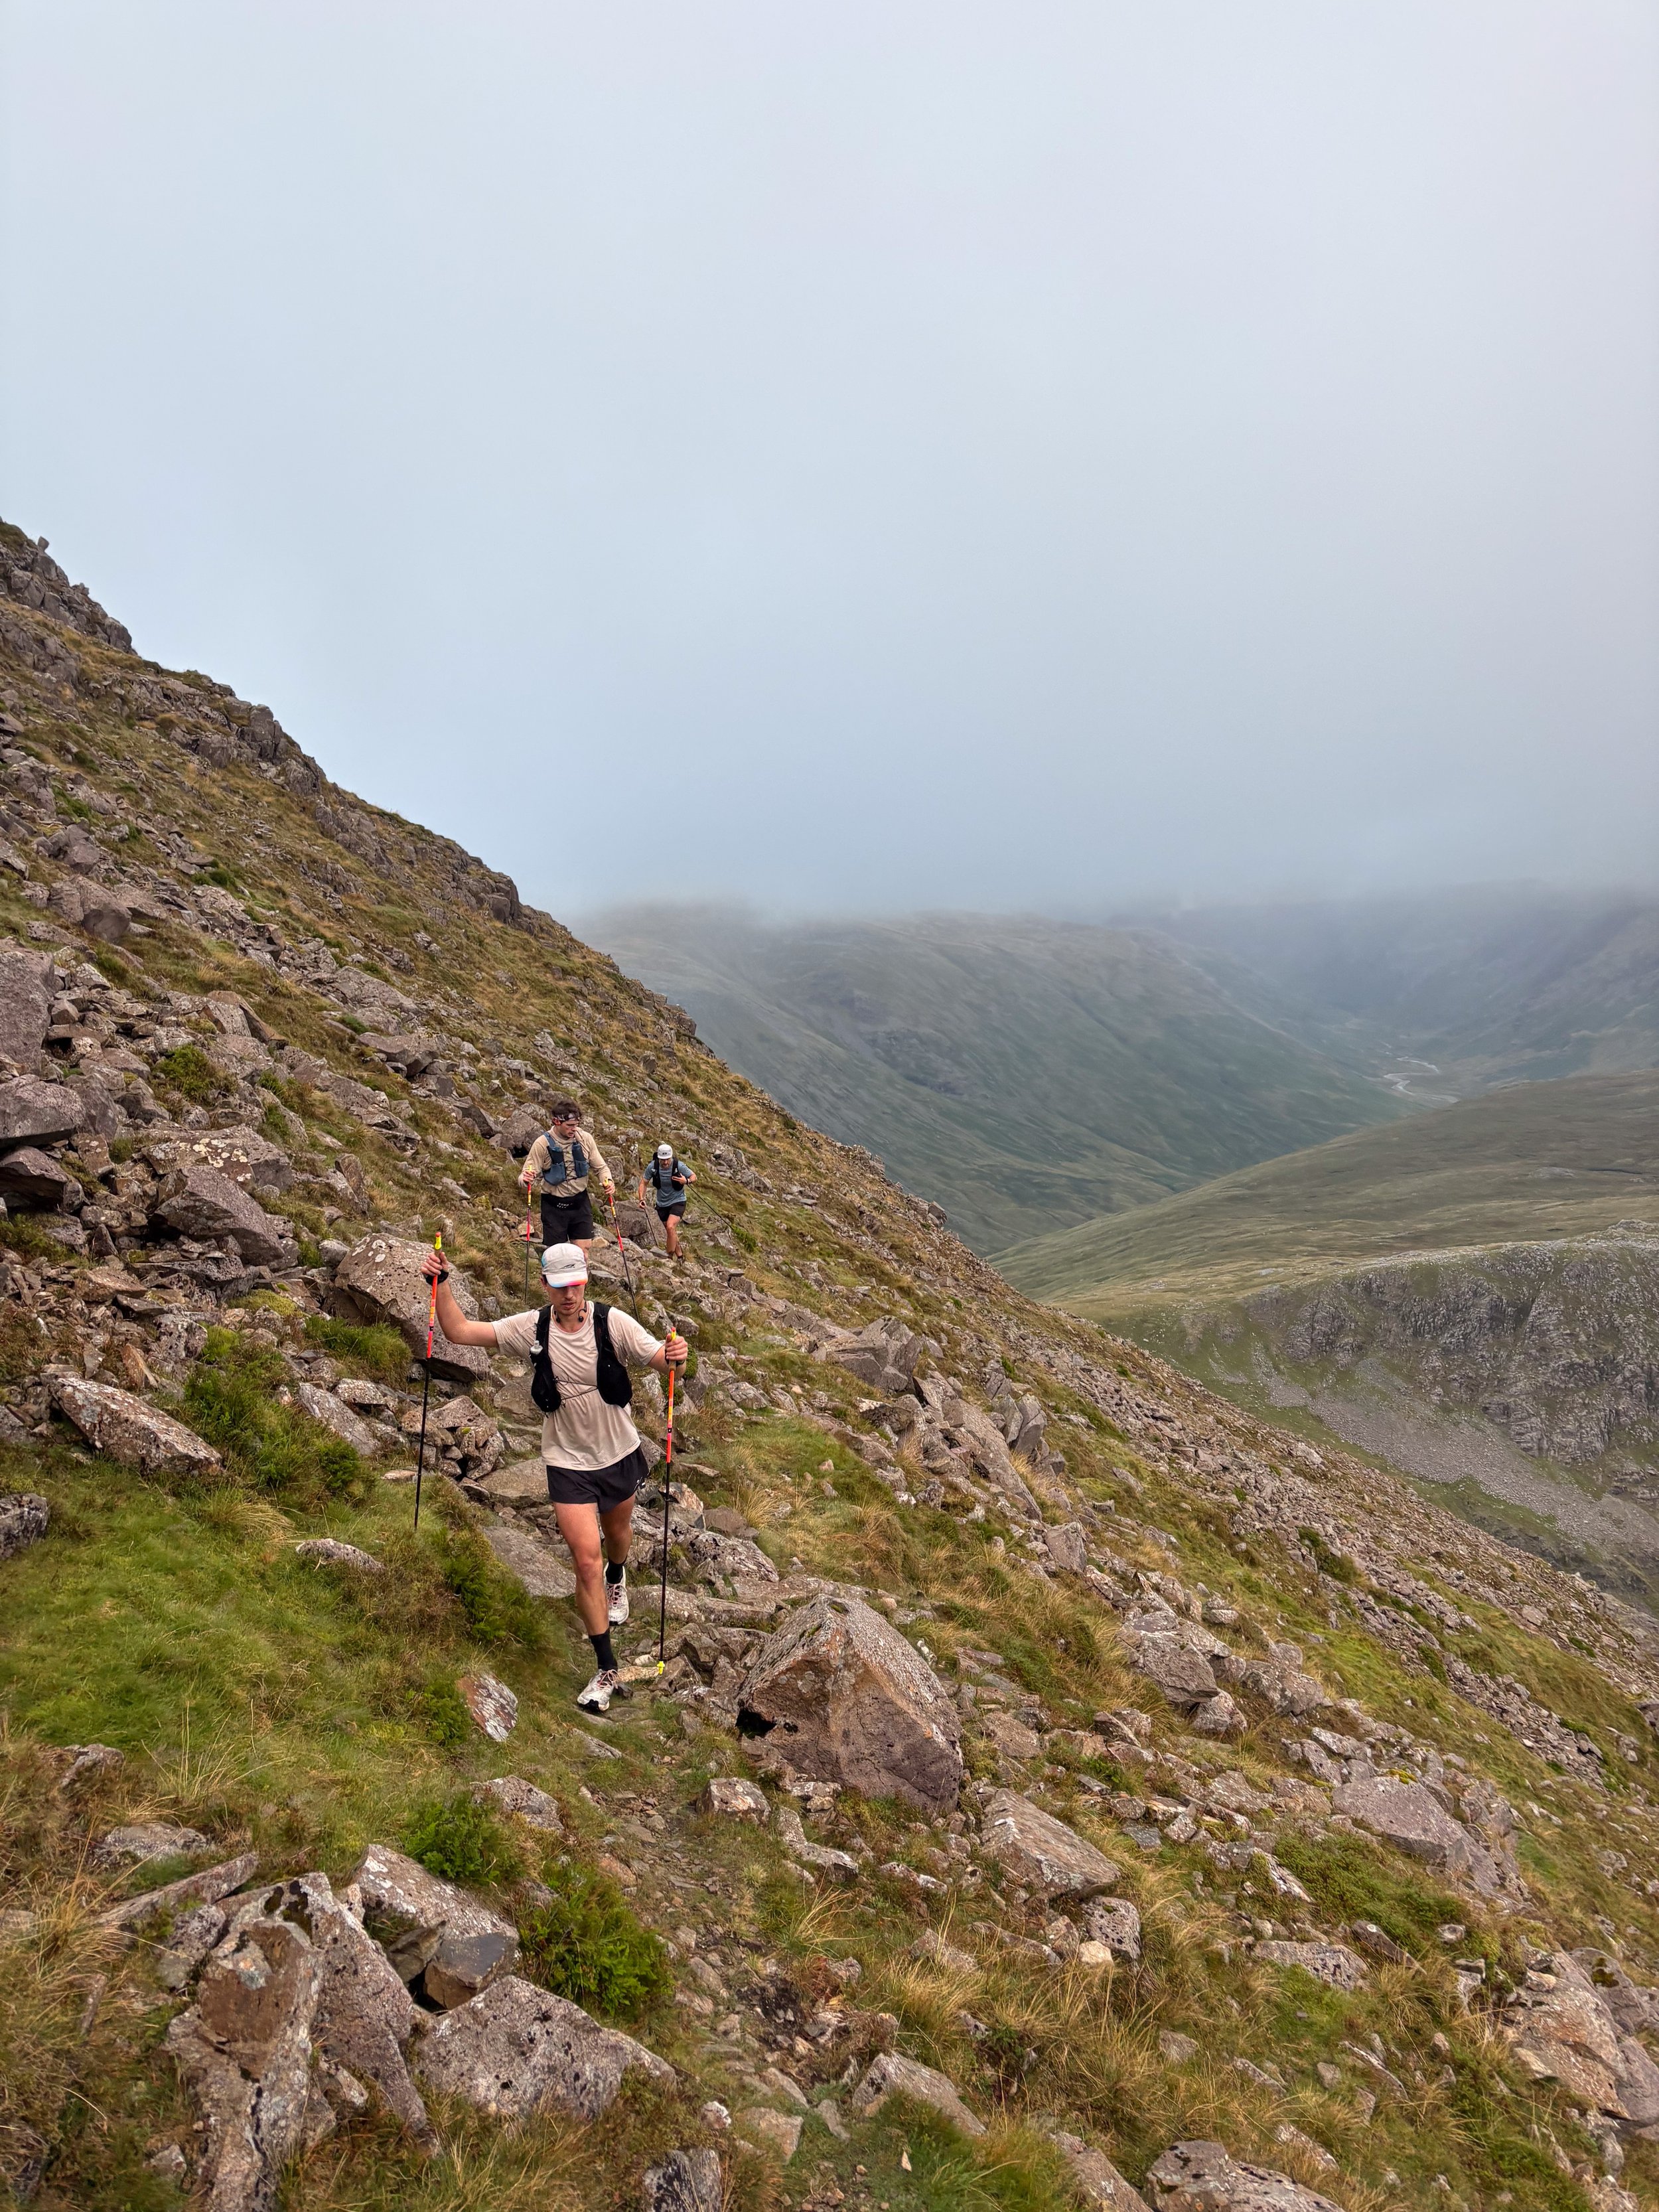
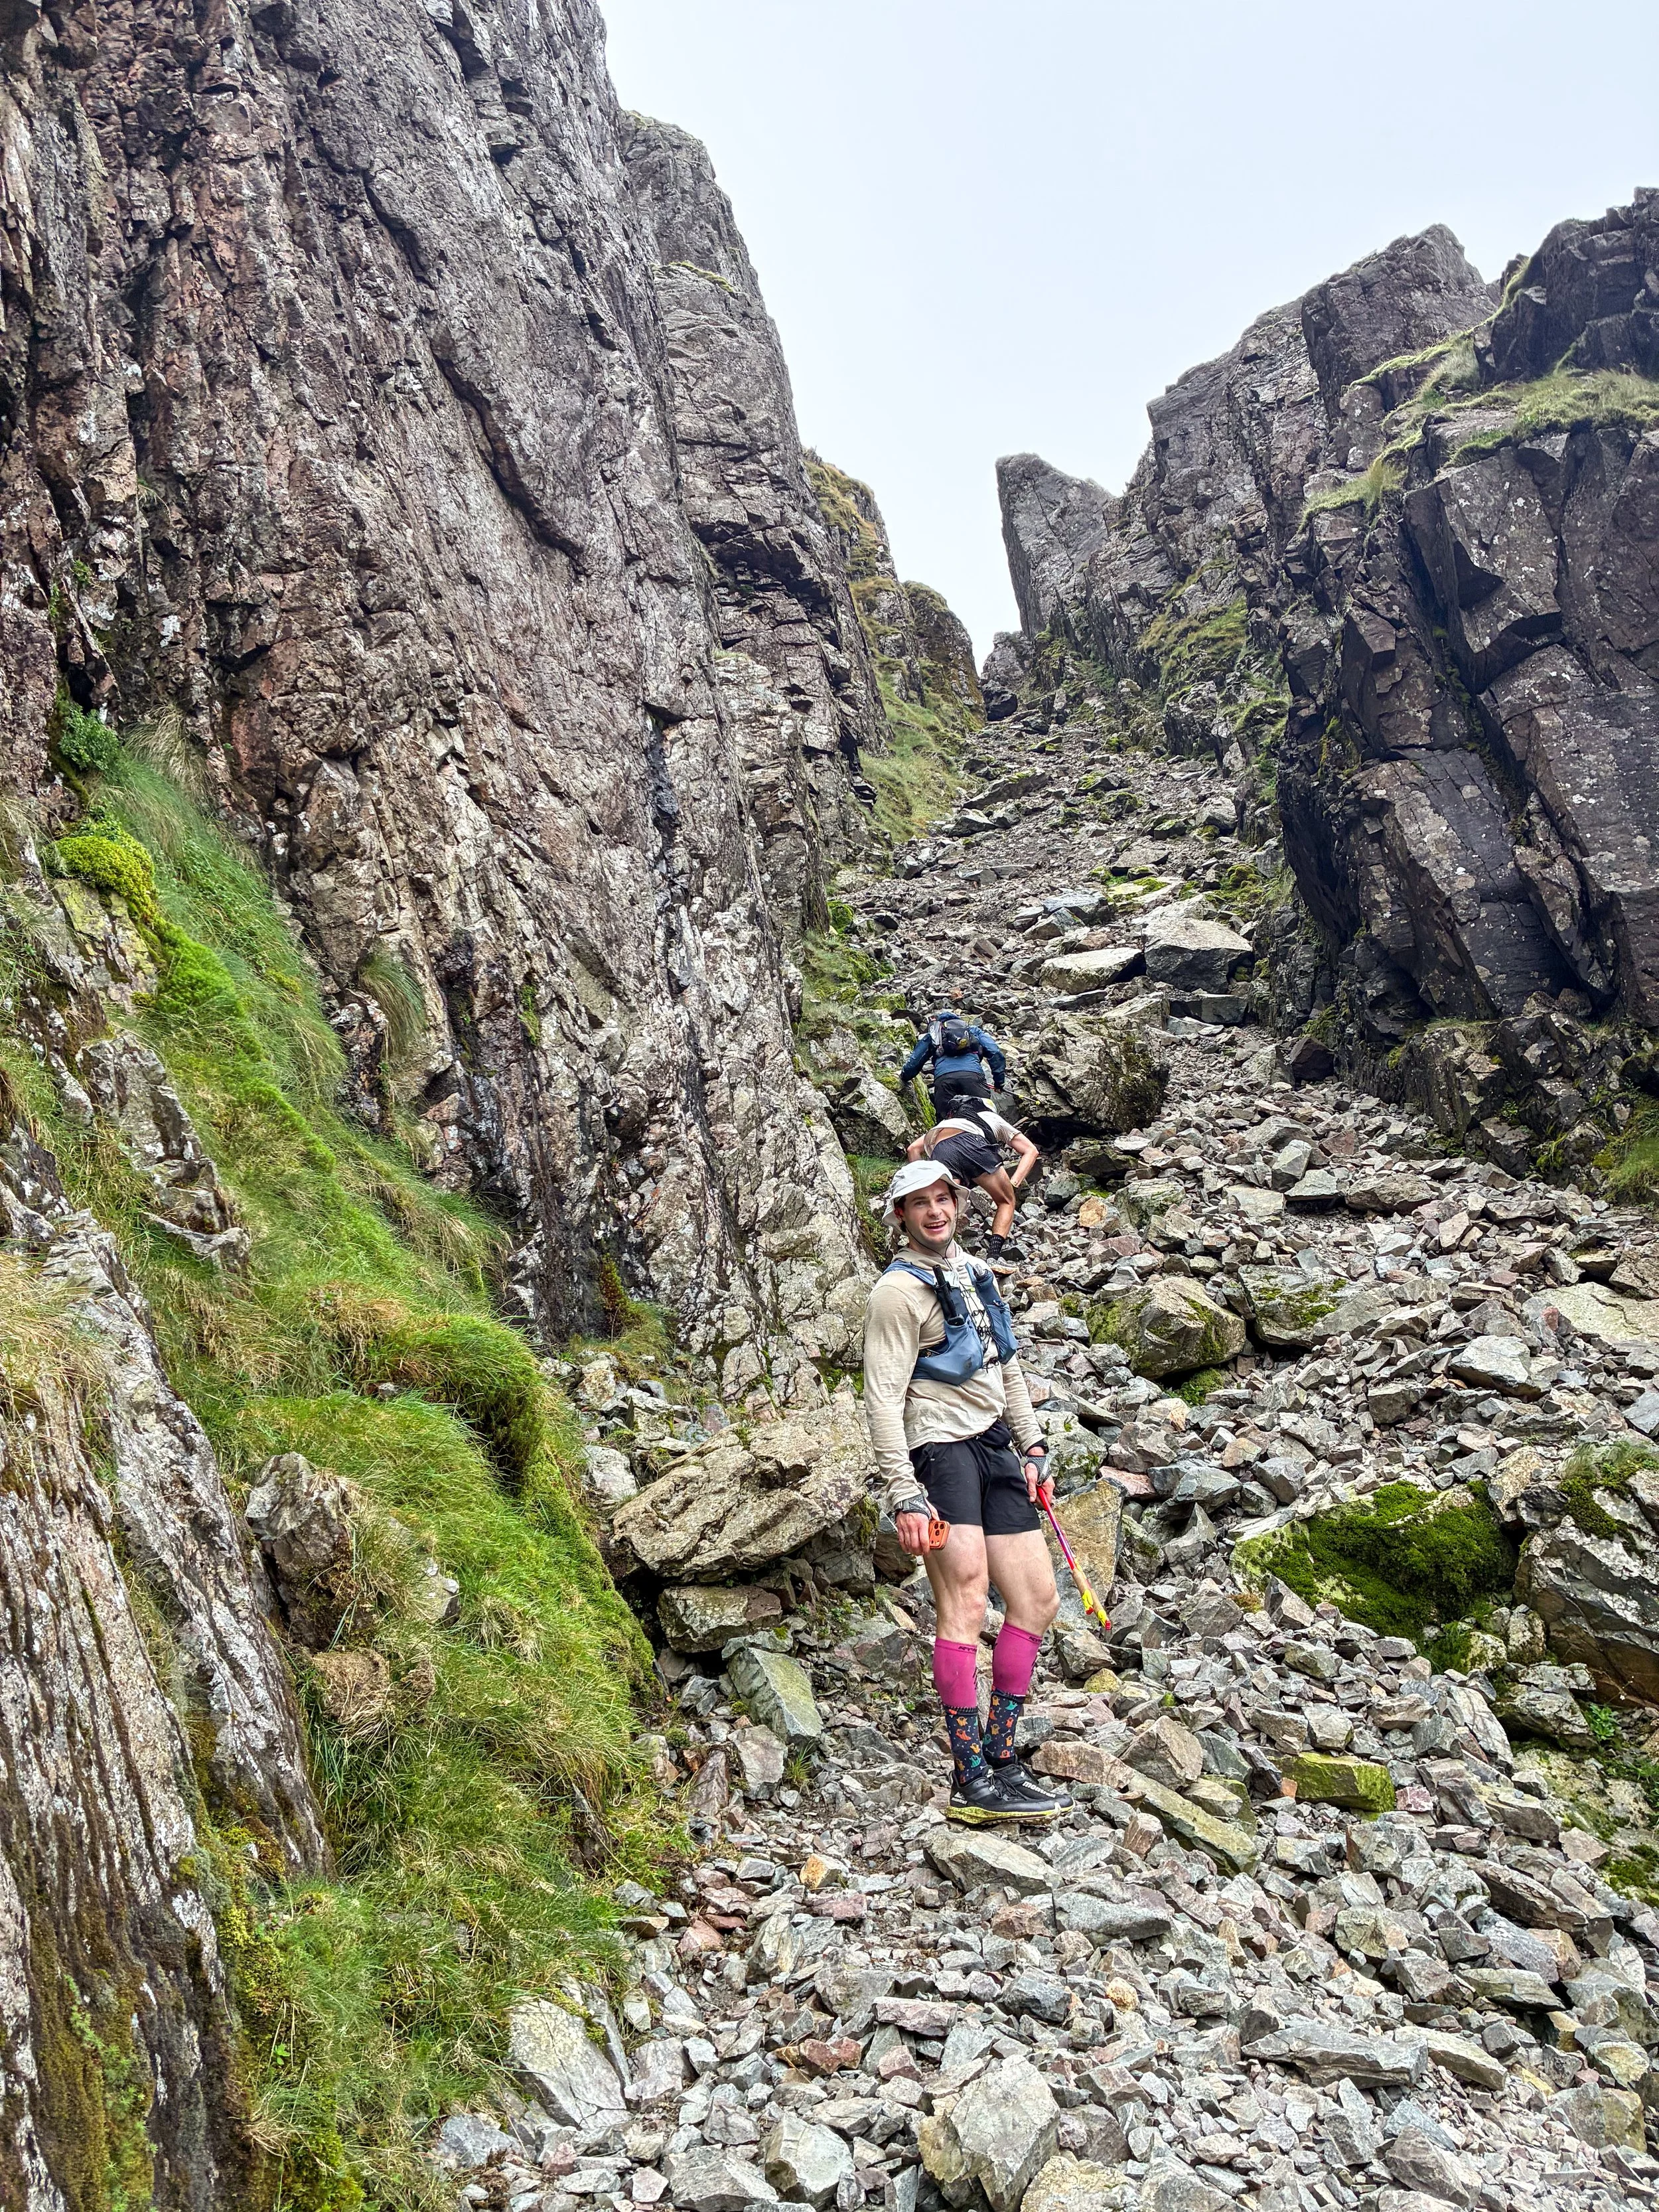
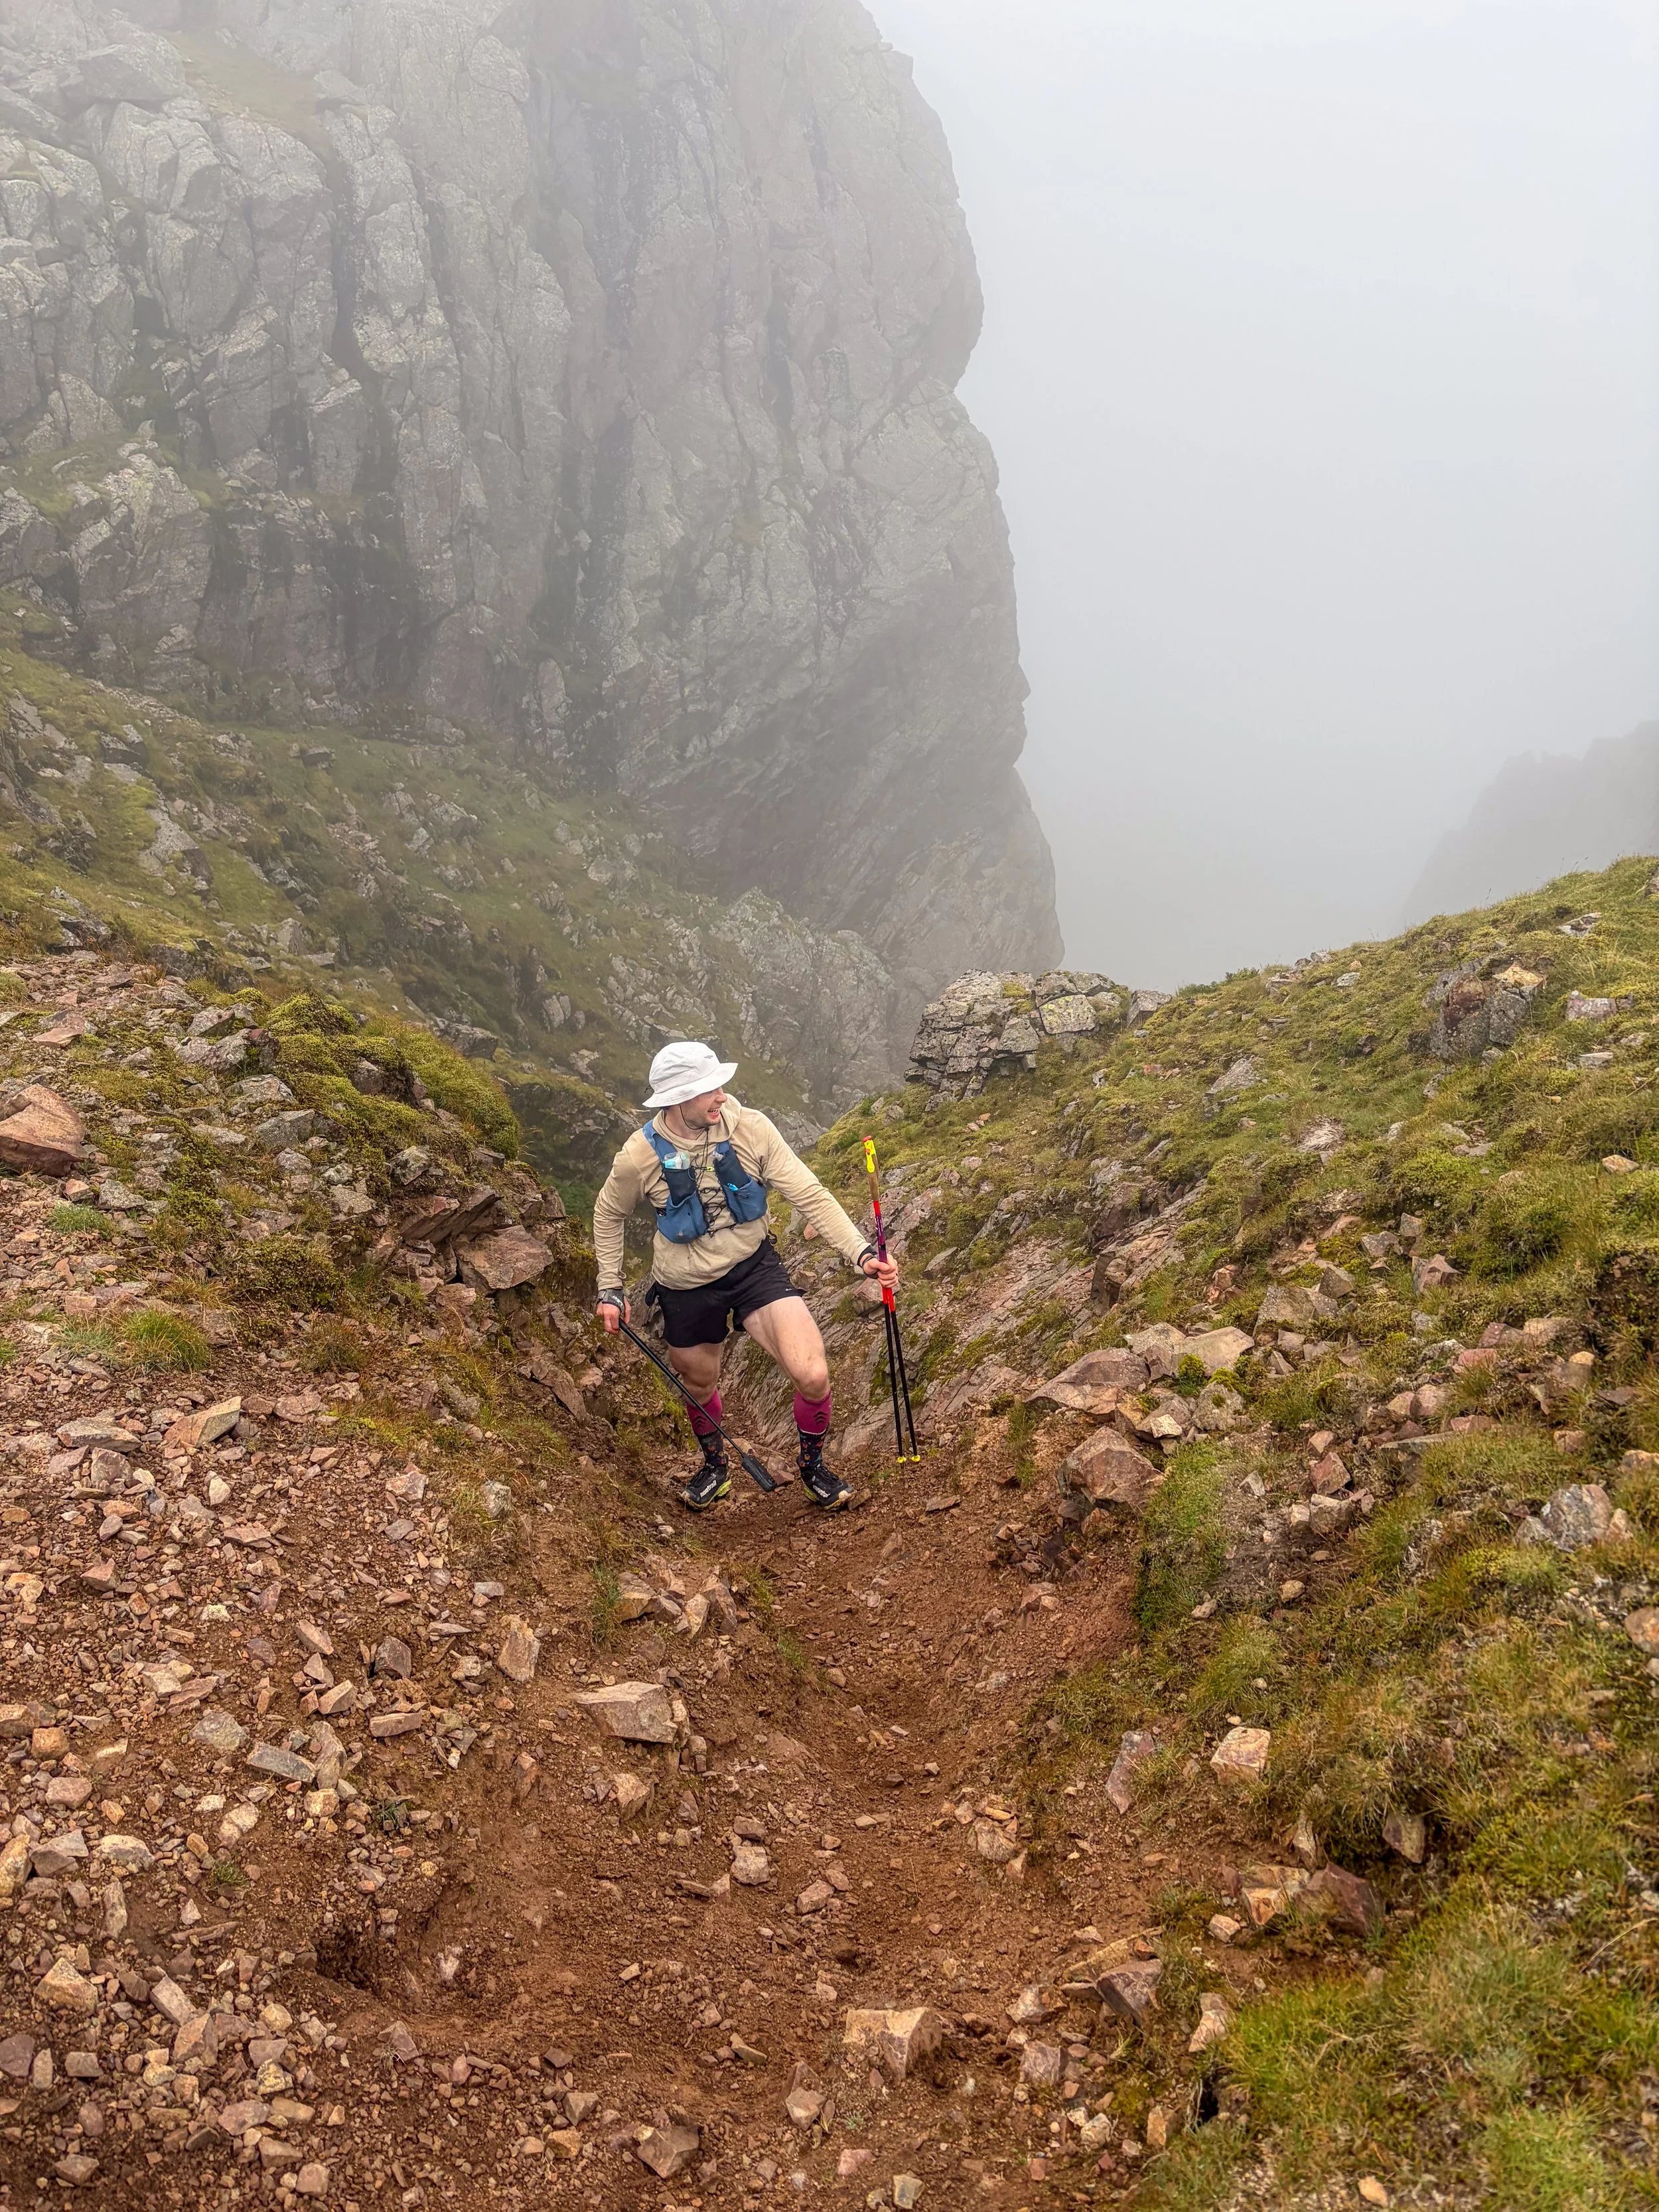
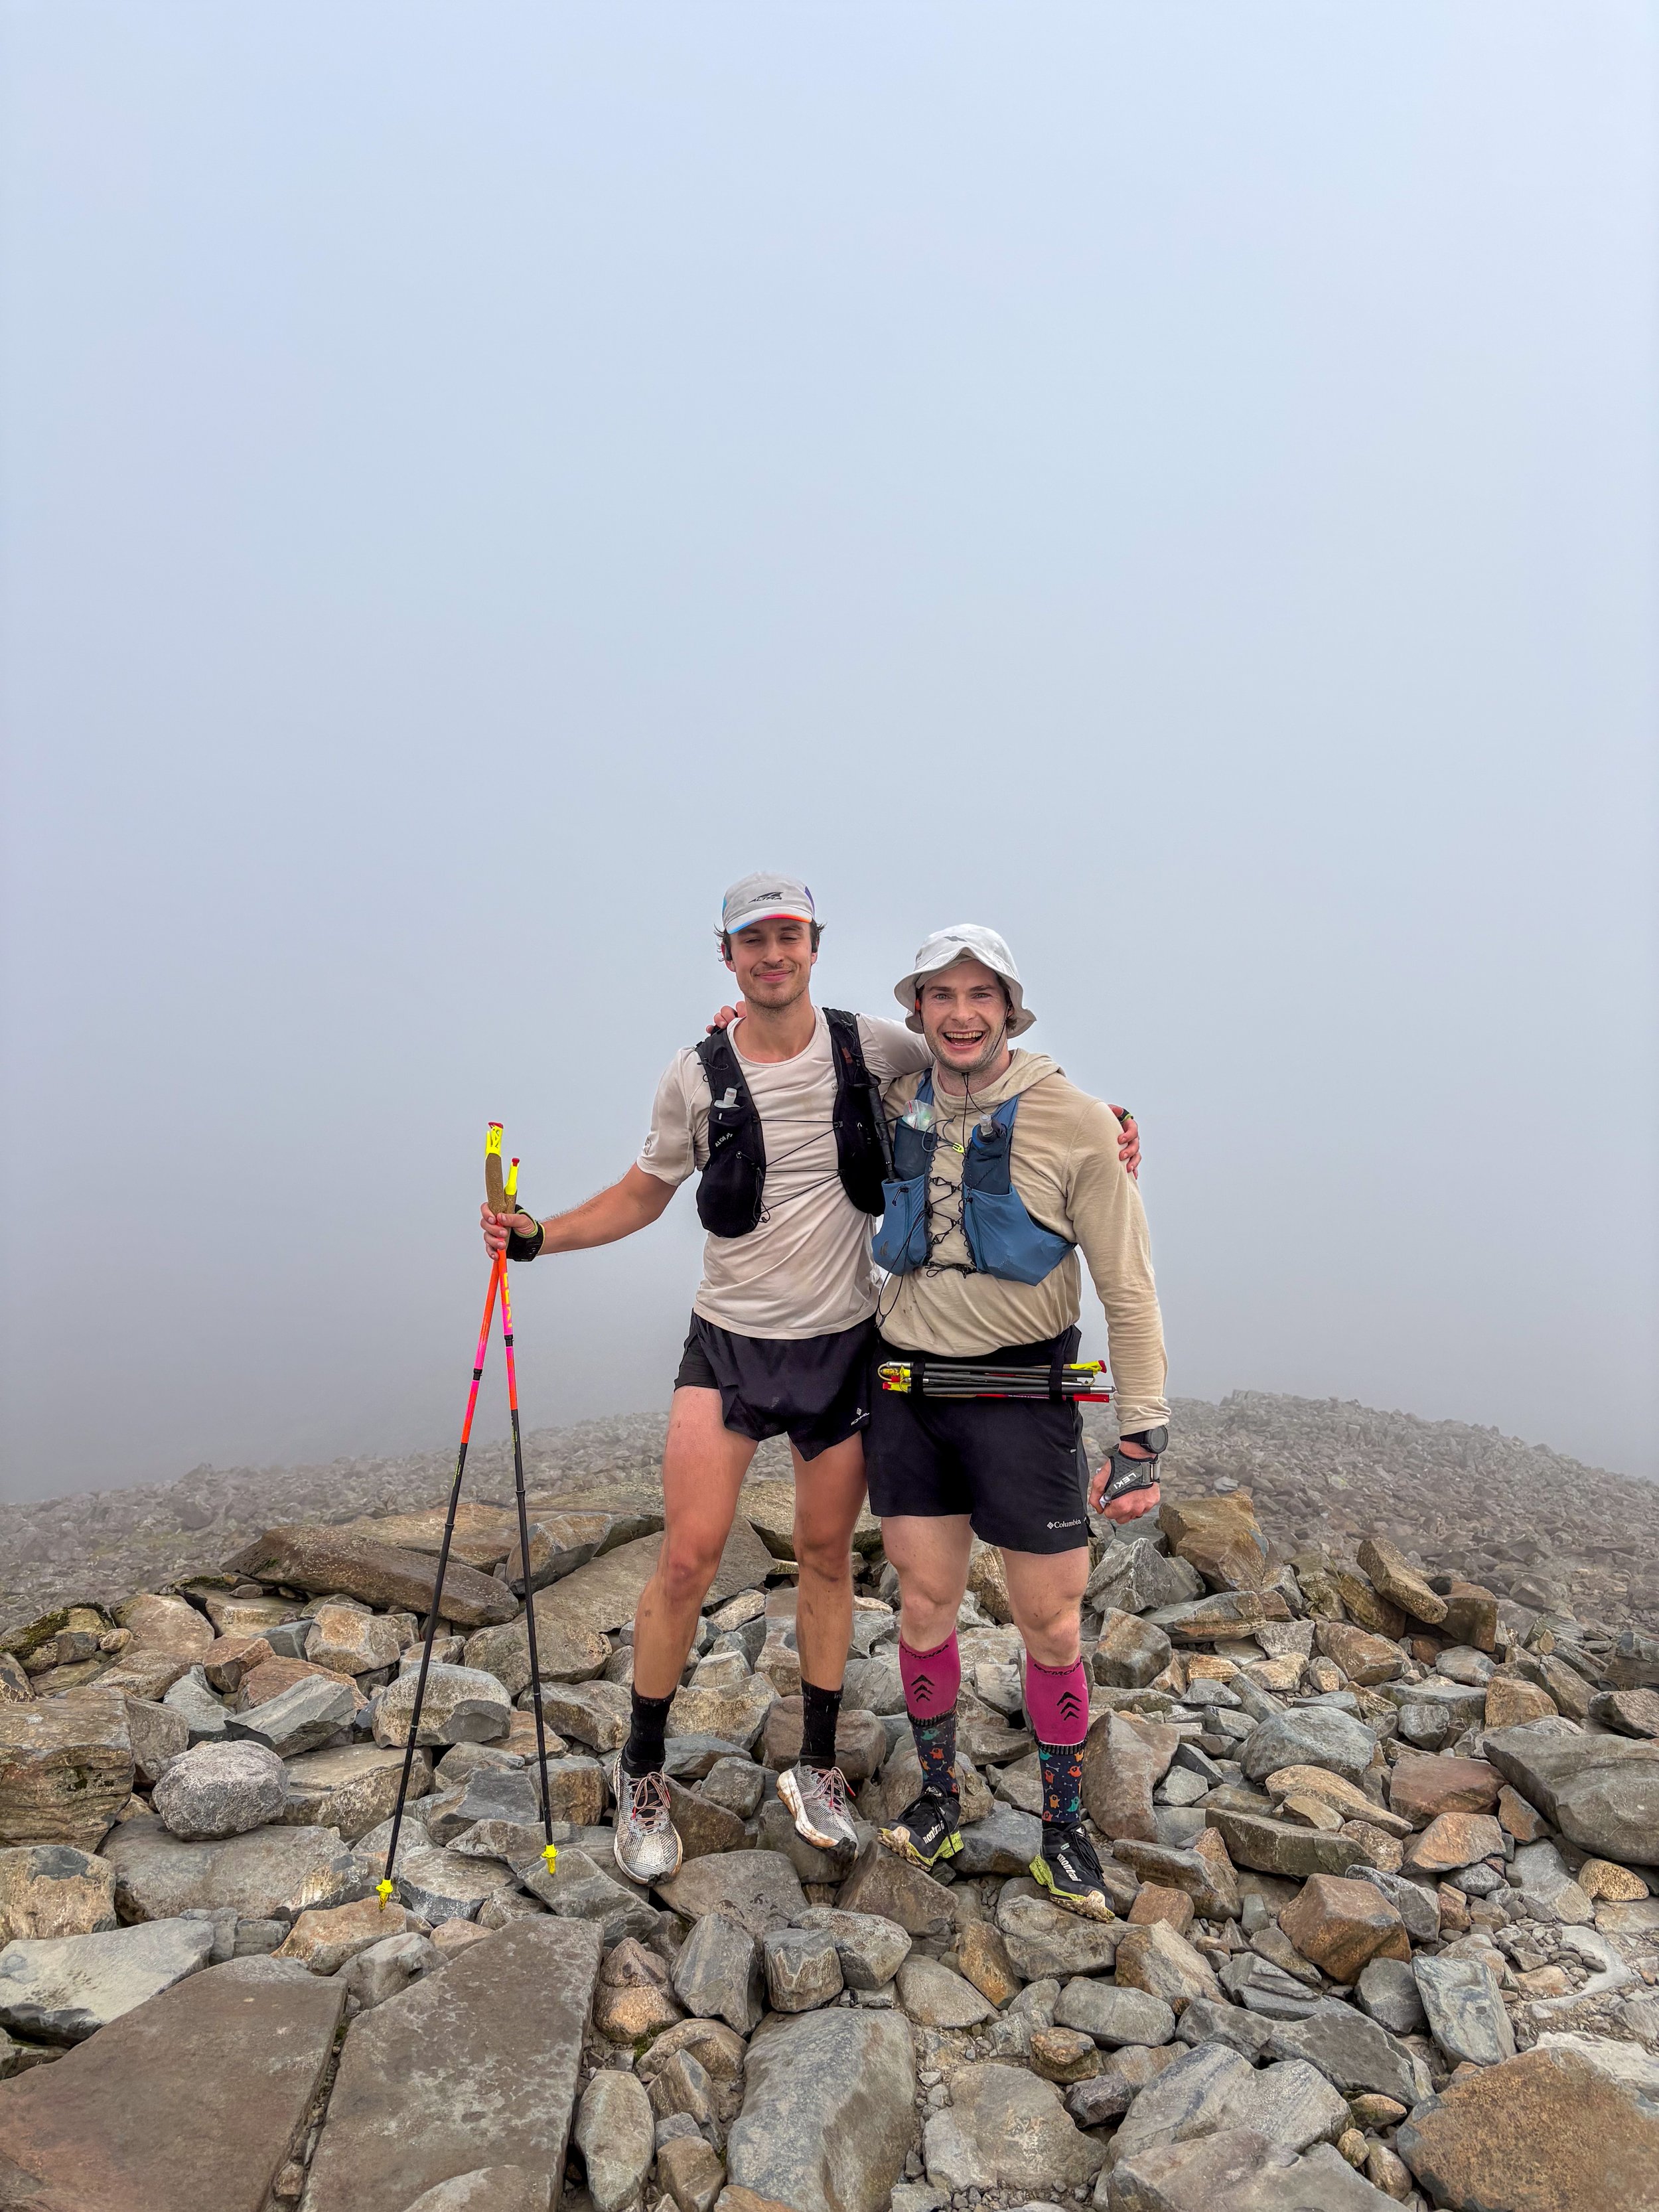
Leg 4: Wasdale to Honister
Distance: Around 19km
Elevation gain: Around 1,900m
Wasdale Parking: Google Maps / What Three Words
Honister Parking: Google Maps / What Three Words
9 Summits: Yewbarrow, Red Pike, Steeple, Pillar, Kirk Fell, Great Gable, Green Gable, Brandreth and Grey Knotts
Leg 4 might be considerably shorter than Leg 3, but where it sits in the round, makes it arguably the hardest leg of the Bob Graham.
You reach Wasdale with around 70km and 14 to 15 hours already in your legs and are then immediately faced with the enormous climb up Yewbarrow.
Once over Yewbarrow you descend towards Dore Head before beginning another sustained climb towards Red Pike, followed by the short out-and-back to Steeple and then the longer traverse towards Pillar.
From Pillar there is a decent stretch of descending towards Black Sail Pass, before the route becomes considerably more aggressive and rocky, firstly with the steep climb up Kirk Fell.
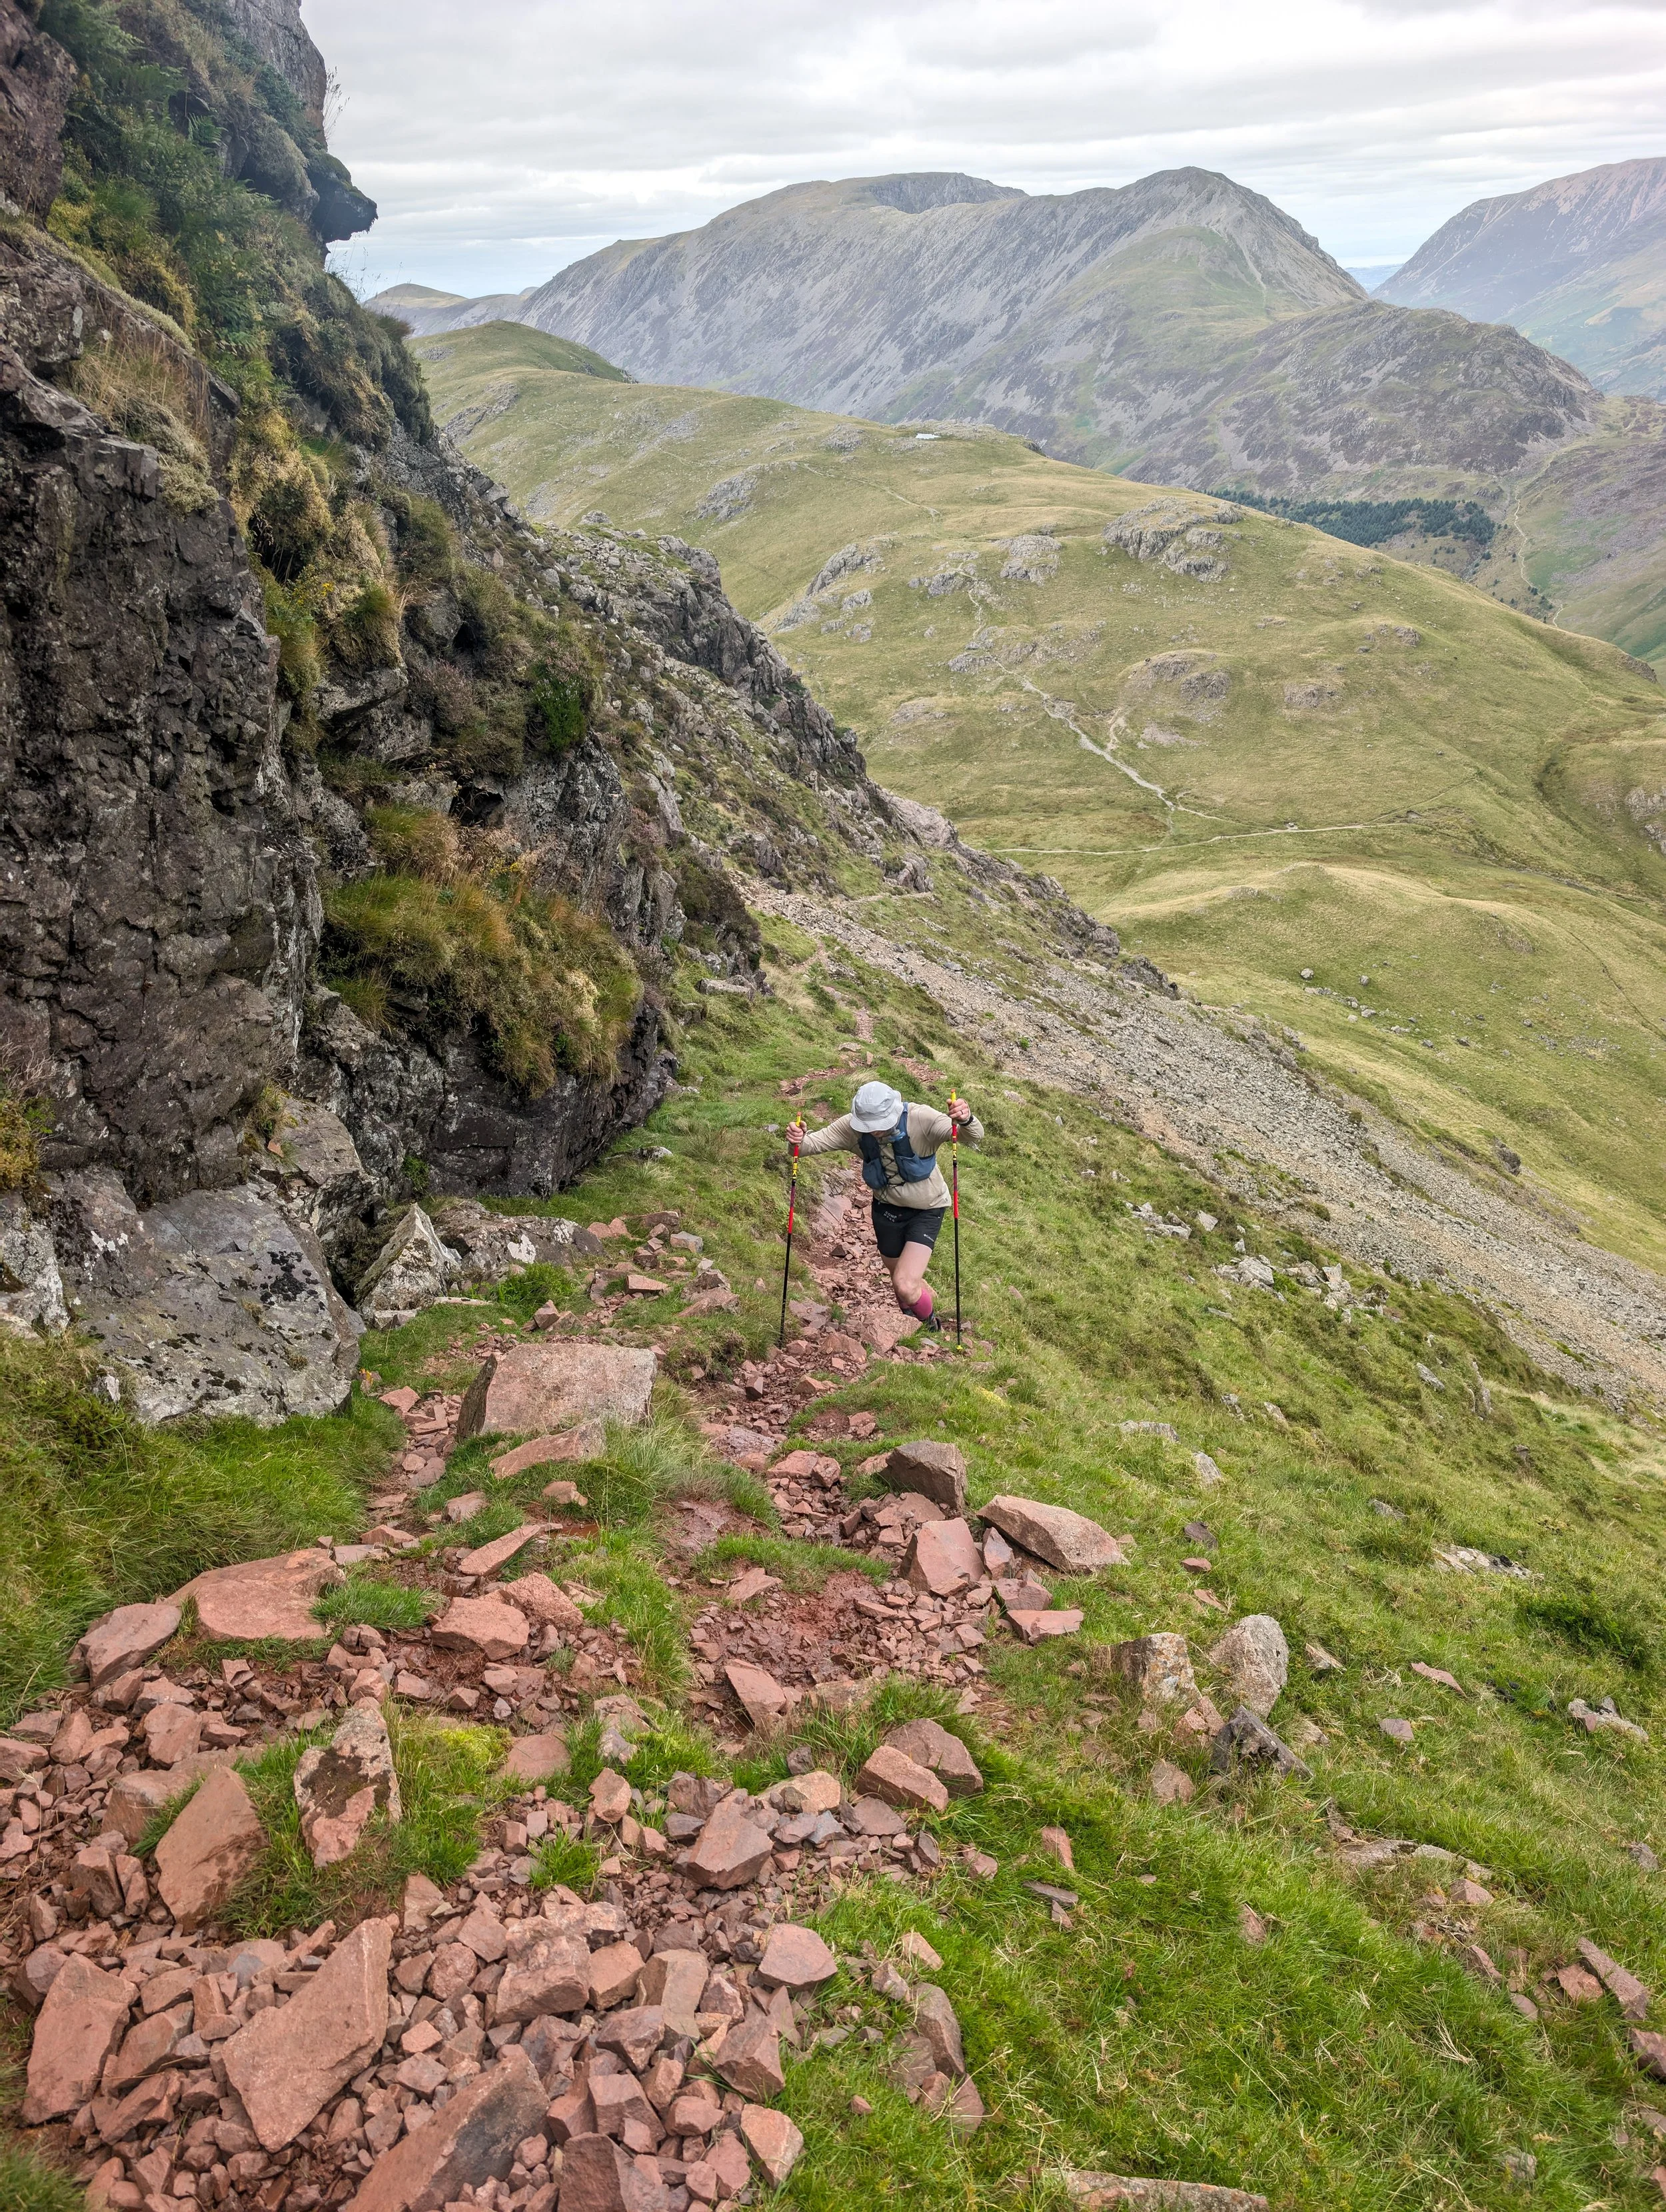
From there you drop to Beck Head before tackling Great Gable, which was easily the hardest individual climb of my Round, although once you reach the summit you have broken the back of most of the serious climbing.
From Great Gable the route crosses the last of the rocky sections towards Green Gable, before retuning to more runnable terrain underfoot as you summit Brandreth and Grey Knotts before finally descending into Honister
-
Yewbarrow is a savage start. There is very little opportunity to ease yourself back into the Round after Wasdale, with around 600m of climbing almost immediately, so settle into a sustainable rhythm rather than getting carried away.
Avoid unnecessarily summiting Yewbarrow's north top. After the main summit, the efficient line contours away to the left before the northern, saving you an unnecessary climb.
You don't need to summit Scoat Fell. After Red Pike, Follow the direct path to the left of Scoat fell, once ot levels off head towards the stone wall.
Steeple is a short out-and-back. Ditch your pack or some water bottles to save some weight.
You dont need to summit Blag Crag - Use the rocky path path that drops down to the right and around the summt
There are useful grassy lines towards Pillar. Around Wind Gap and the approach to Pillar, knowing the better trods can save you from unnecessarily rough ground, so this is another section where a recce pays dividends.
Know your line up Kirk Fell. Head left and stay left on the climb up from the Black Sail Pass, Shoot for the red gully up to the plateau, from there head towards the old fence posts towards the summit
Make sure you clock the correct Kirk Fell summit. The summit plateau is broad and can be confusing in clag, so know exactly which top you need rather than simply touching the first cairn you see.
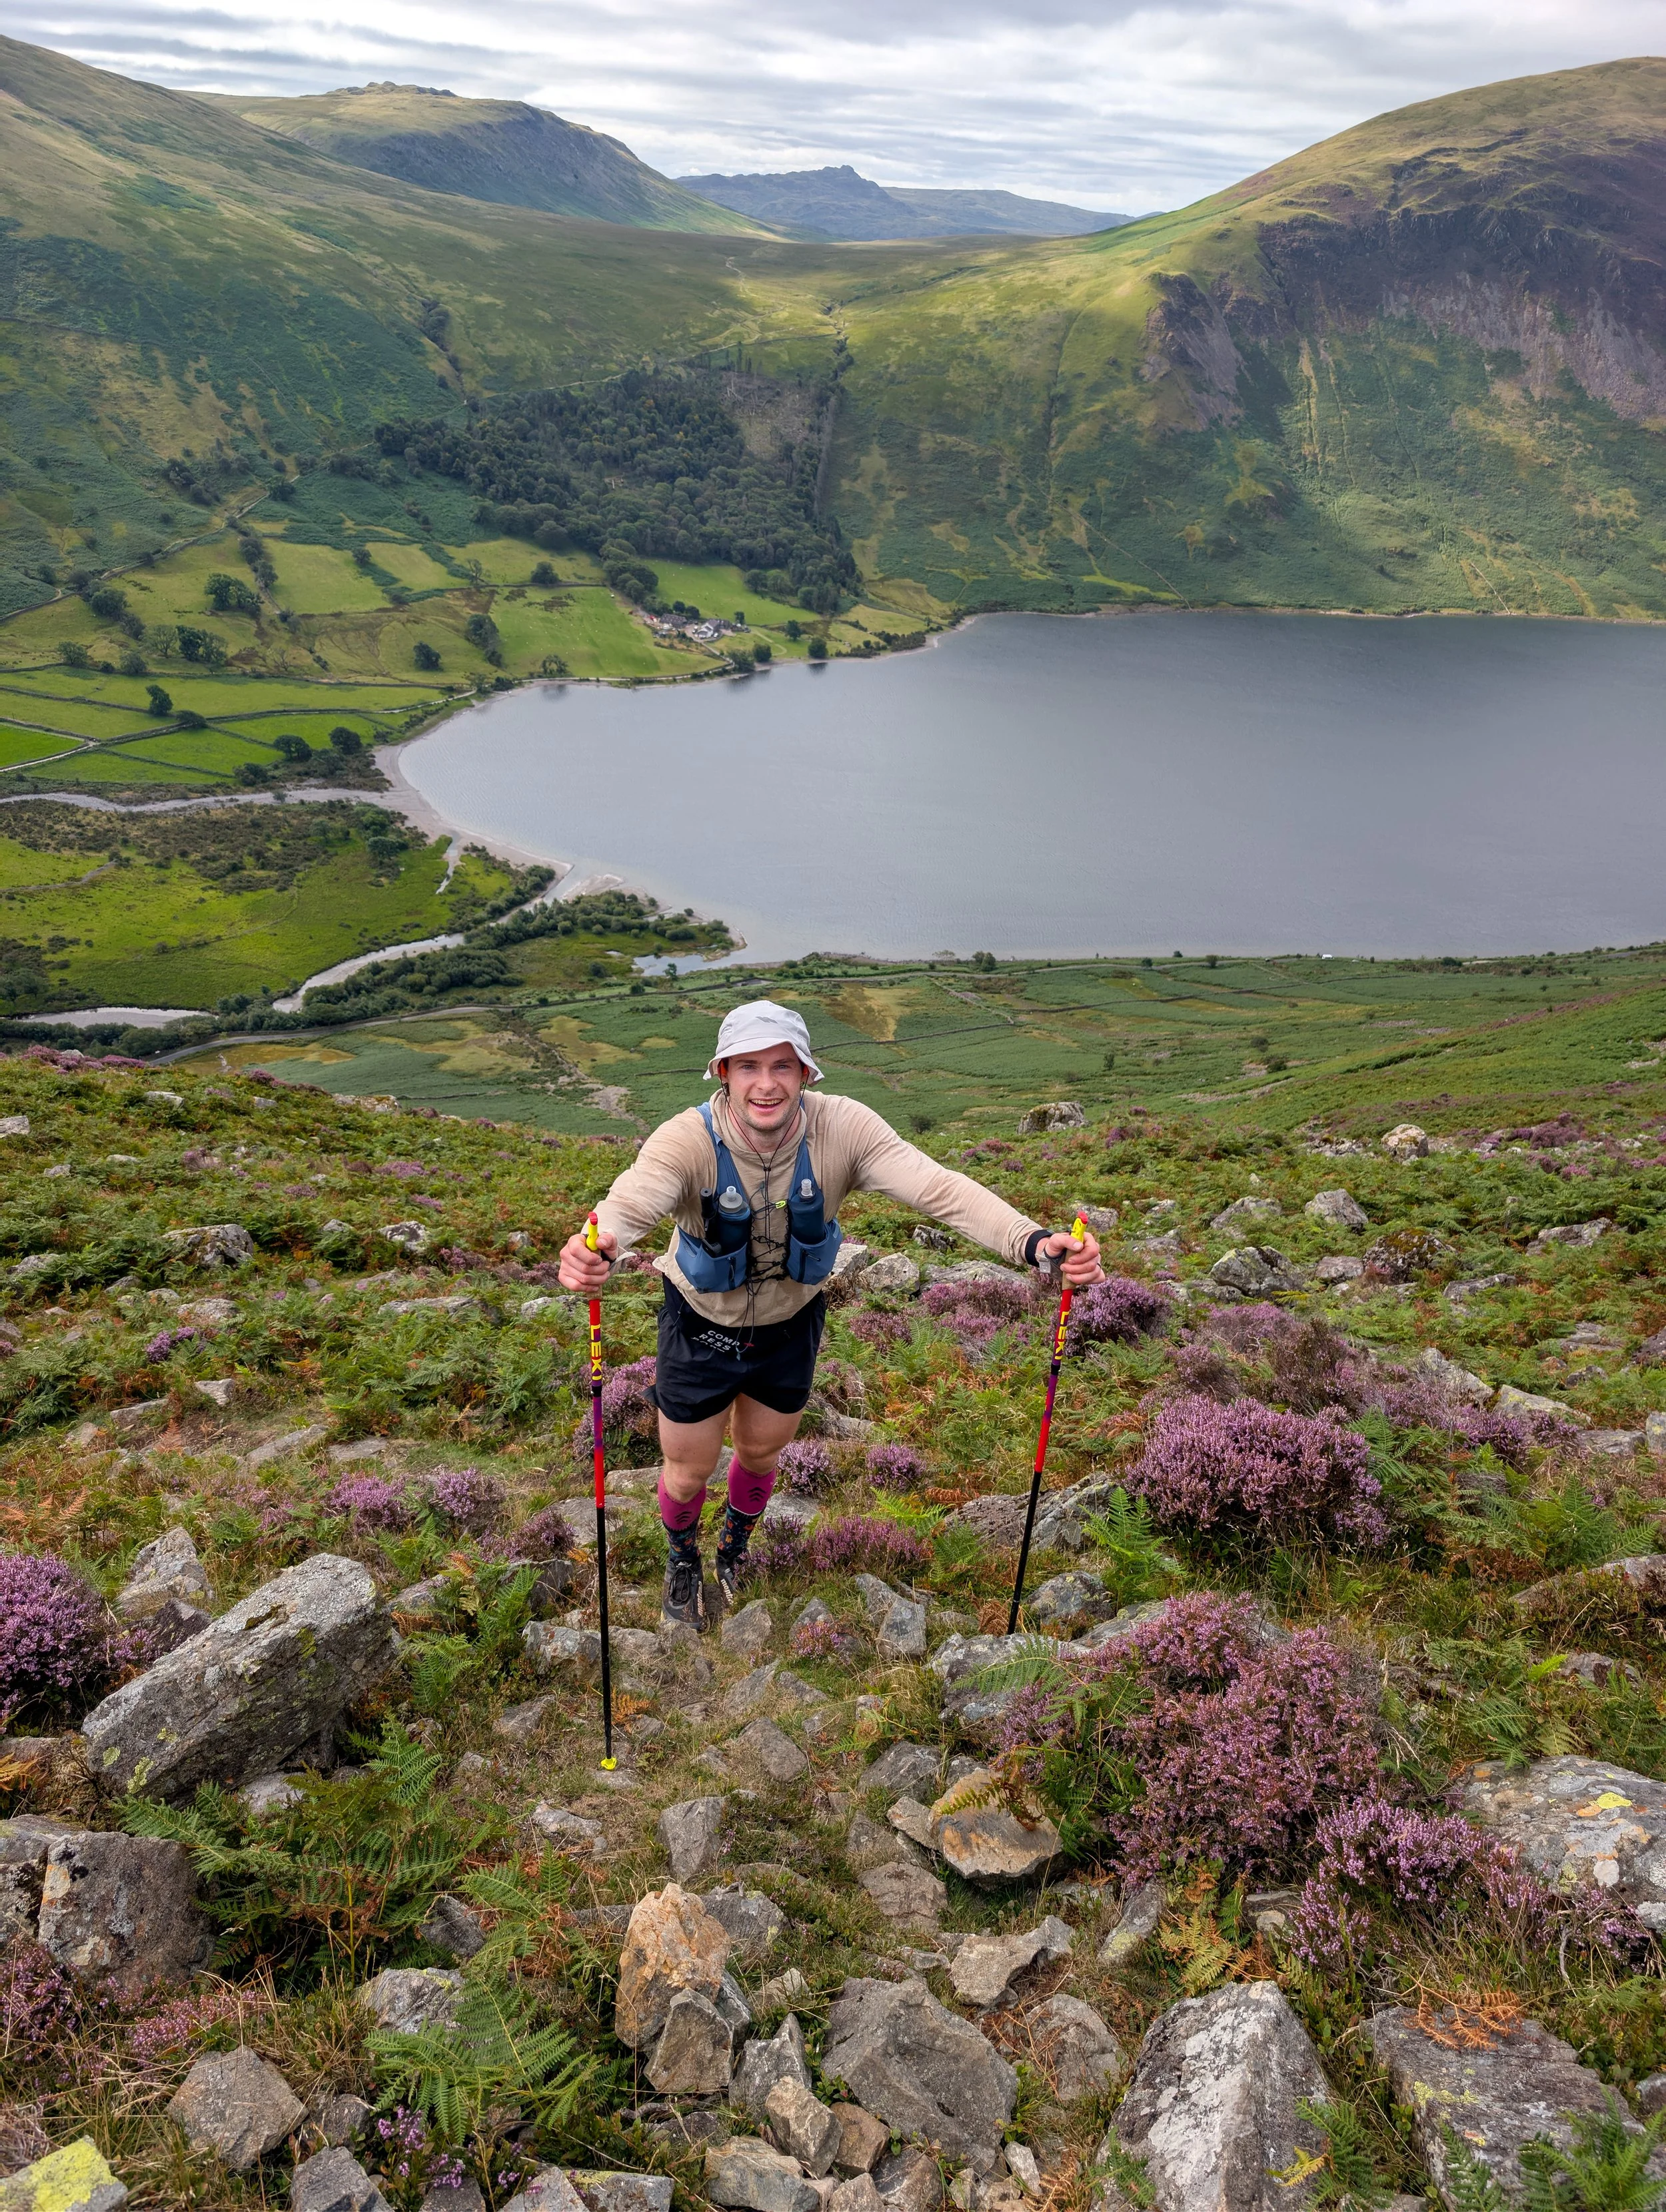
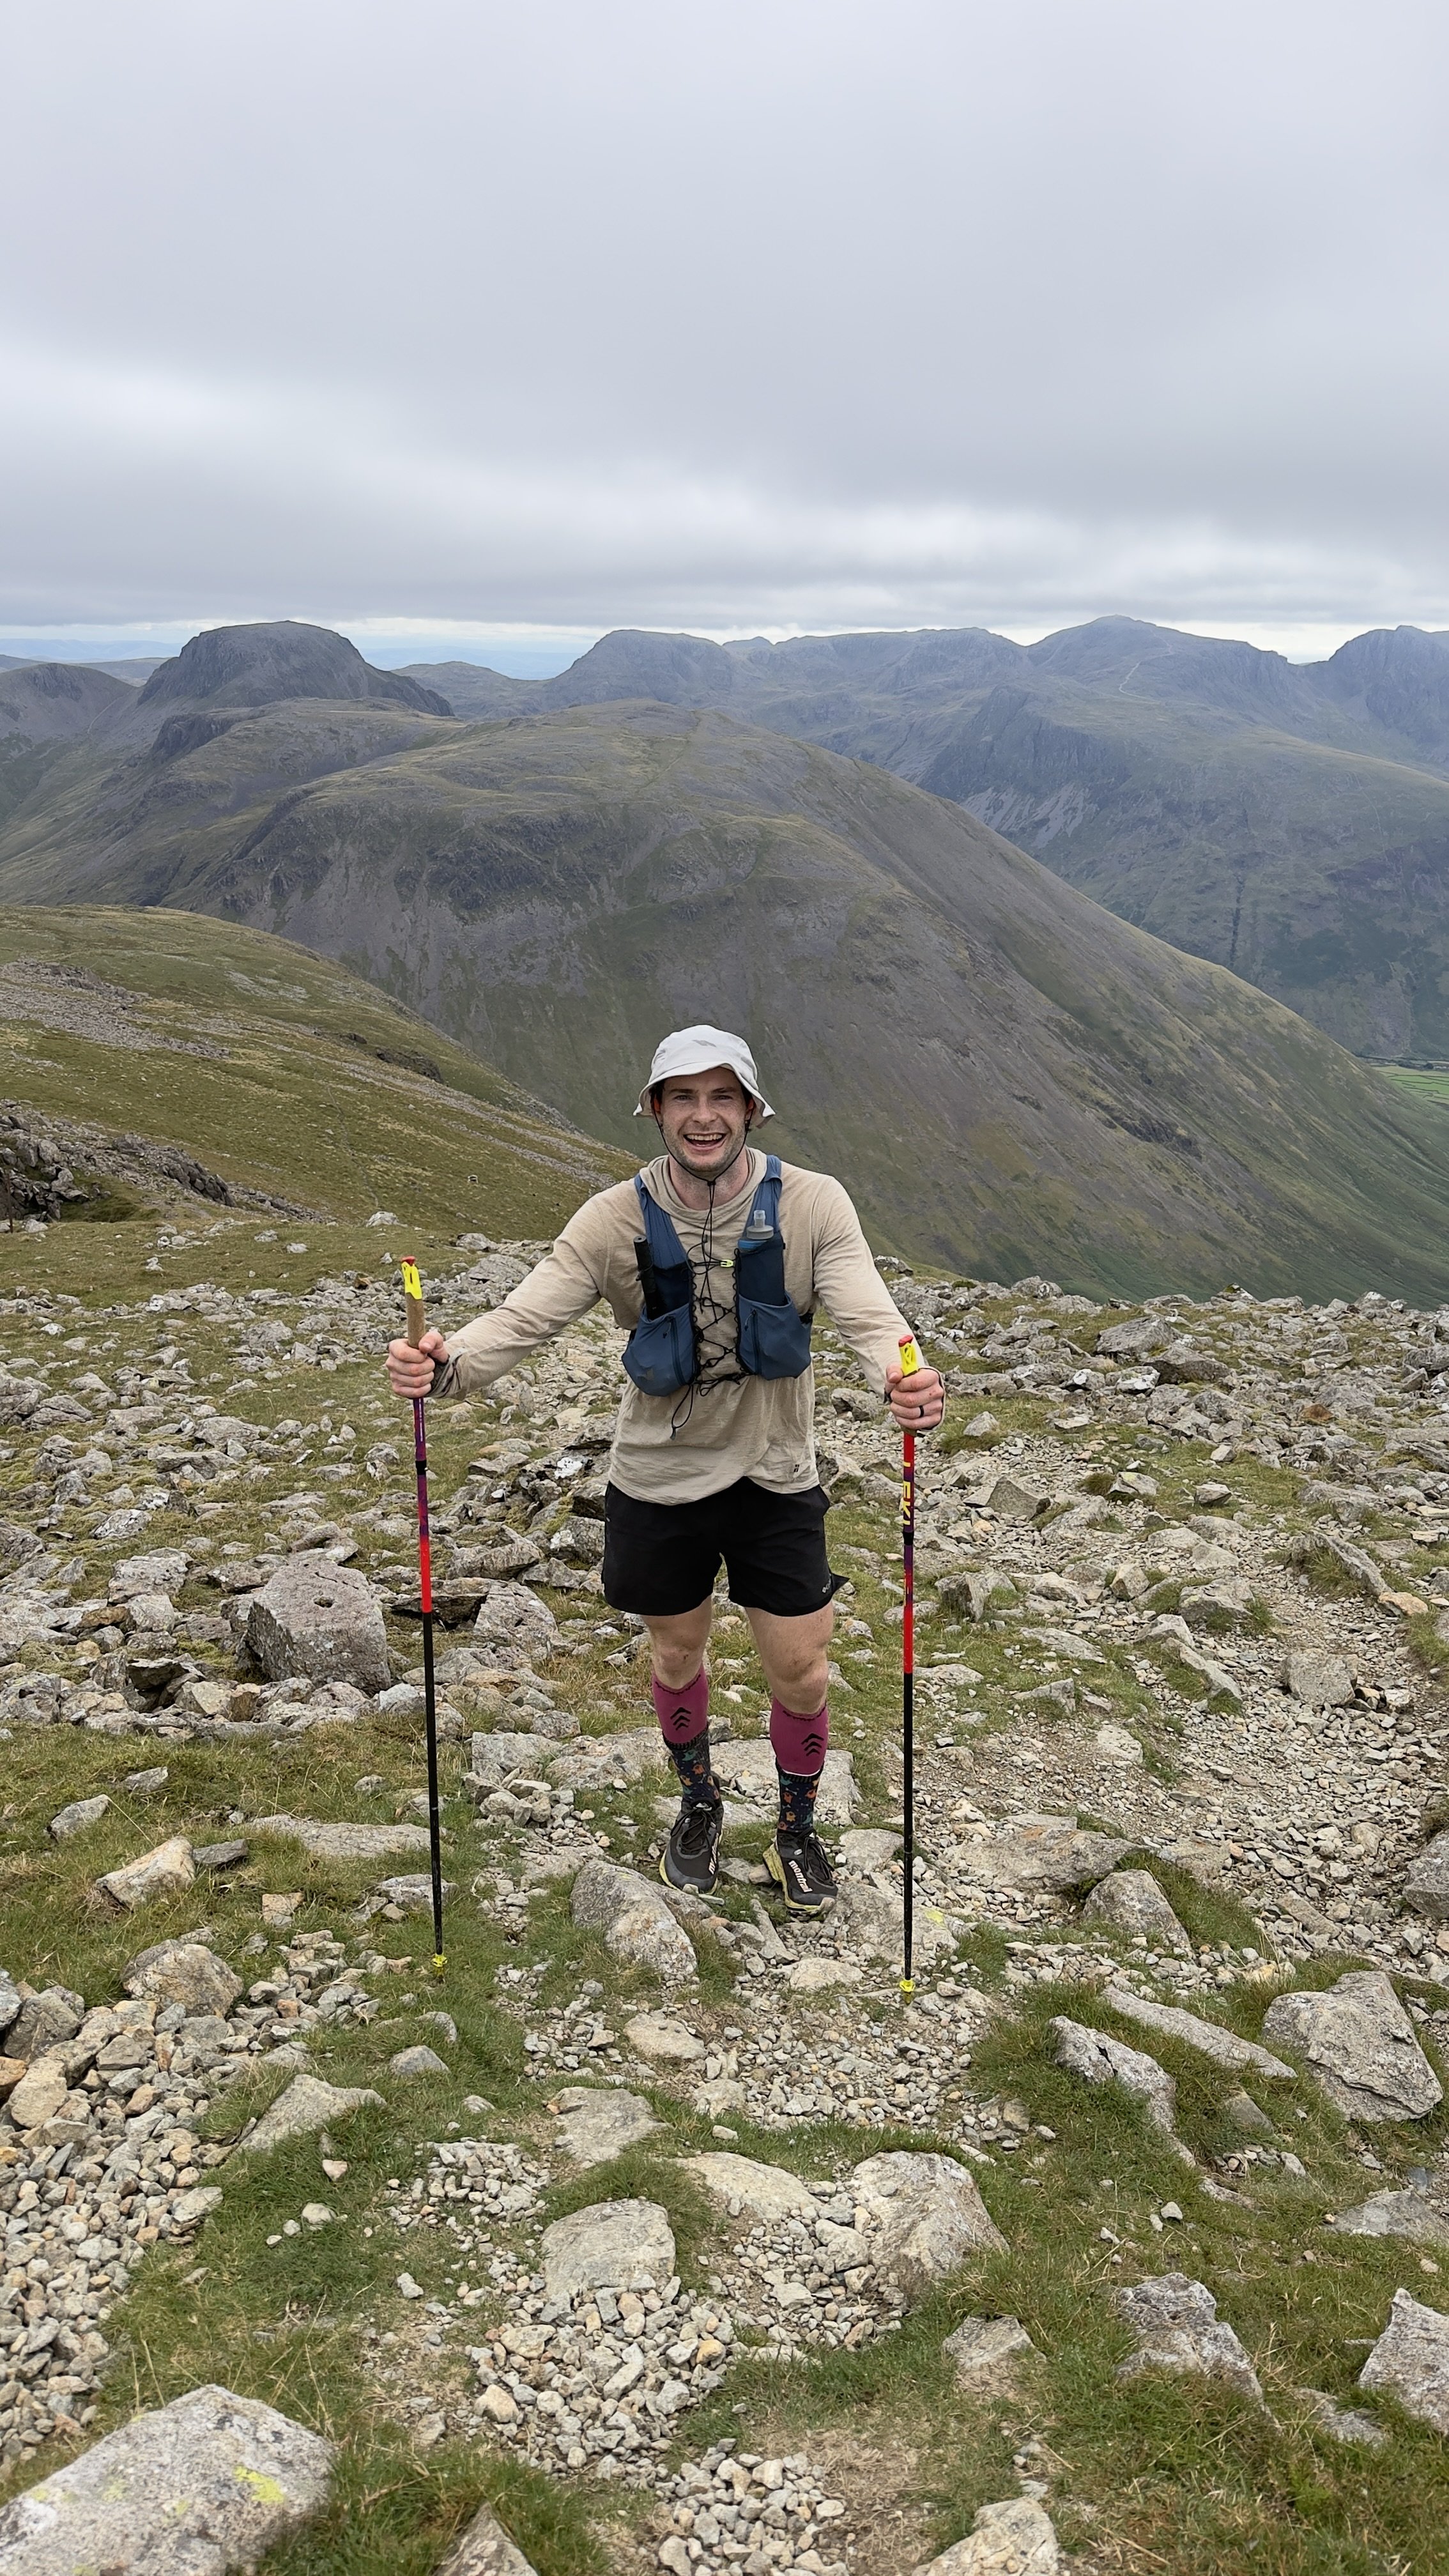
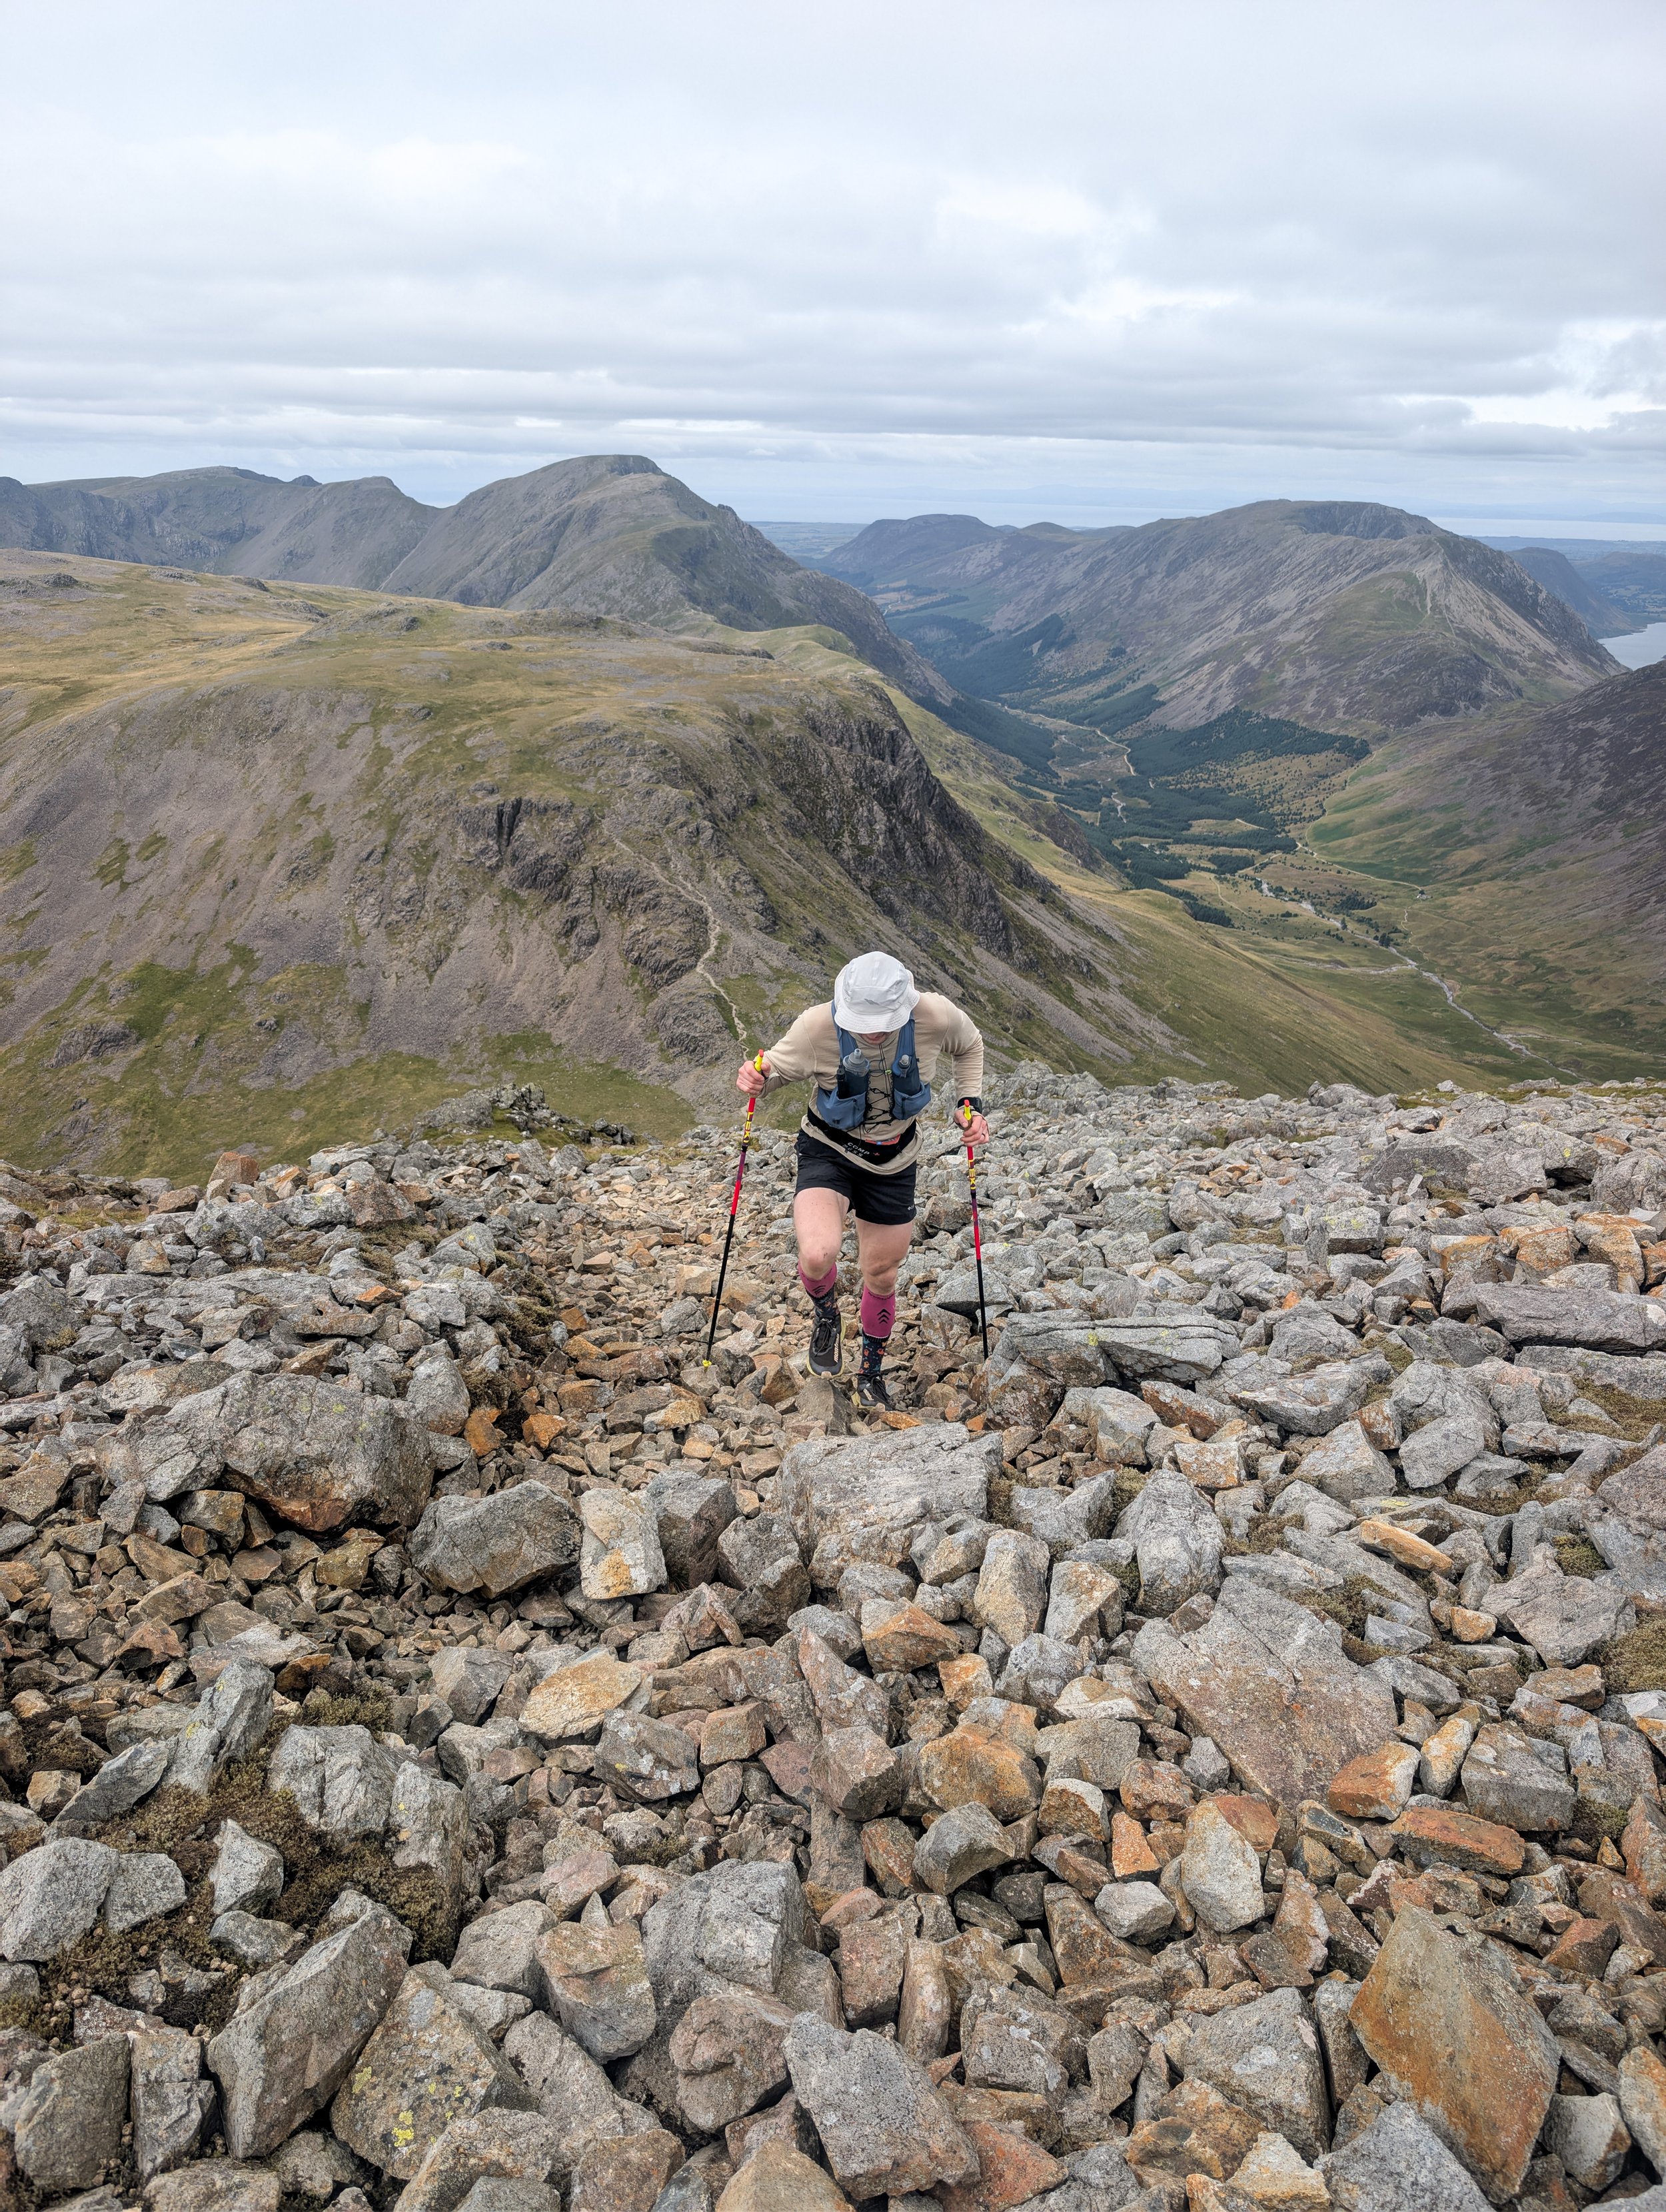
Great Gable is brutal this deep into the Round. The climb from Beck Head is steep, rocky and sustained, and there isn't much you can do other than put your head down and get on with it. For me it was comfortably the hardest climb of the entire Bob, arriving after roughly 84km and 18 hours of moving.
Brandreth can be surprisingly vague. There are several high points around the summit area which can all look convincing in poor visibility, so make sure you know what you are aiming for. By this stage I was essentially touching every suspiciously high-looking rock just to be safe.
The same goes for the summit of Grey Knotts, learn which one is the correct one ( i still dont know) or touch both
Learn the descent from Grey Knotts to Honister. There are quicker grassy lines off the ridge rather than simply following the fence all the way down, which is exactly the sort of shortcut you will appreciate after nearly 20 hours in the mountains.
I wouldn't rely heavily on natural water sources on Leg 4. Compared with Leg 3, convenient water is much less reliable, so I carried enough fluid to get myself from Wasdale to Honister rather than building my plan around finding water on the route.
Leg 4 is physically harder than it is navigationally difficult. If you have recced the important lines, I personally think it is more straightforward to navigate than Leg 3, and I wouldn't be particularly concerned about covering it in darkness if I knew the route well.
Honister is a massive psychological milestone. Once you arrive, there are only three summits left and substantially less climbing, which is why Leg 5 often feels like a victory lap despite still having around 17km to cover.
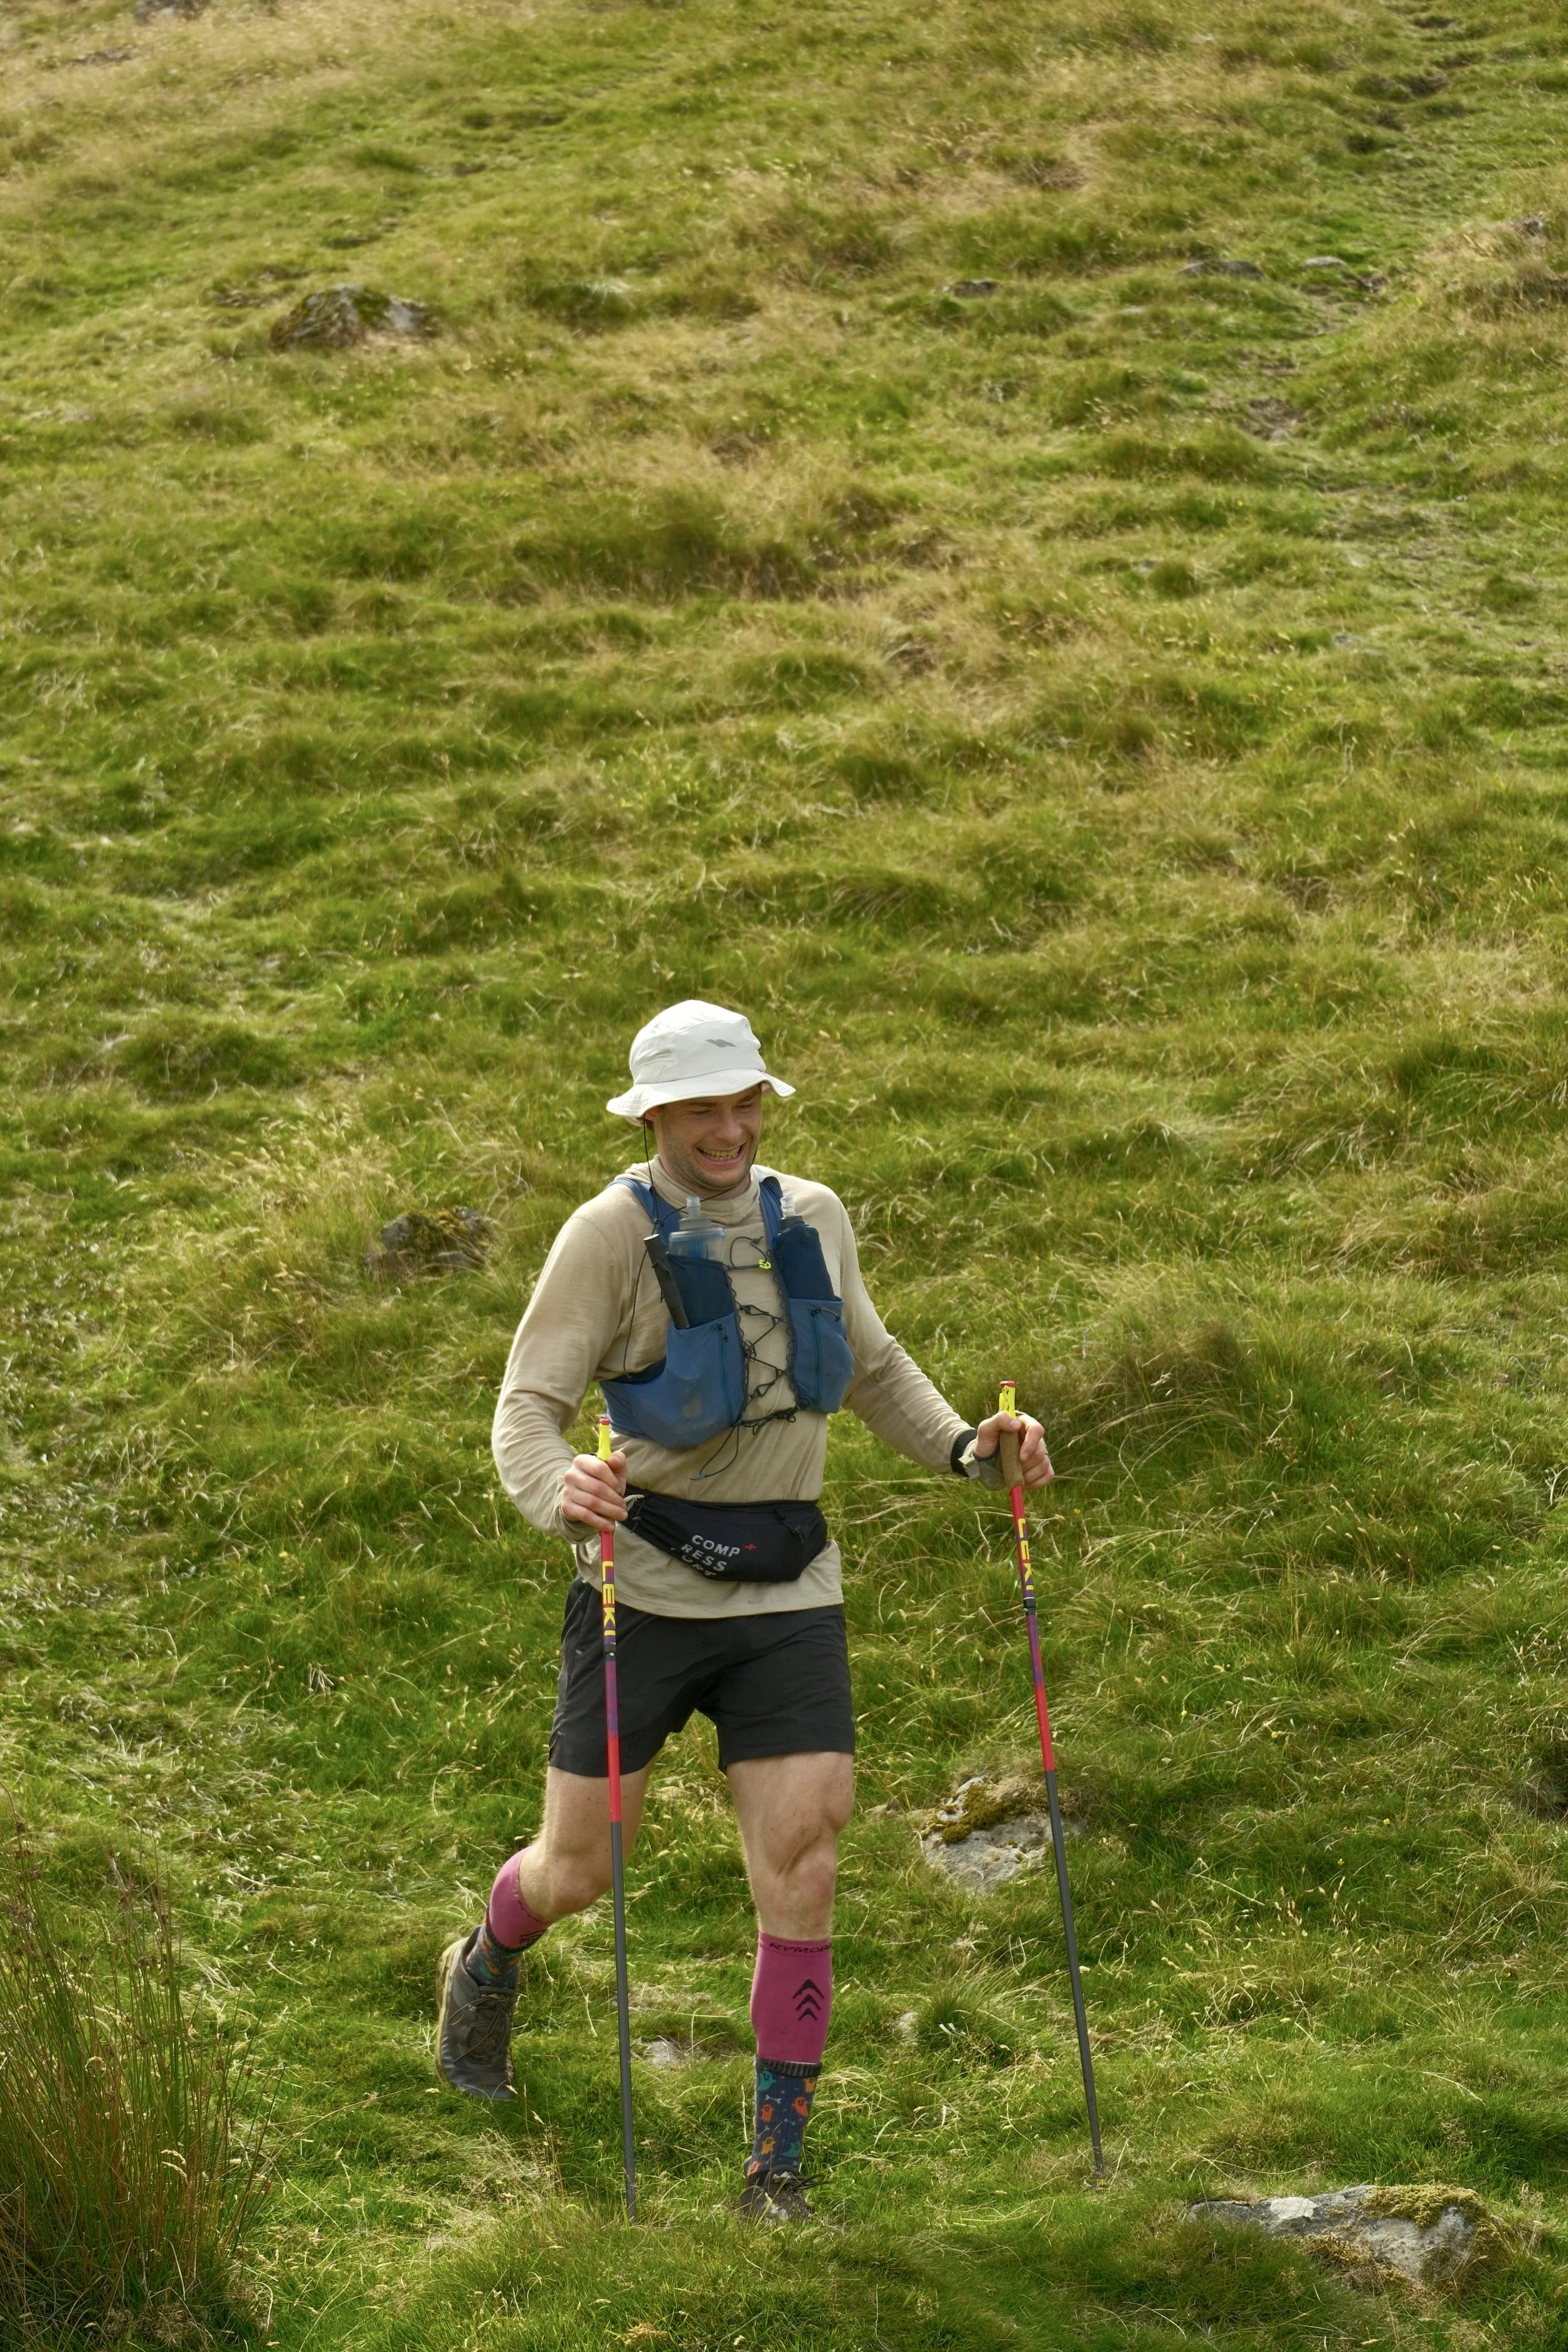
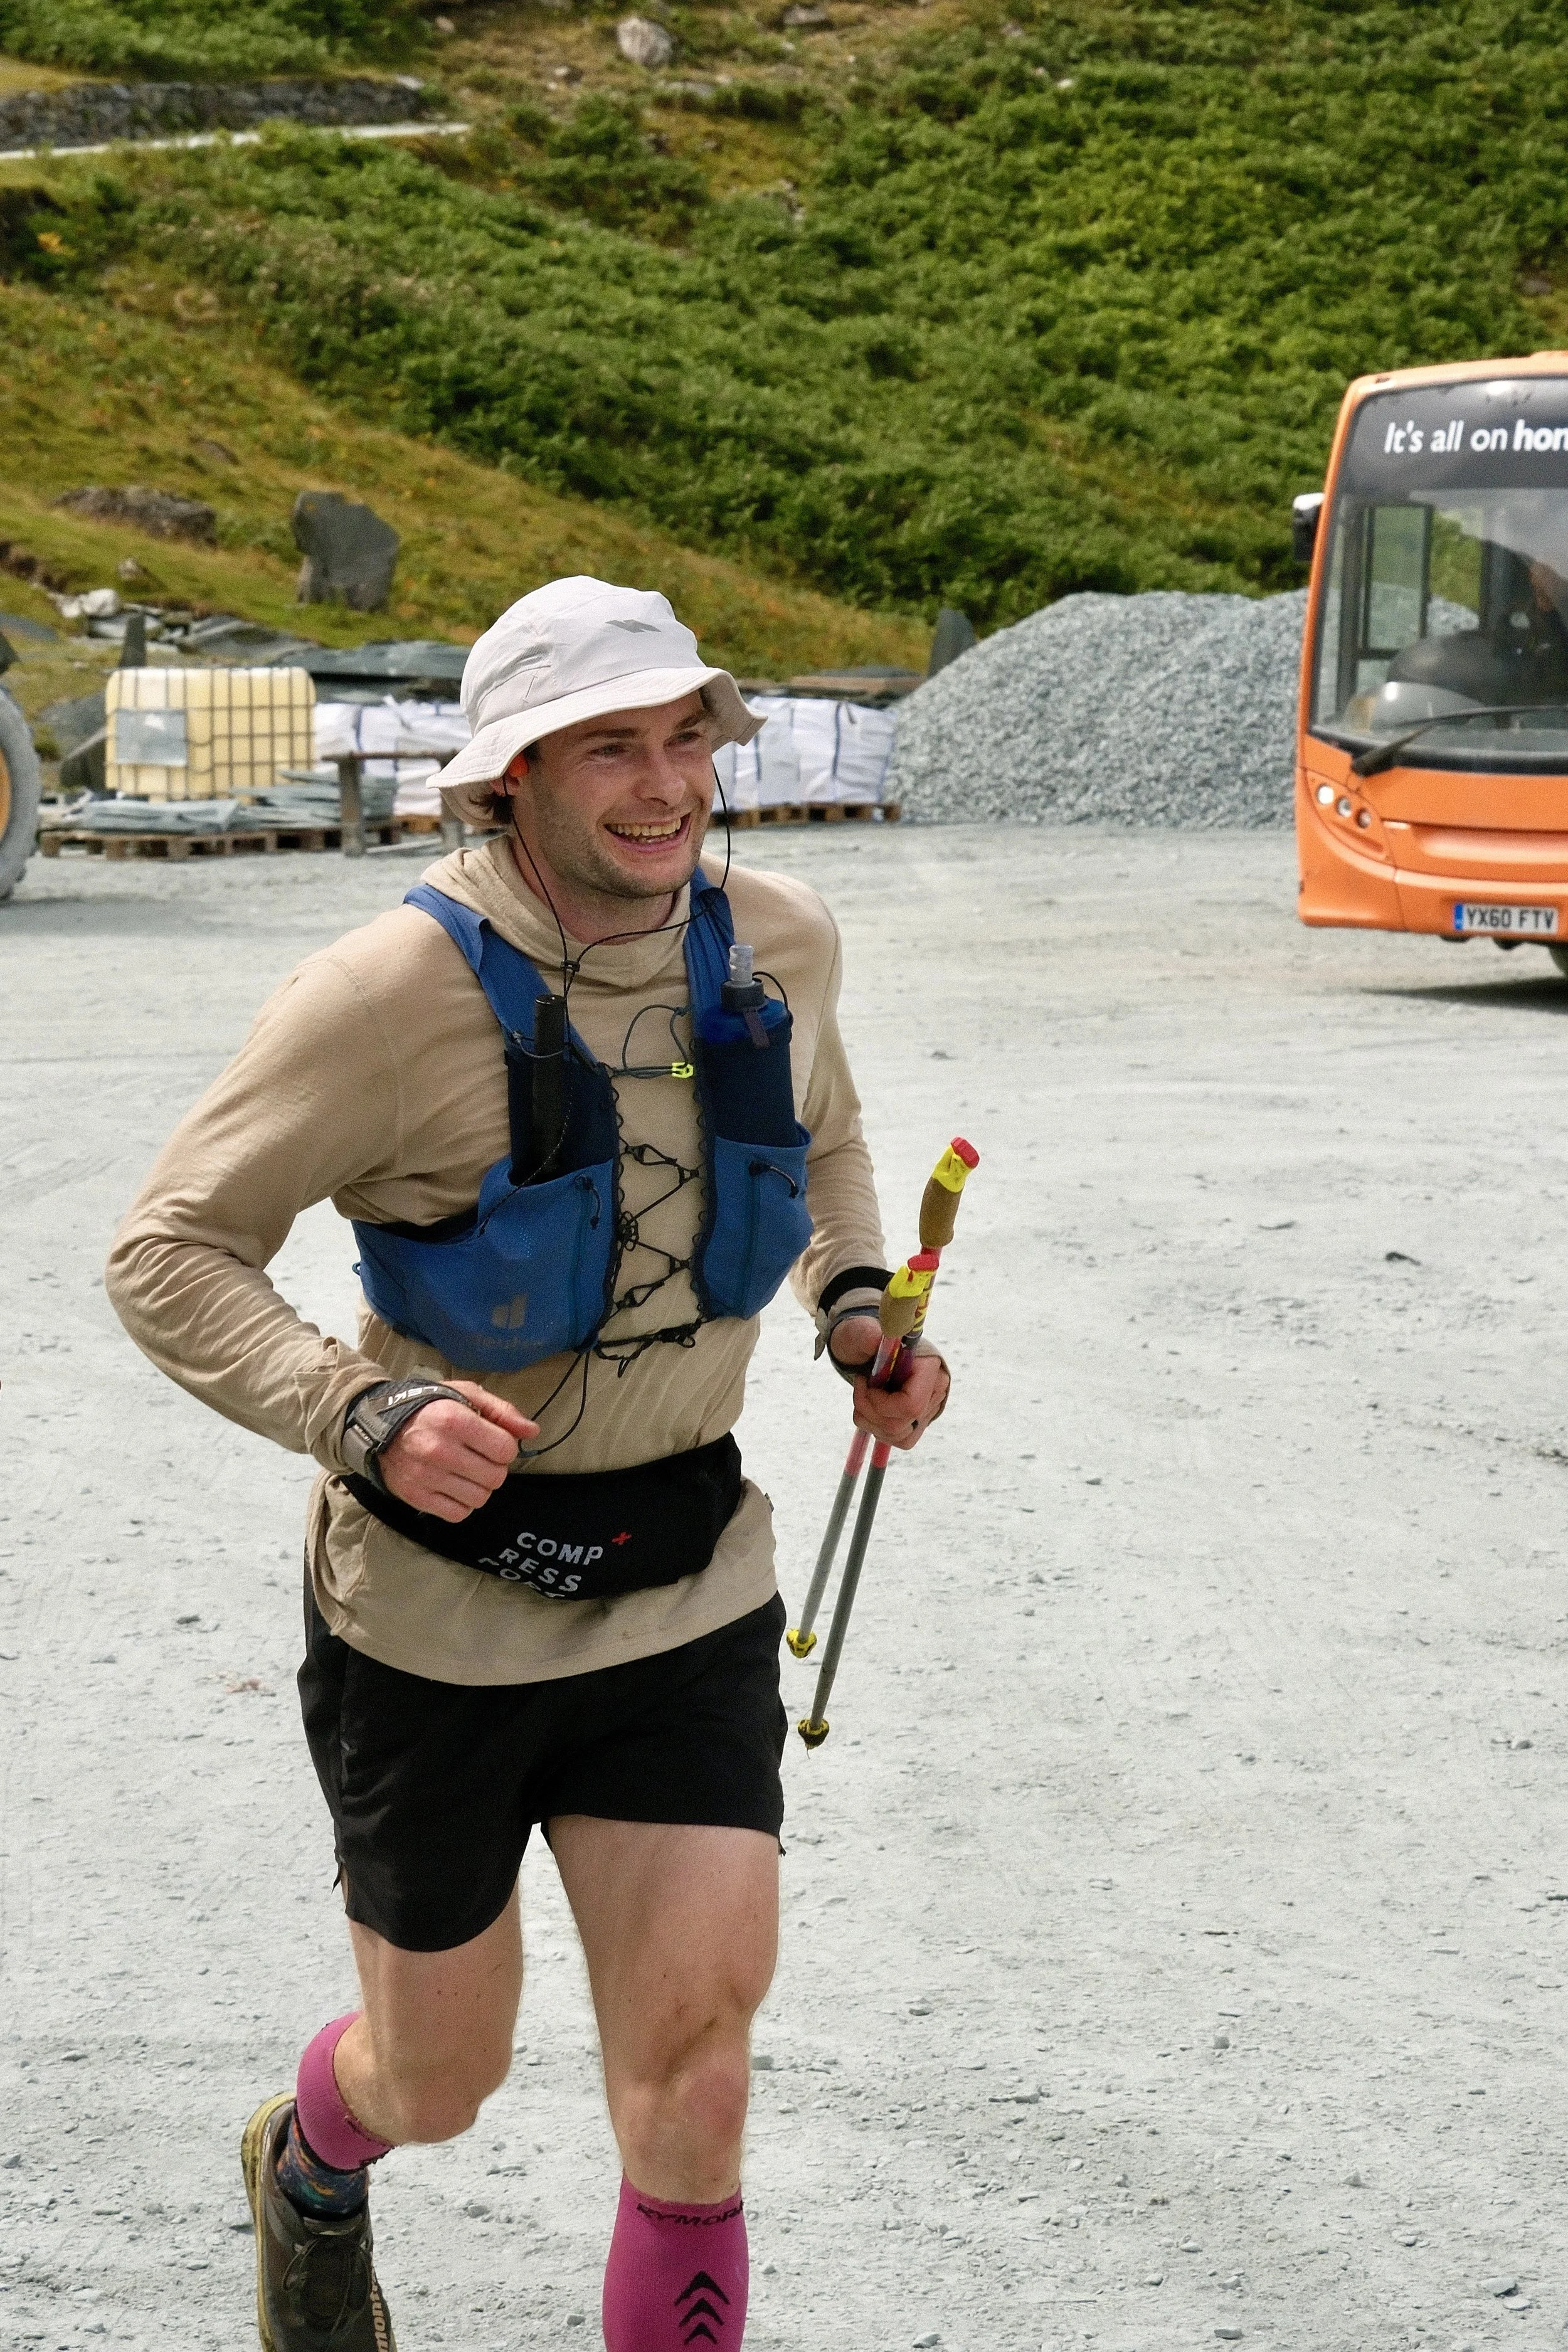
Have something hot and savoury waiting at Honister. A mate brought me pepperoni pizza at Honister and it tasted unbelievable, while for Mark's Round it was fish and chips. Knowing you have something like that waiting can act as a little motivational carrot through the harder parts of Leg 4, and will be a welcome relief to all the sugar you would have gotten down you
-
Leg 4 is awkward to recce as a straightforward point-to-point because of the driving between Wasdale and Honister, so I would recommend turning it into a loop from Wasdale instead.
I recced most of Leg 4 by starting in Wasdale, following the Bob Graham route over Yewbarrow, Red Pike, Steeple, Pillar, Kirk Fell and Great Gable, then linking across towards Great End and using the back end of Leg 3 over Ill Crag, Brad Crag, the Scafells, then the descent to Wasdale.
That gave me a roughly 25km day with around 2,600m of ascent, while allowing me to cover most of Leg 4 and some of the most technical parts of Leg 3 in one big mountain day.
You can find that route on OS Maps here
You can then cover Green Gable, Brandreth and Grey Knotts separately from Honister, which I would combine with a Leg 5 recce rather than making another dedicated trip.
If you want to compare your pace while reccying Leg 4, these were my approximate timings from leaving Wasdale:
Yewbarrow: 0:45
Red Pike: 1:28
Steeple: 1:45
Pillar: 2:14
Kirk Fell: 3:04
Great Gable: 3:45
Green Gable: 3:59
Brandreth: 4:14
Grey Knotts: 4:28
Honister: 4:42
As with the other legs, I wouldn't treat these as times you need to beat, but they provide a useful benchmark for how quickly you need to move between the summits if you are aiming for a similar overall schedule.
-
For someone working towards an overall 22 to 24-hour schedule, a rough cumulative guide from Moot Hall would be:
Yewbarrow: Around 15:00 to 16:10
Red Pike: Around 15:45 to 17:00
Pillar: Around 16:45 to 18:00
Kirk Fell: Around 17:35 to 18:55
Great Gable: Around 18:20 to 19:45
Honister: Around 19:15 to 20:45
On my own Round I left Wasdale around 13 hours and 50 minutes after starting and reached Honister at 18 hours 53 minutes, with around 21 minutes spent at the Wasdale road crossing beforehand
Leg 5: Honister to Keswick
Distance: Around 17km
Elevation gain: Around 800m
Honister Parking: Google Maps / What Three Words
Little Town Parking: Google Maps / What Three Words
3 Summits: Dale Head, Hindscarth and Robinson
Leg 5 is the shortest and easiest of the five legs, and for a clockwise Bob Graham it is often referred to as the victory lap.
However, there is still around 17km and 800m of ascent to cover, which can feel considerably less friendly when you have already spent the best part of 20 hours moving through the mountains.
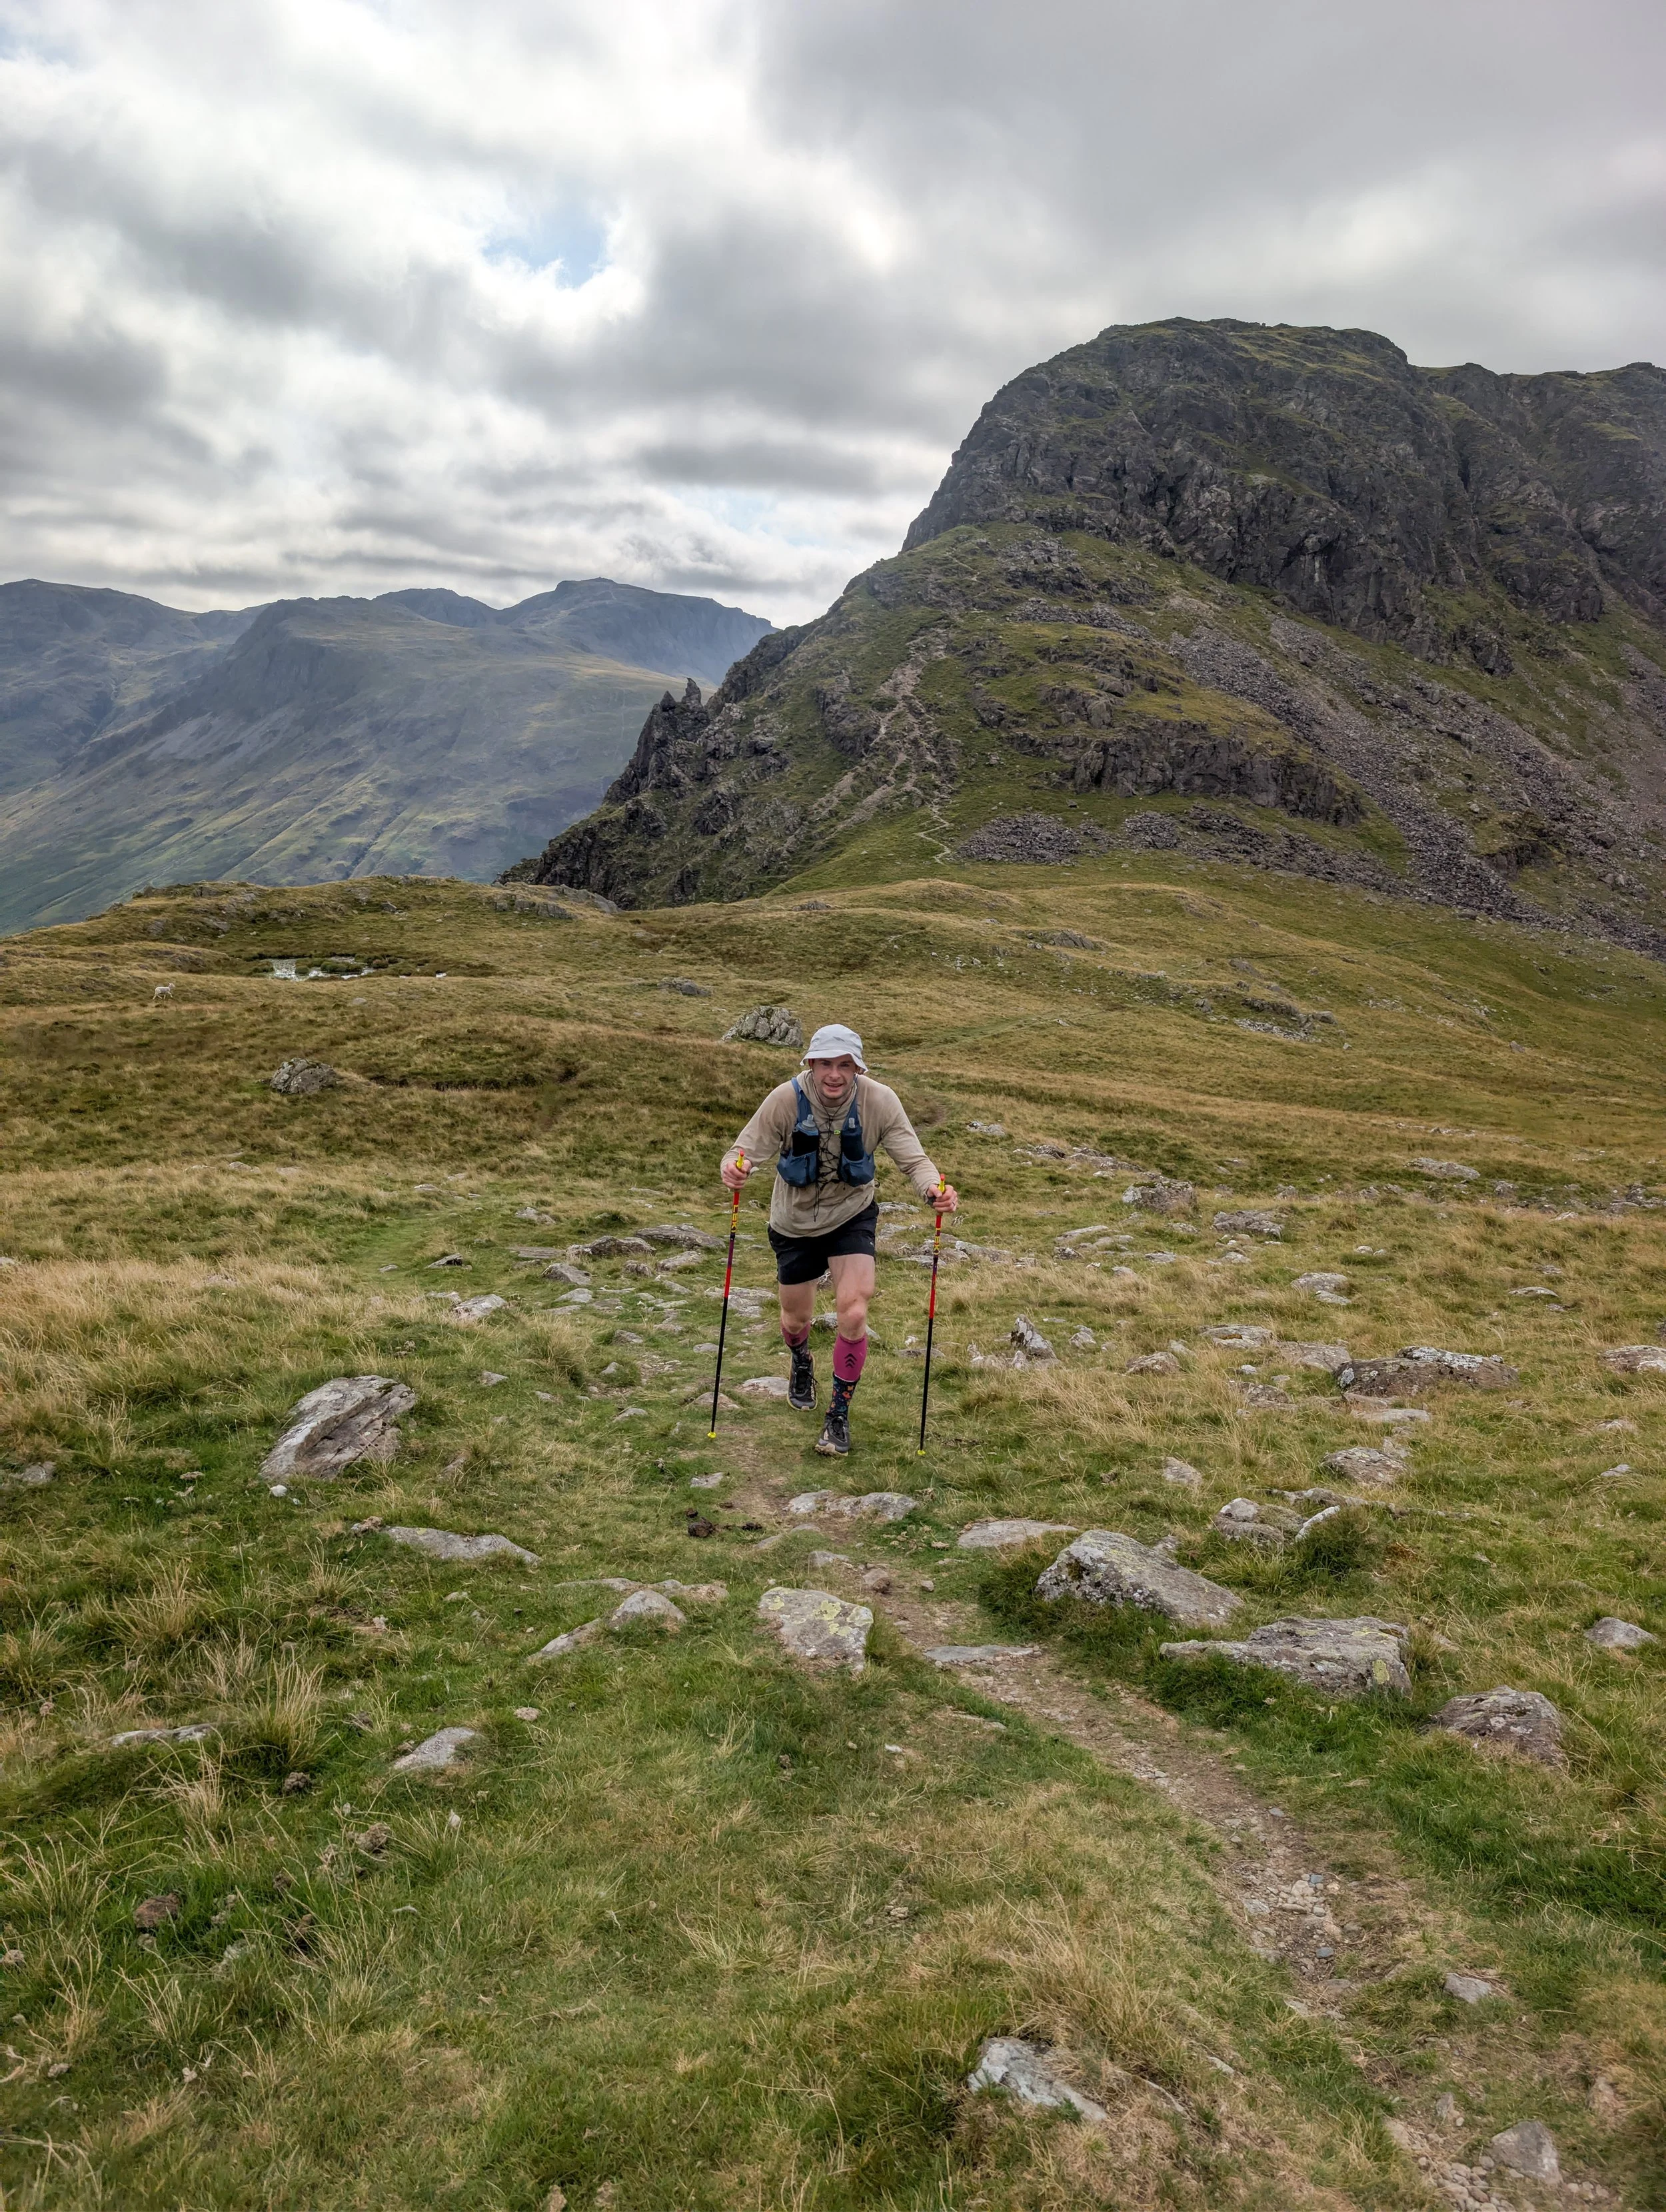
From Honister you immediately begin the final big climb of the Round towards Dale Head, following the broad ridge north from the pass.
Once you reach the summit, the amount of climbing reduces considerably as you follow the ridge towards Hindscarth, which sits slightly away from the most obvious main path, before heading across to Robinson and the 42nd and final summit.
From Robinson the mountains are finally finished, but you still have a long descent towards the Newlands Valley followed by several kilometres of road through Little Town, Stair and Portinscale before crossing back into Keswick and returning to the door of Moot Hall.
-
Dale Head is the final big climb. There is still around 500m of ascent straight out of Honister, but once you reach the summit you have completed the last really substantial climb of the Bob Graham.
Hindscarth sits away from the main ridge path. As you descend from Dale Head, you need to deliberately take the path out towards the summit rather than simply continuing along the most obvious line towards Robinson. It is essentially a short out-and-back before cutting back towards Little Dale Edge.
There is a good shortcut from Hindscarth towards Robinson. Rather than fully retracing your steps back to the main path, a trod cuts down from just south of Hindscarth and rejoins the route towards Little Dale Edge, saving some unnecessary distance.
Robinson is the 42nd and final summit, but don't completely switch off once you reach it. The initial descent can be surprisingly awkward, particularly in darkness or clag, with steep and rocky ground around the ridge. There are also sections of very steep ground if you drift too far from the correct line.
There are two main options off Robinson. You can remain on the ridge towards High Snab Bank, or drop from the eastern side towards Scope Beck and follow the valley track. I didnt reccie this section and dropped down tot Scope Beck
Consider having road shoes waiting for you at Little Town I changed shoes in the little car park just past the church. I found it much more comfortable for the final run into Keswick, particularly as my toes had taken an absolute battering during the mountain sections.
The road run is longer than you think. Once you reach the valley you still have 9km through Little Town, Stair, Swinside and Portinscale before eventually reaching Keswick.
Don't assume Leg 5 will automatically be easy. On fresh legs it is by far the easiest section of the Round, but after 90 plus kilometres the climb up Dale Head, descent from Robinson and final road run can still take a lot out of you.
If you have time in hand, enjoy it. Dale Head gives you an incredible view back across much of the route, while Robinson is your final summit and a pretty special place to stop for a moment before heading back to Keswick.
Keswick Market can make the finish busy. The market runs until around 6pm on Saturdays, so if your Round finishes before then, expect Moot Hall and the surrounding square to be busy with stalls, shoppers and tourists. It isn't a major problem, but you may have to weave through people on the final few hundred metres and you probably won't get the classic unobstructed photo directly in front of Moot Hall.
Be respectful when running through the market. For me, the finish wasn't about getting the perfect photo, it was about having the best possible experience and completing the Round. Slow down where necessary, give people plenty of space and remember that everyone else in Keswick is simply going about their Saturday.
I wouldn't compromise my whole schedule just to avoid the market. The Bob Graham 24 Hour Club encourages people to consider their finish time and avoid causing disruption in Keswick where possible, but changing your start by several hours can also change which parts of the Round you cover in darkness. Personally, I would rather accept a slightly busier finish than compromise the daylight, views and overall experience of the Round just to get a cleaner photo outside Moot Hall.
-
I wouldn't bother reccying the road section back into Keswick. Instead, I would drive the route as far as Portinscale so you know where you are going, then use Google Maps for the final section back towards Moot Hall. You could even skip the full descent off Robinson.
For the mountain section, I would park at Honister and do a double out-and-back, which lets you cover the end of Leg 4 and the start of Leg 5 in one session.
This creates a 18-20km Route with 1500-1,600m of ascent, and provides another good training day.
First, head out towards Green Gable, then turn around and cover Brandreth and Grey Knotts on the way back to Honister.
Once back at Honister, head the opposite direction and follow Leg 5 over Dale Head, Hindscarth and Robinson, before turning around and retracing your route back to the car.
It is a simple way to cover the important mountain terrain without having to organise transport, while also ticking off the final section of Leg 4 at the same time.
You can find the OS Maps Route here
-
For someone working towards an overall 22 to 24-hour schedule, a rough cumulative guide from Moot Hall would be:
Dale Head: Around 20:00 to 21:20
Hindscarth: Around 20:20 to 21:40
Robinson: Around 20:40 to 22:05
Moot Hall: Around 22:00 to 24:00
On my own Round I completed Leg 5 in around 2 hours 53 and my timings were as follows
Dale Head: 0:41
Hindscarth: 0:57
Robinson: 1:19
Keswick: 2:56
I wouldn't treat these as times you necessarily need to beat, but they give you a useful benchmark for the pace I was moving at during my successful 21 hour 46 minute Round
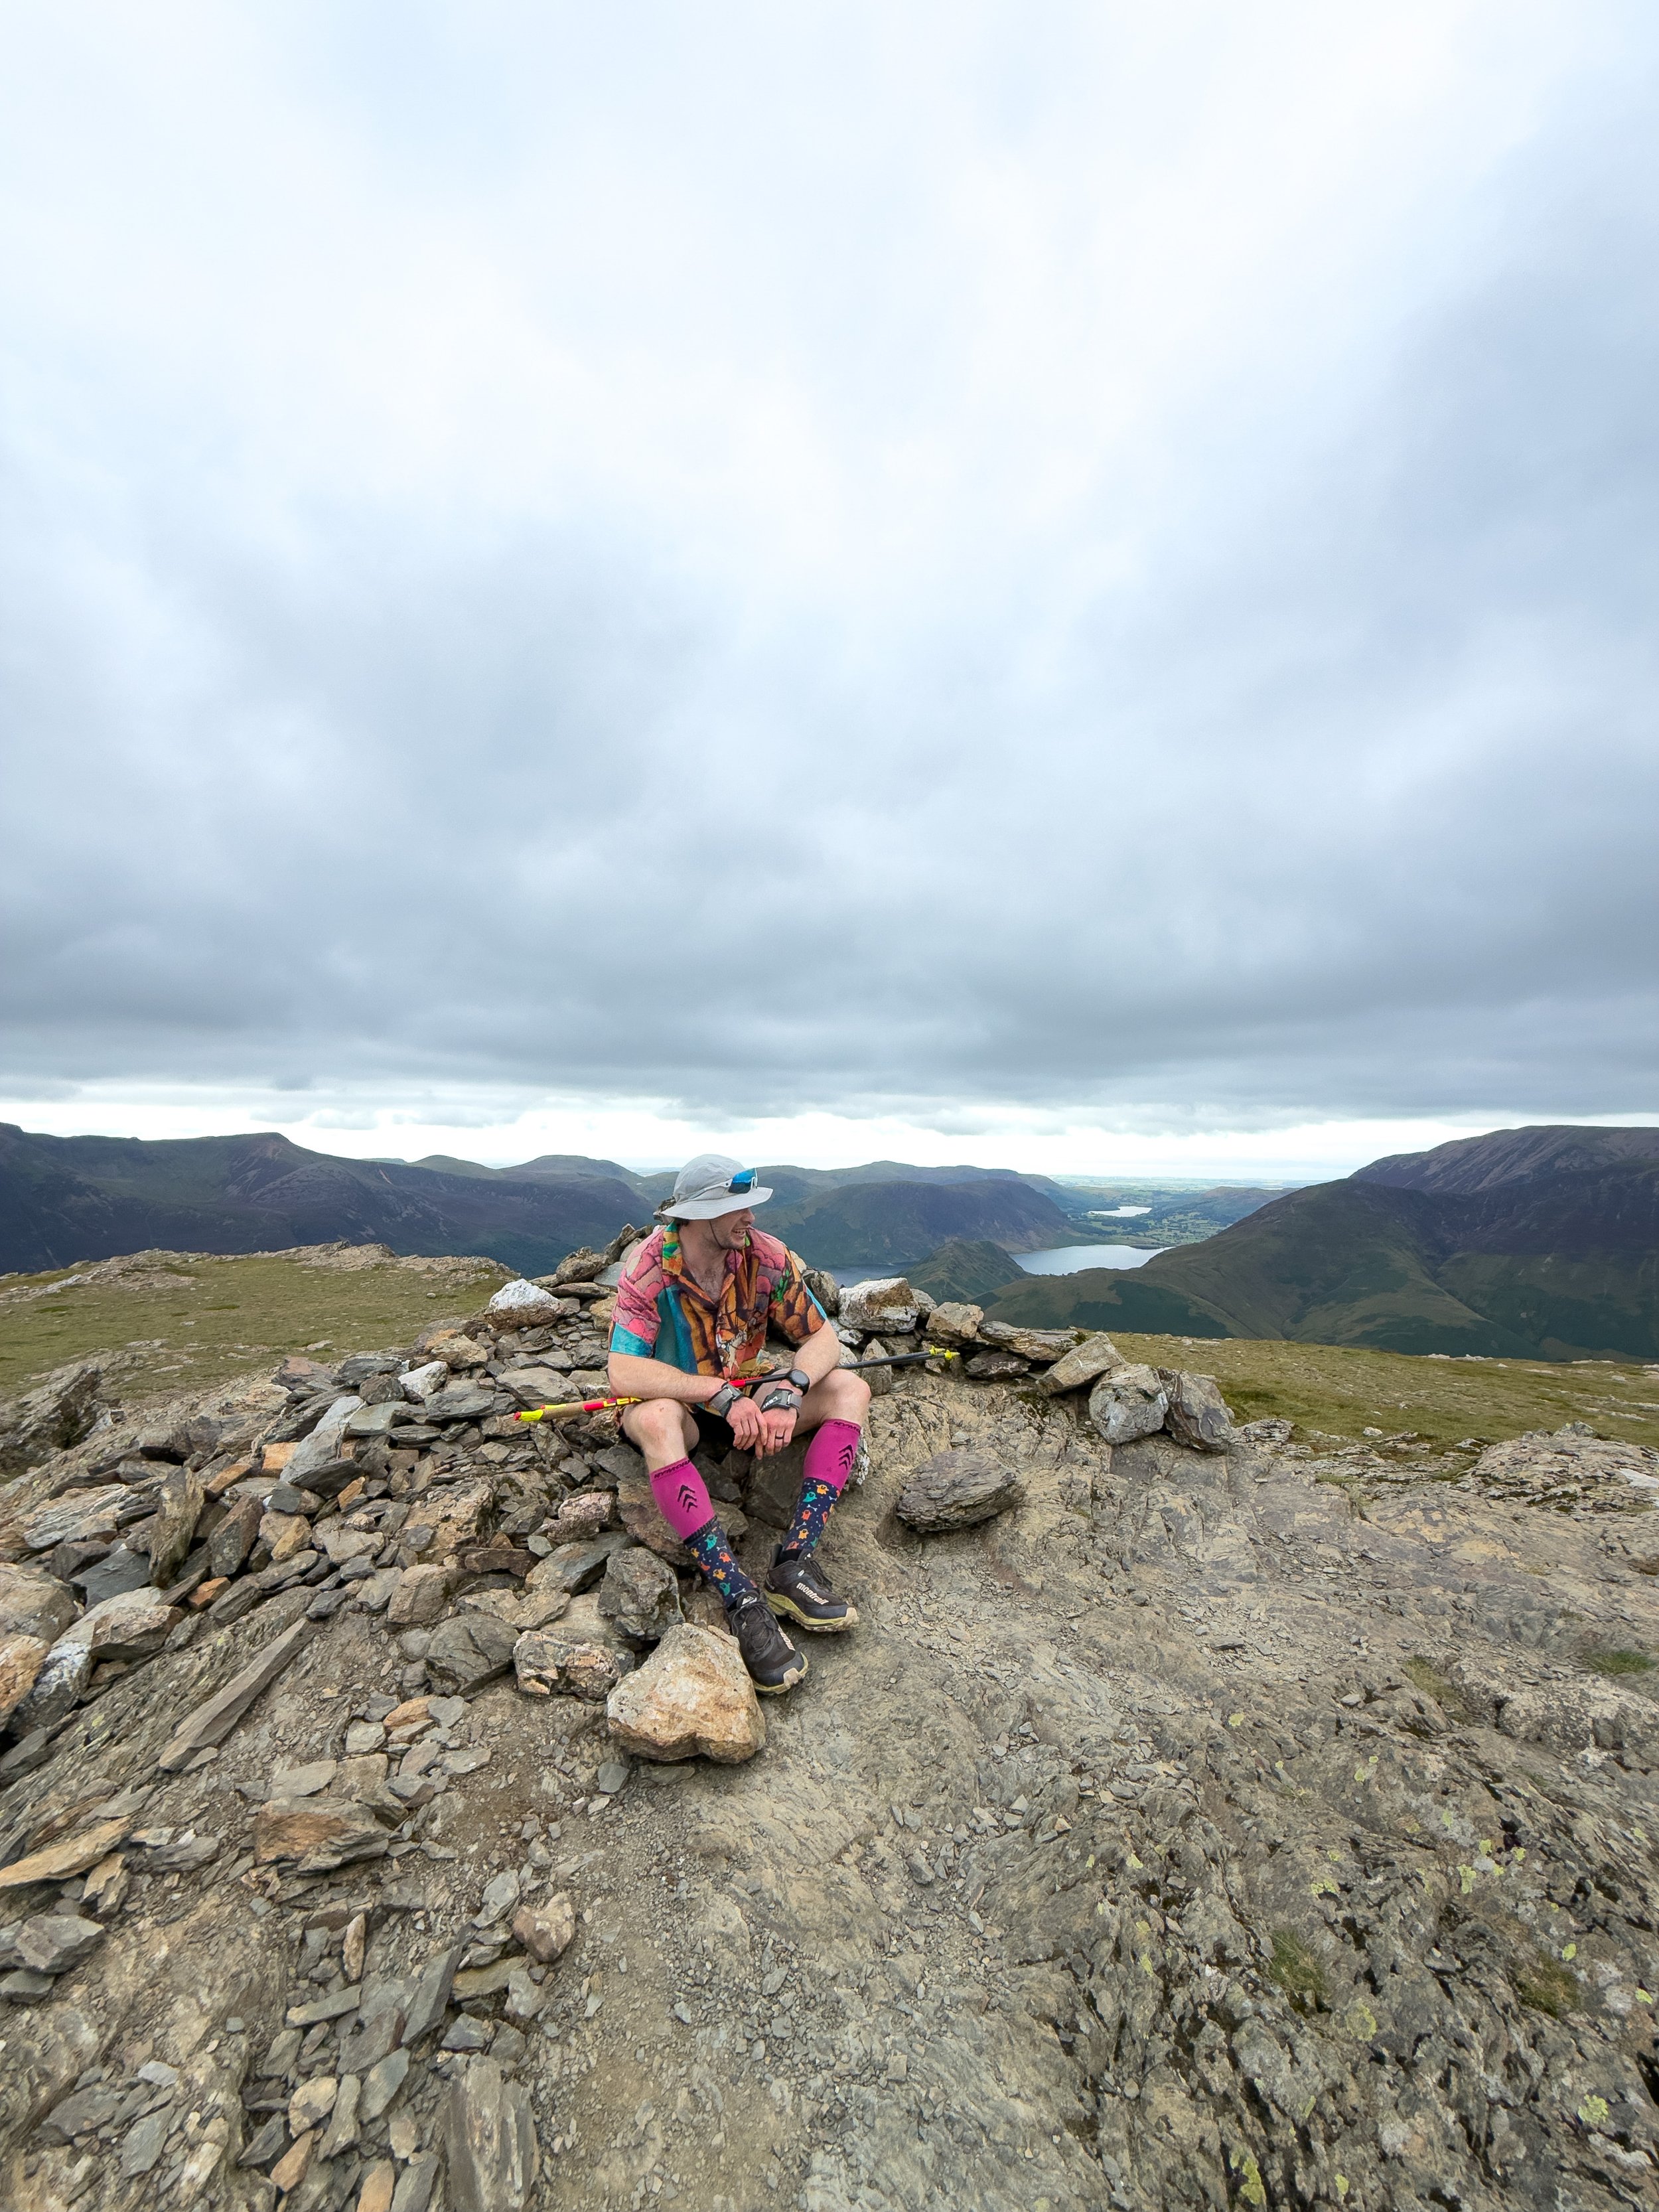
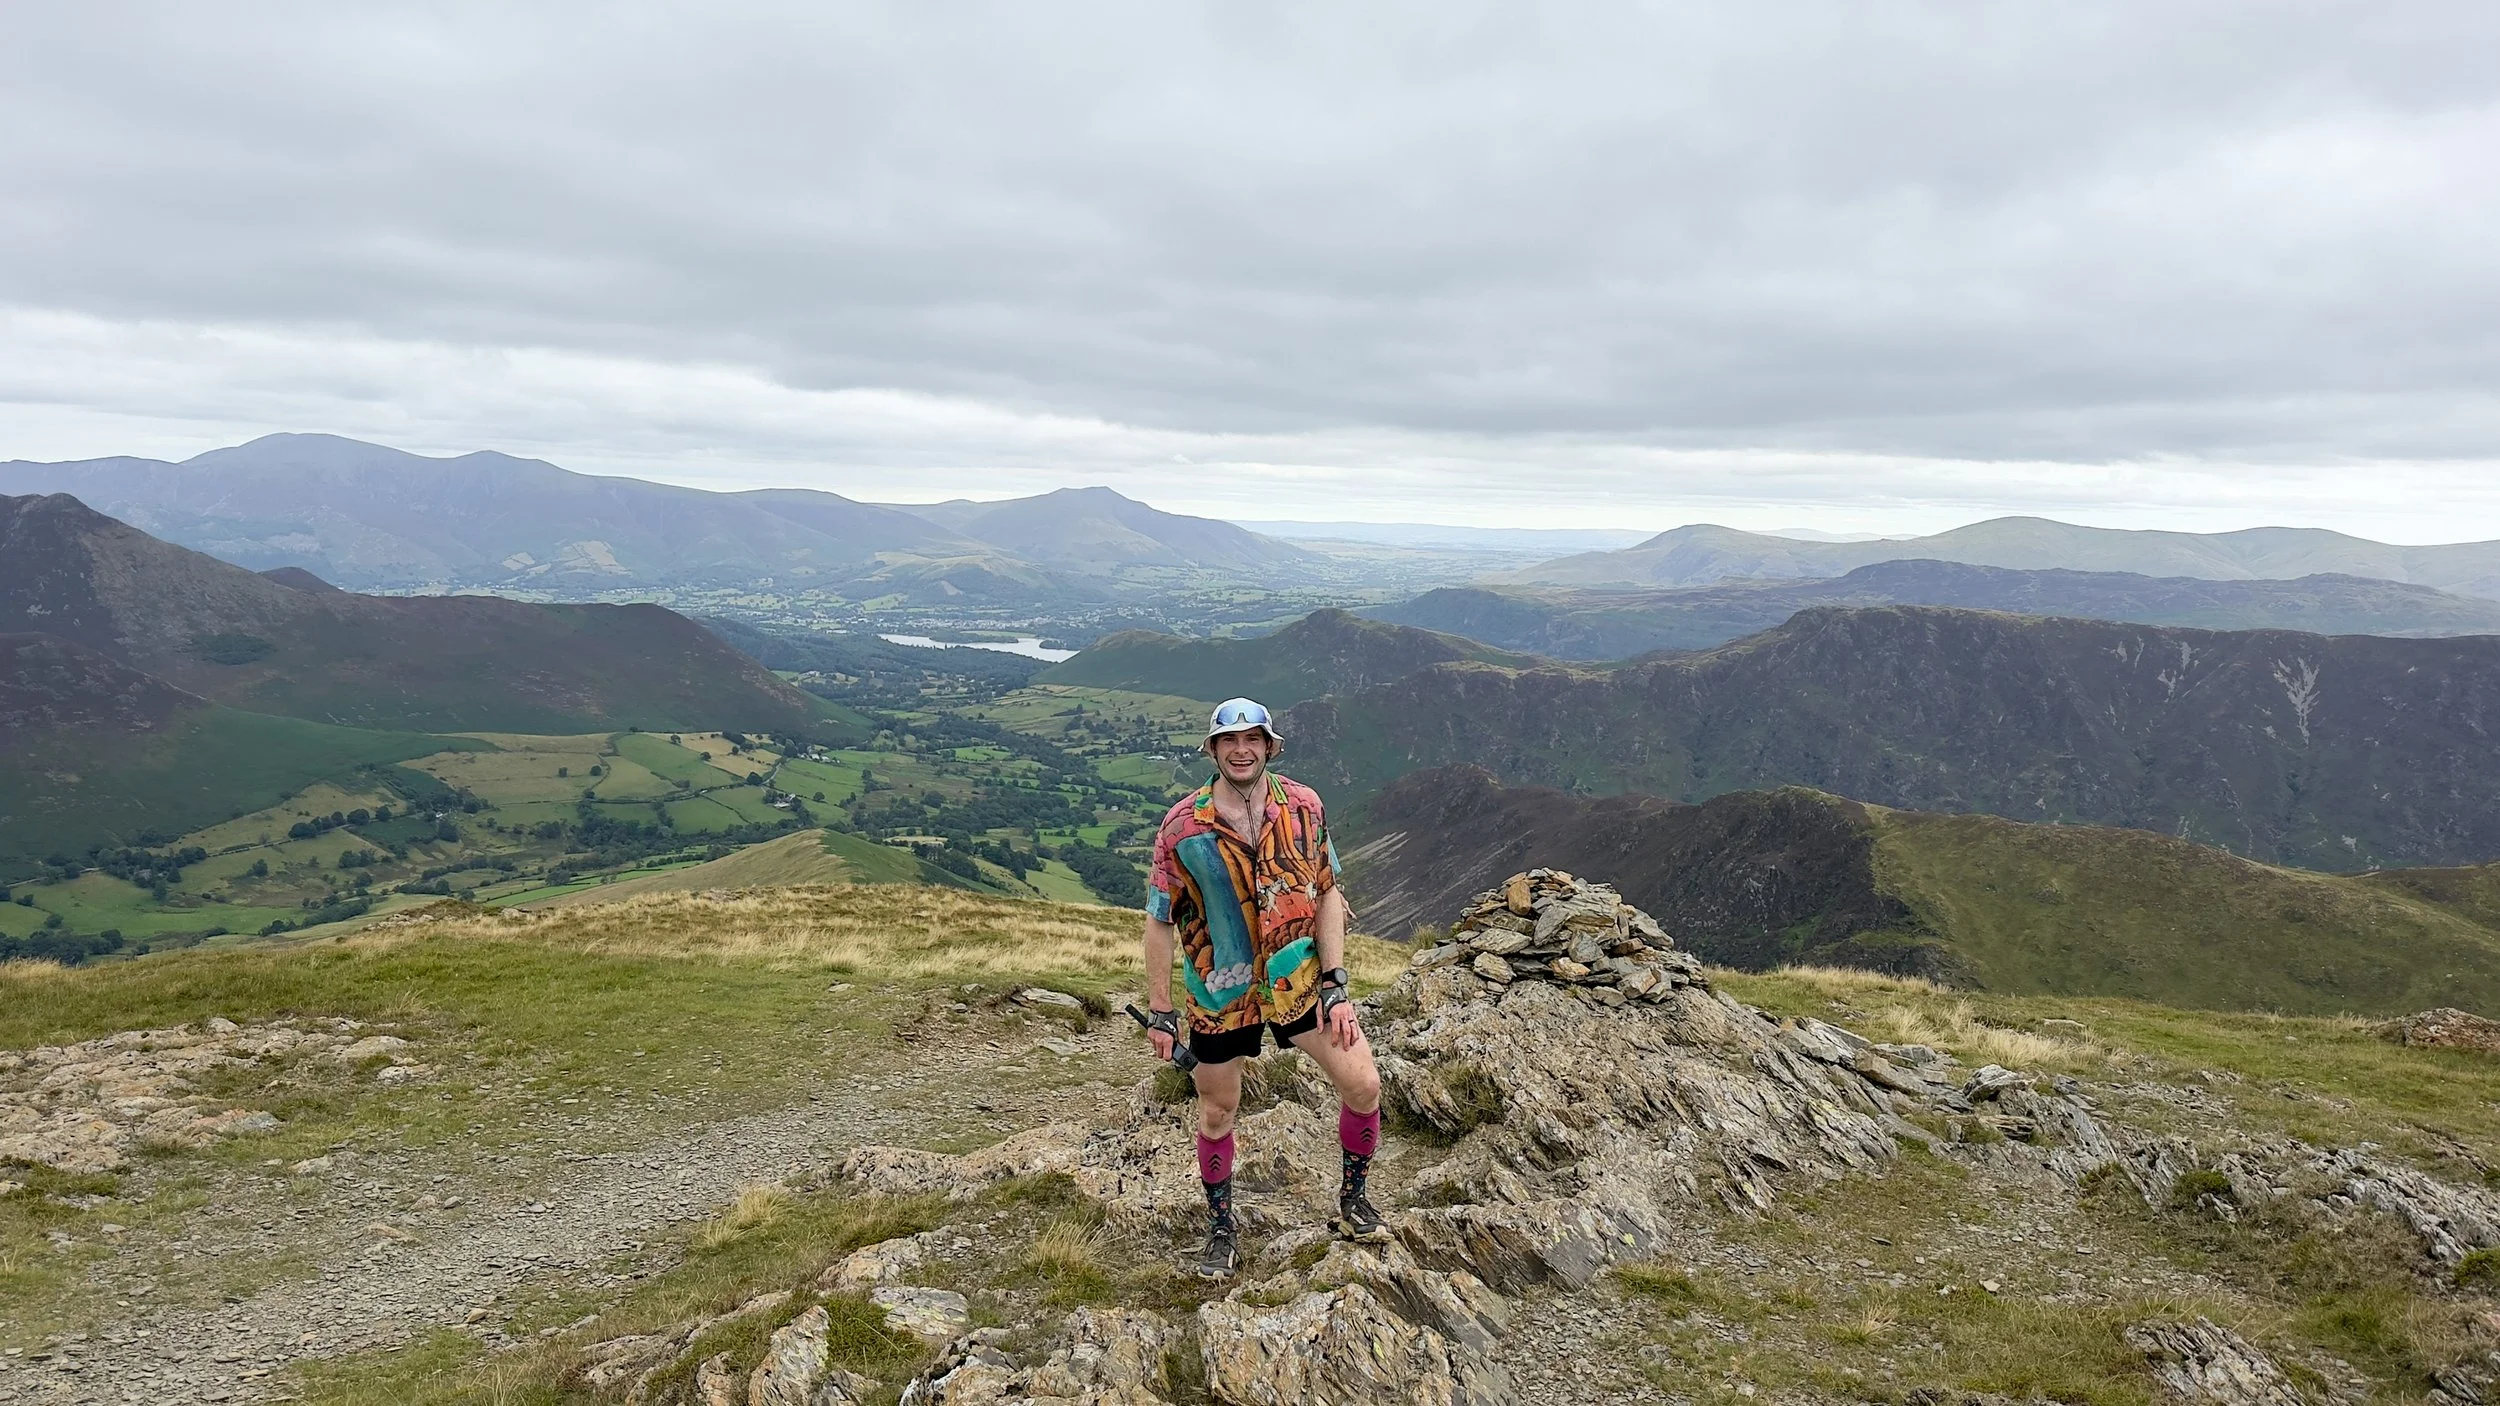
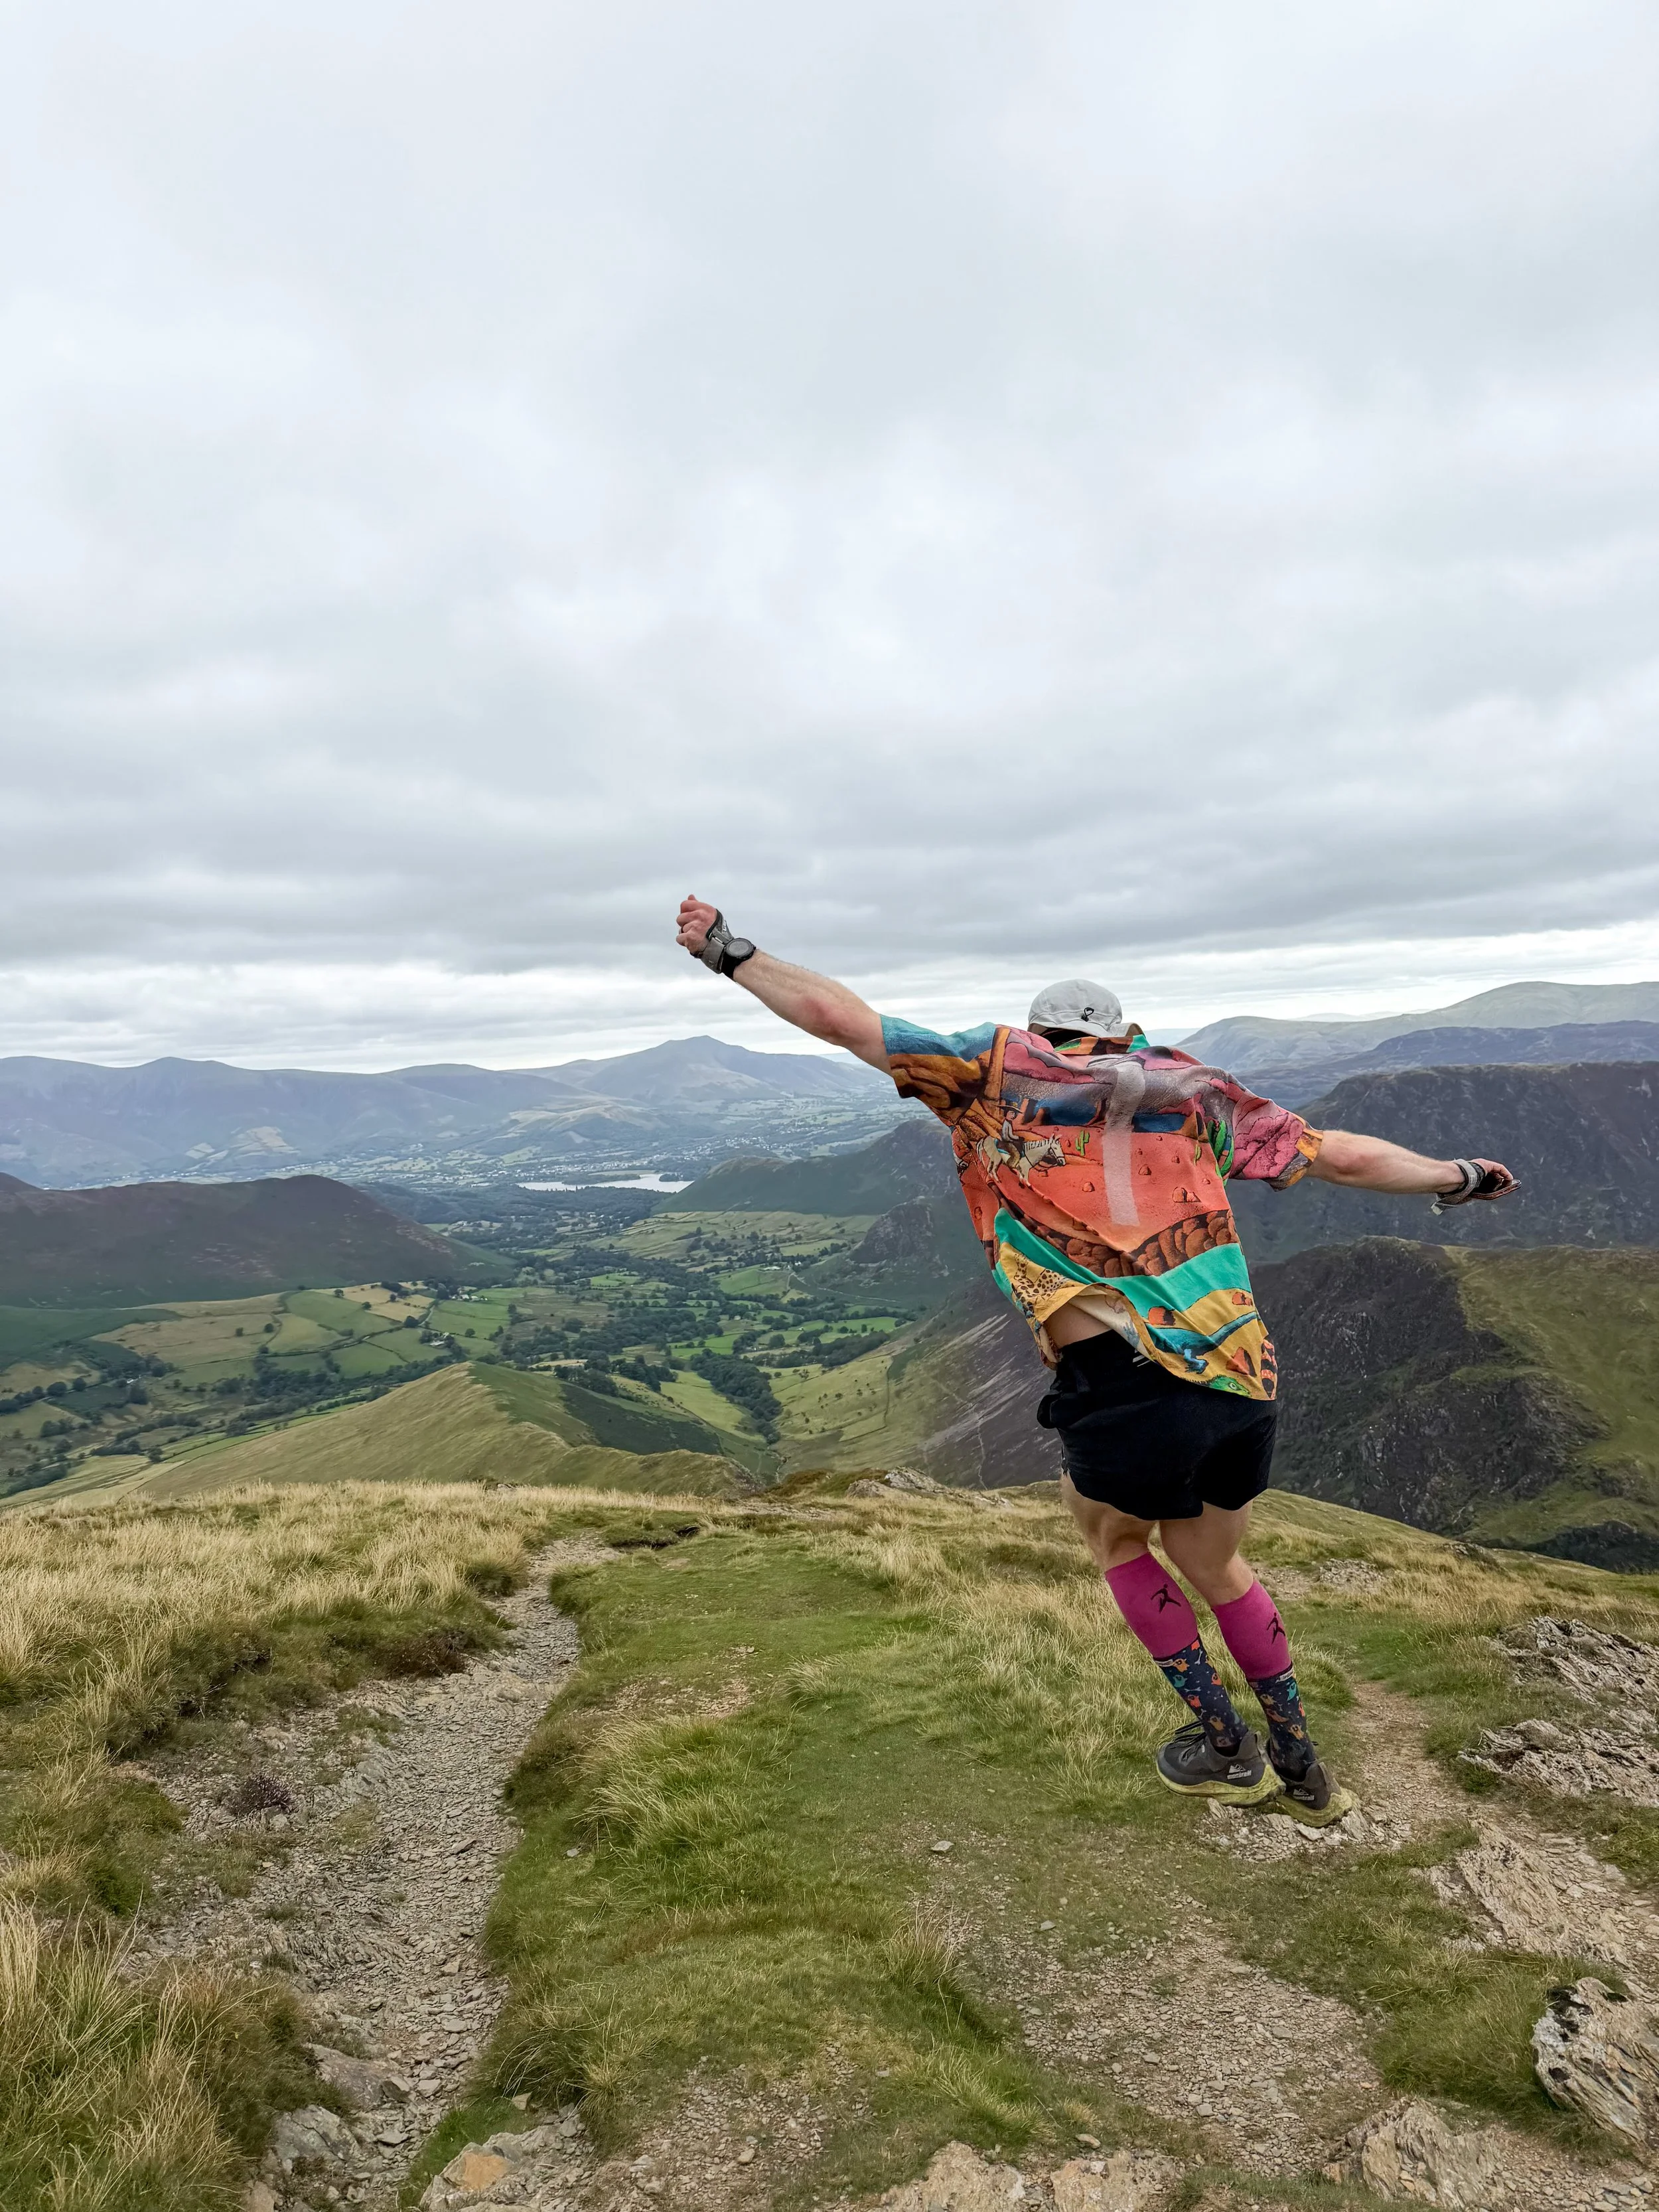
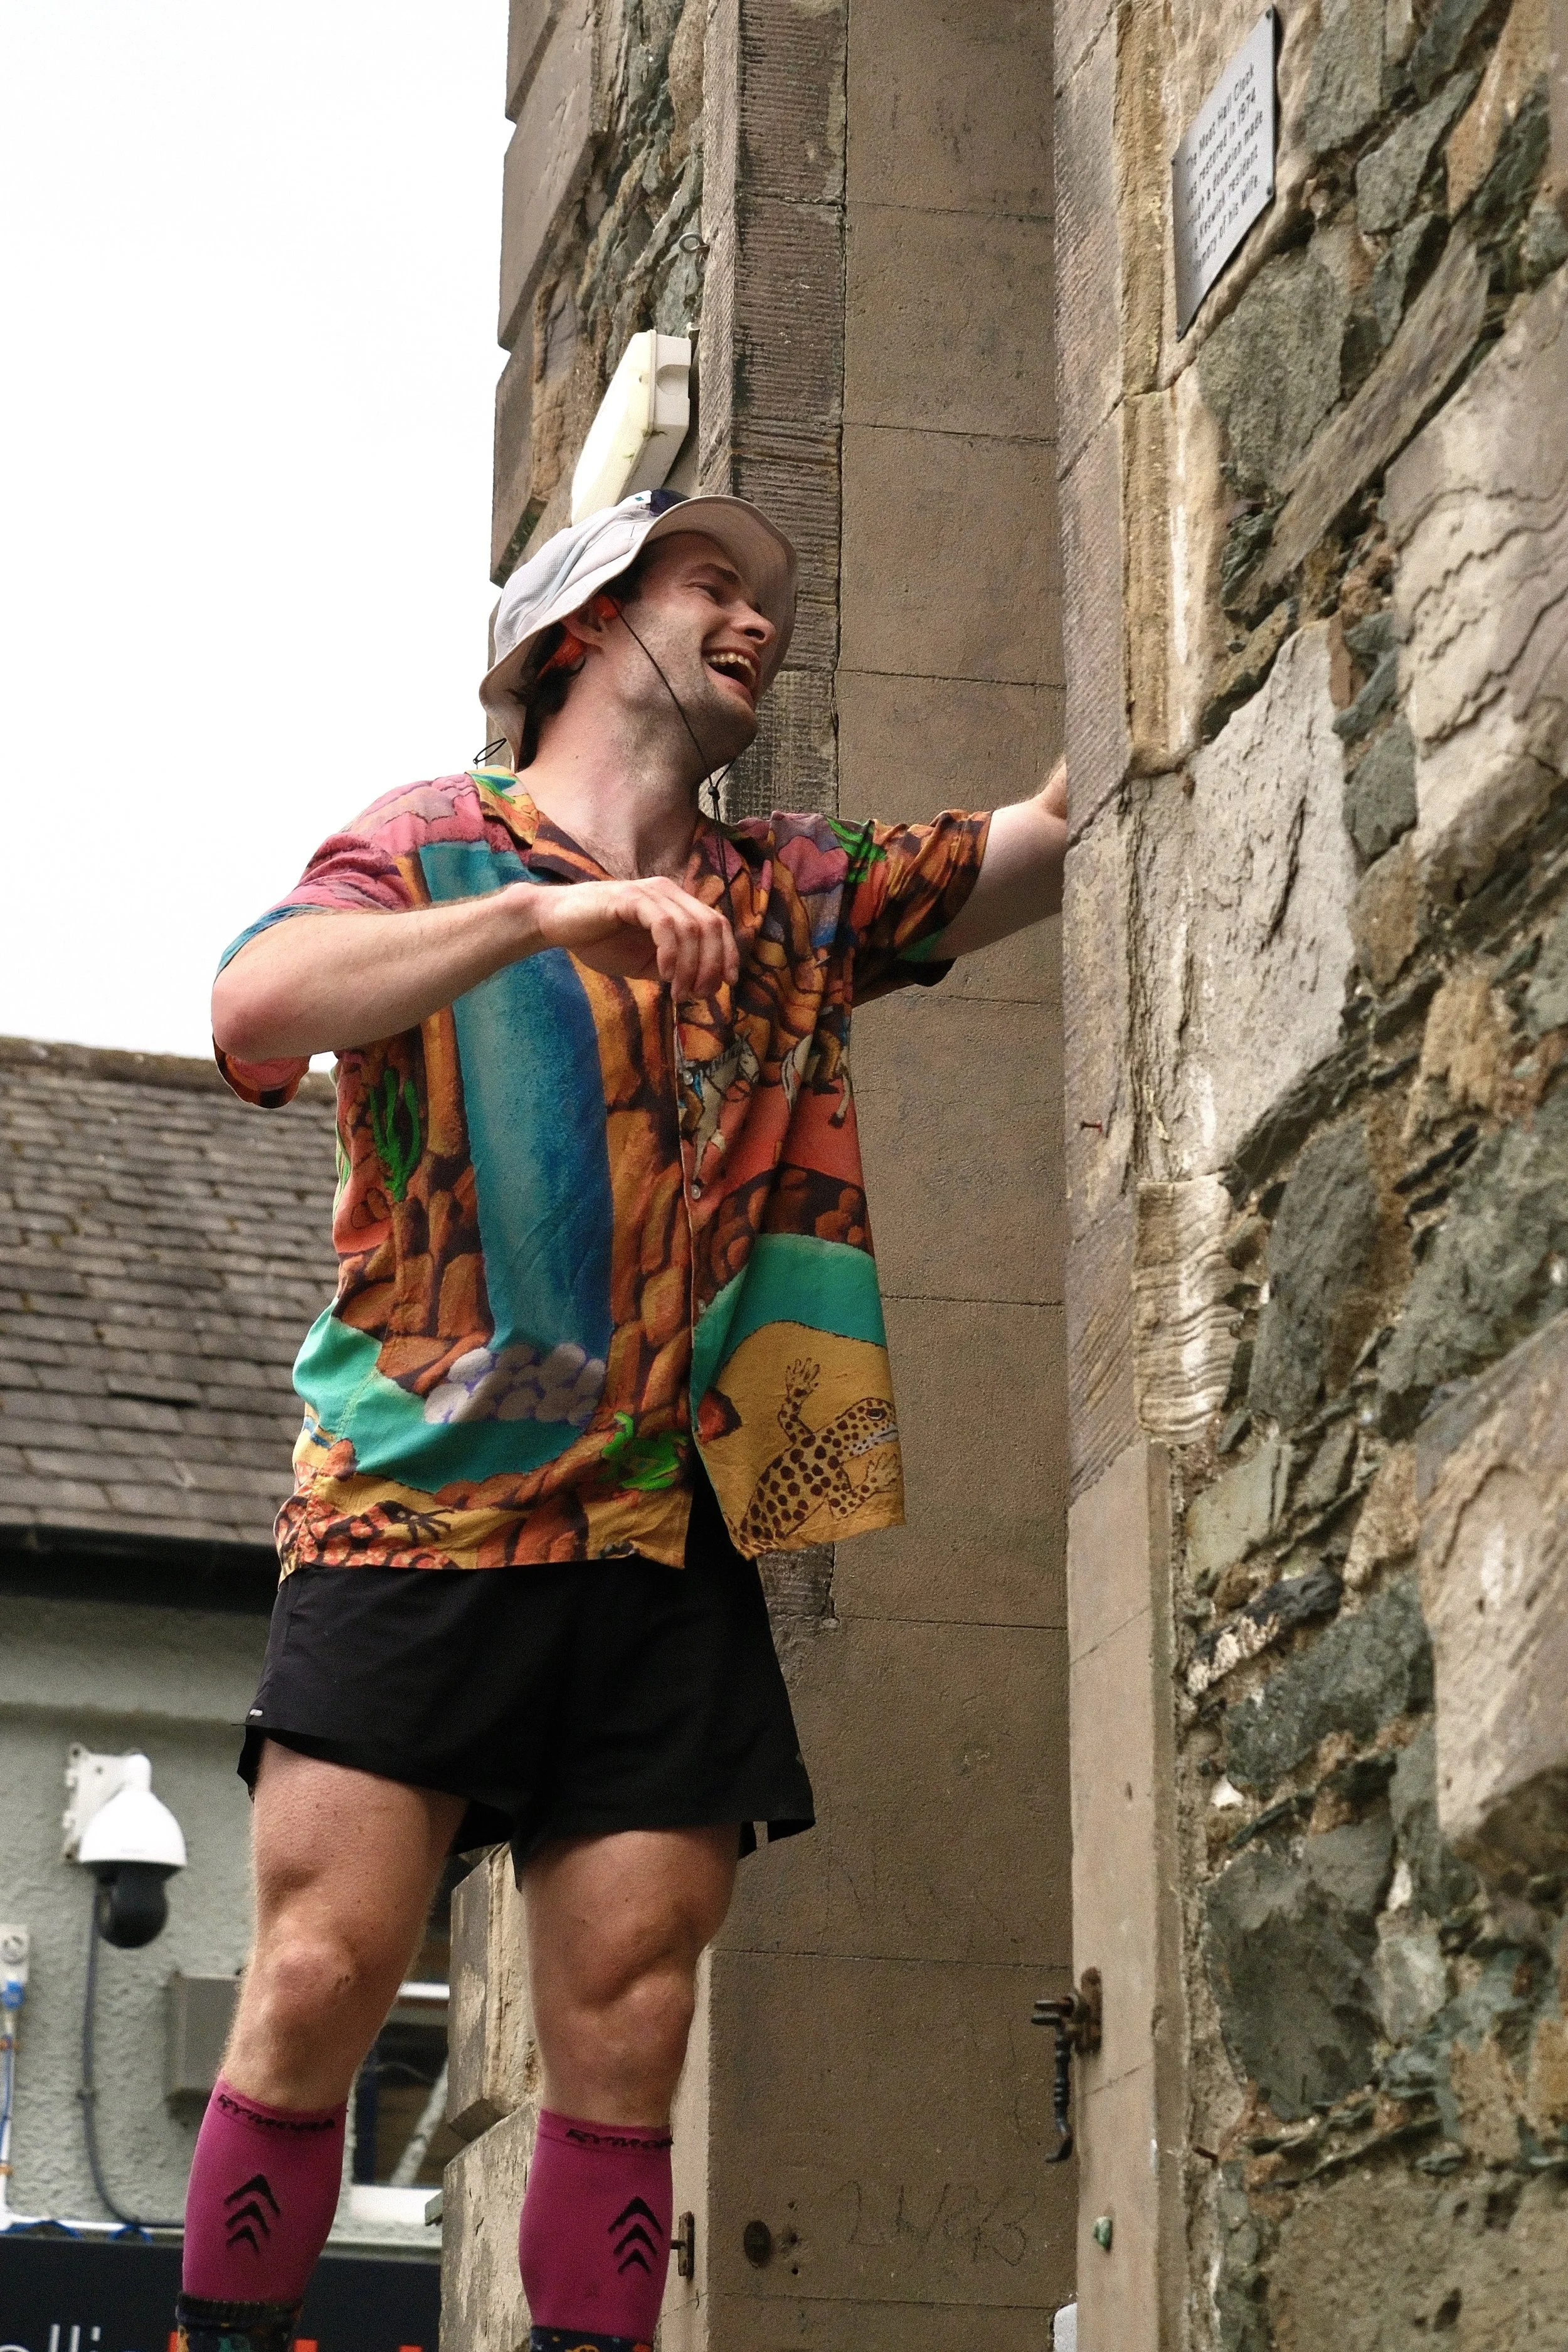
My Bob Graham Round Kit List
Compared with nutrition and logistics, my kit was actually one of the simpler parts of planning the Round, mainly because almost everything I used had already been thoroughly tested during training, recces and previous mountain challenges.
My biggest rule was nothing new on the day. After spending months preparing for the Bob, the last thing I wanted was to discover 10km in that a new pair of shoes gave me blisters or that a piece of kit rubbed somewhere particularly unpleasant.
I also tried to keep what I personally carried relatively light and made full use of my support runners, who helped carry additional fluids, spare layers and emergency kit.
My overall philosophy was simple: carry the things I wanted immediate access to, let my support runners help with everything else, and have the right spare kit waiting at the road crossings to change into if needed.
-
My Garmin Enduro 3was my main navigation device. I preloaded the entire course and manually added every summit and road crossing as a waypoint, which made it much easier to know exactly what I was approaching.
That is particularly useful on some of the less obvious tops. The Bob Graham Club specifically warns that summits can be missed in poor visibility and recommends adding summit waypoints to a GPS if you are using one.
I also used the watch for:
Eating alerts every 40 minutes
Drinking alerts every 30 minutes
Navigation
Summit and road-crossing waypoints
Off-course alerts
The battery life was incredible. After finishing the Round I had only used around 35%.
My Garmin inReach Messenger Plus was used for live tracking, sending my location every two minutes throughout the Round, while also giving me another way to communicate in an emergency. It worked flawlessly and only used around 40% of its battery.
If you are using a GPS tracker, the Club advises that the contender should carry it themselves, rather than giving it to a support runner who may skip an out-and-back summit.
-
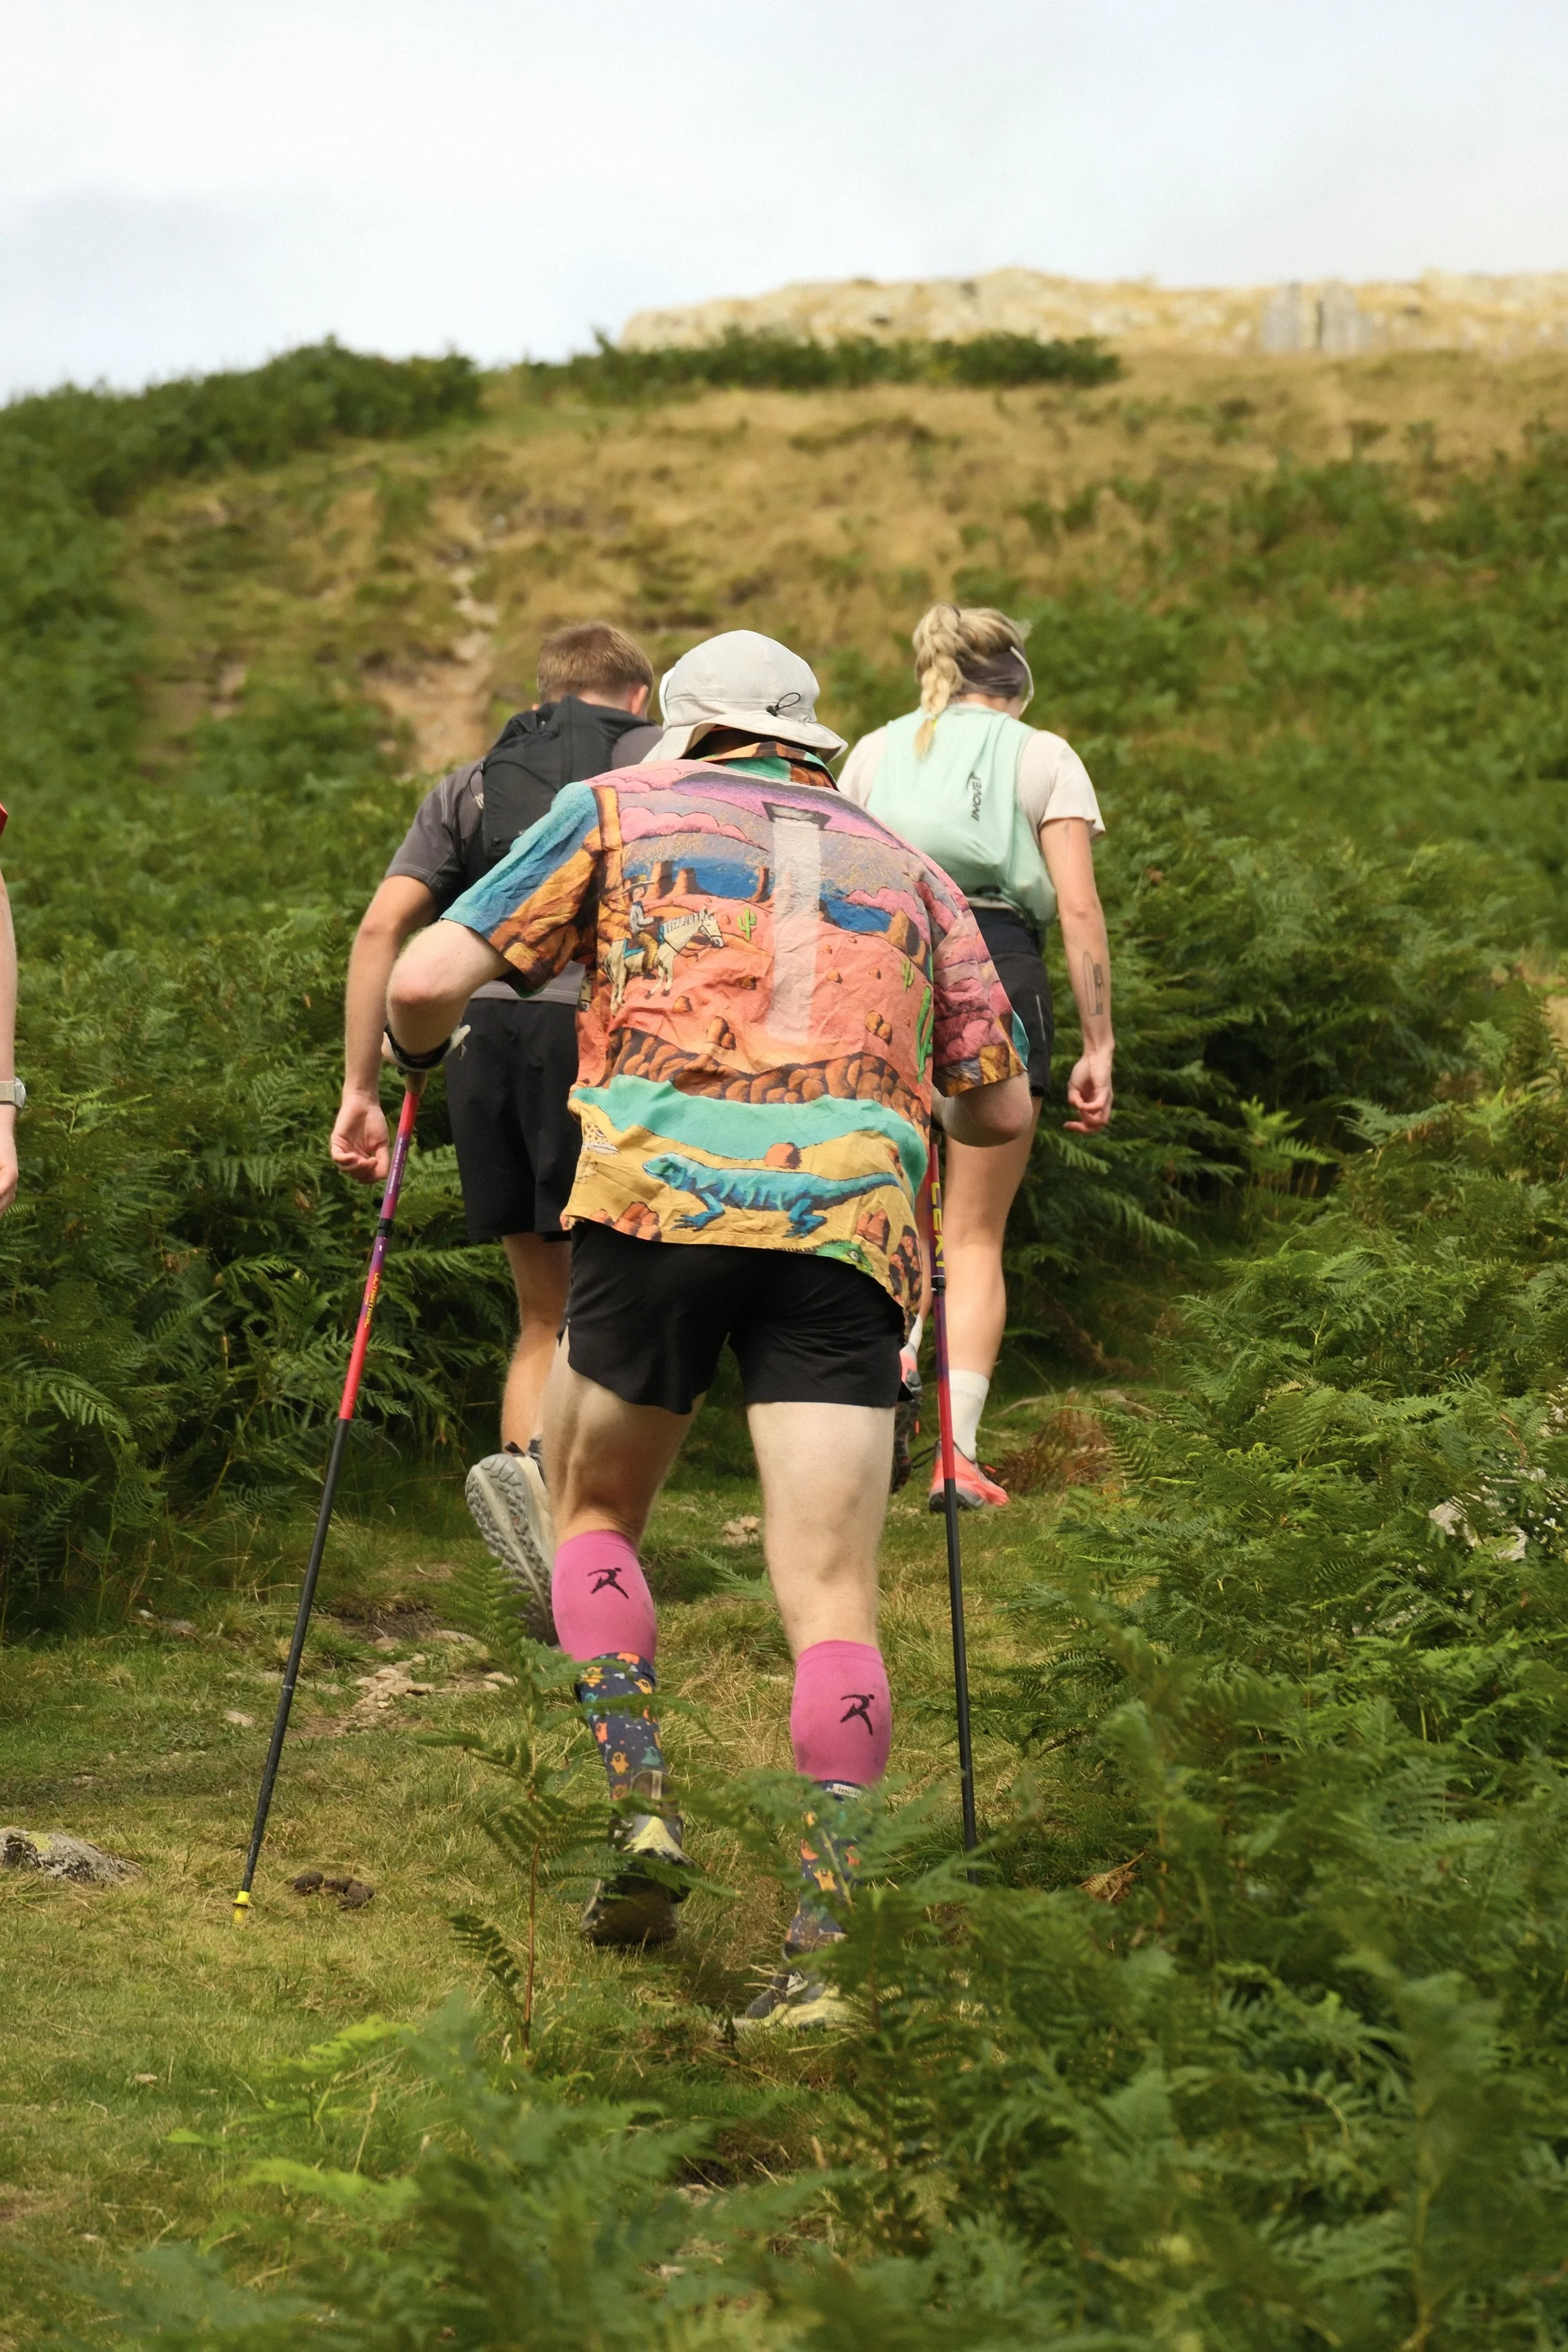
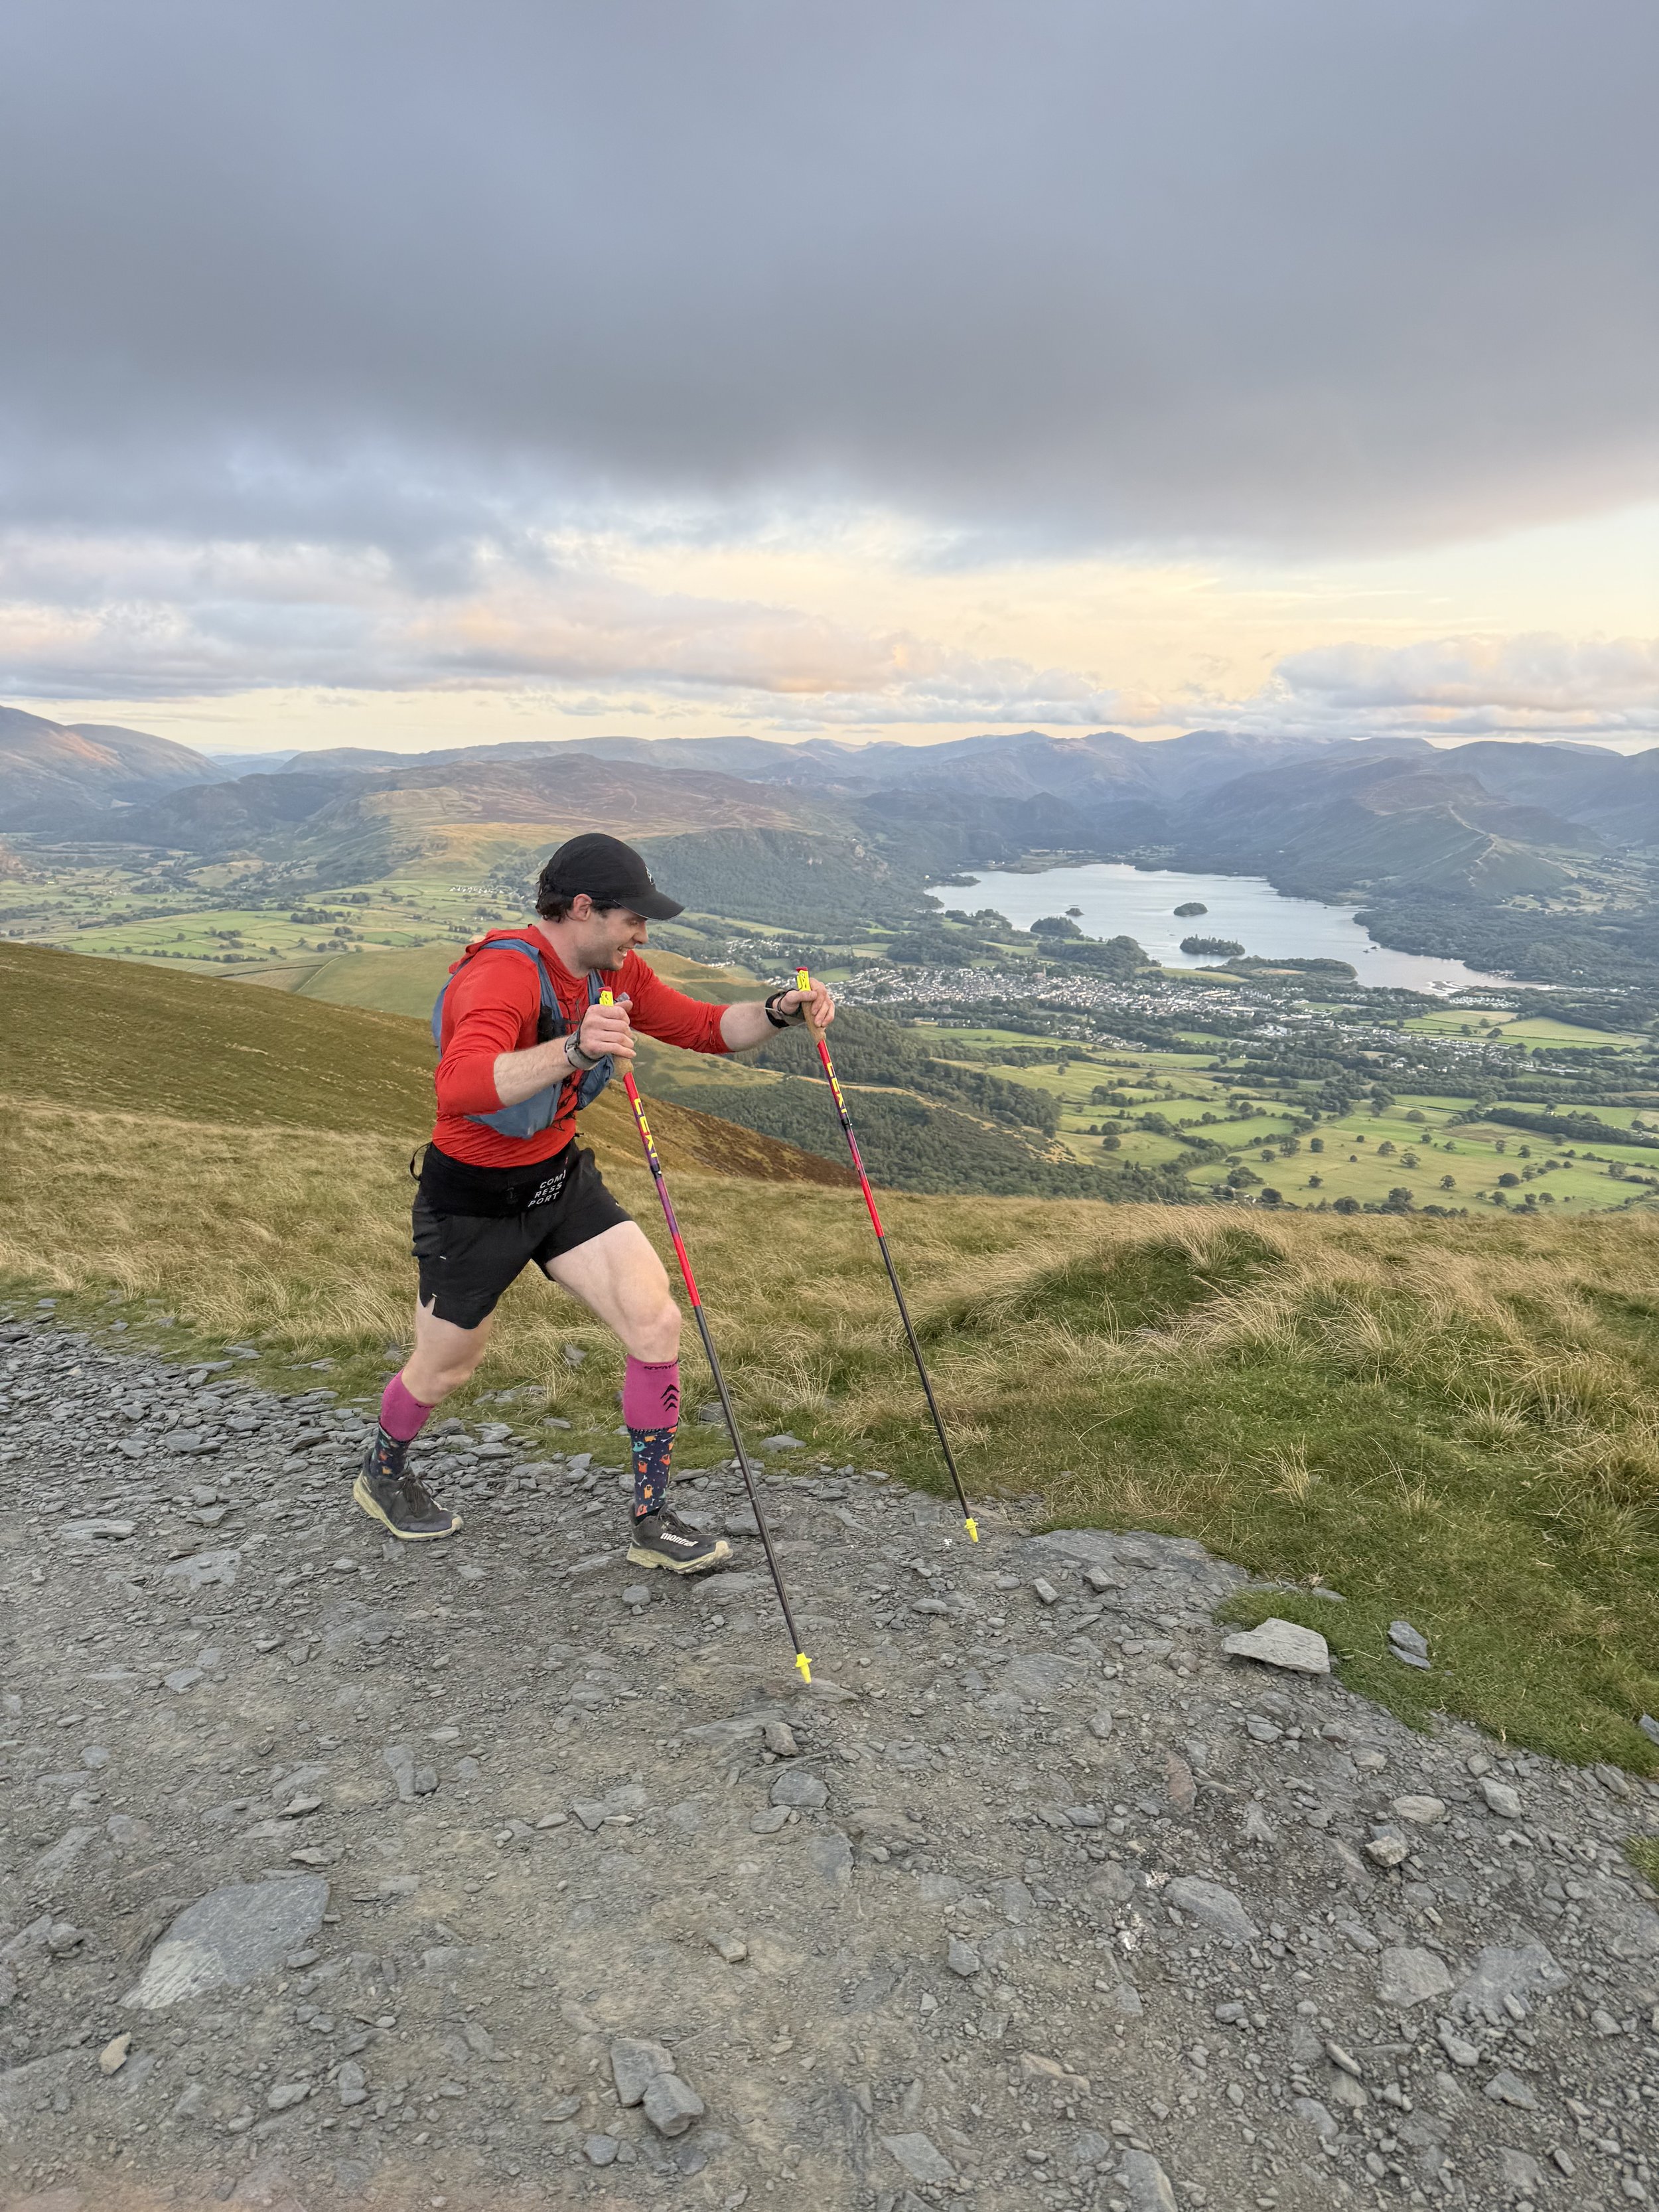
The LEKI UltratrailFX.Onepoleswere probably the single most important piece of equipment I carried.
Packing down to just 36 cm and weighing 182 g this pole is compact, lightweight and robust. It also very useful shark grip system which helps with power transfer and efficiency when climbing.
I used them on virtually every meaningful climb and genuinely don't think I would want to attempt the Round without them. They helped spread some of the workload through my upper body and made the thousands of metres of climbing considerably more manageable.
However, I had also spent plenty of time training with them beforehand. If you are going to use poles, buy them early and practise until using them feels automatic.
-
I used both a running vest and waist belt because I wanted the things I used regularly to be immediately accessible.
I chose to carry all of my own food, so every time my watch told me to eat I could simply reach into the belt or vest rather than asking a support runner or taking my pack off.
I use the waist belt to store poles as my shoulders dont have mobility for a quiver. I also like how I can spin the west belt around to easily put away or access poles.
My support runners then carried things I needed less frequently, including:
Additional water and carbohydrate bottles
Spare clothing
Emergency kit
Any kit I expected to need later in the leg
There is very little benefit in carrying several kilograms more than necessary when you have support runners there specifically to help you.
-
Foot care was something I took particularly seriously because the state of your feet can genuinely determine whether you finish.
At the road crossings I had:
Several pairs of spare Injinji socks
Alternative shoes
Towel
Talc
Trench Foot cream
Anything I needed for hotspots or blisters
I ended up changing my socks several times and my shoes twice.
Even if you don't expect to change footwear, I think having options waiting is worthwhile. AS its better to have it and not need it, than need it and no have it.
Also shoes might fall apart, rip, or break which I have seen happen
-
Even with a good forecast, this is still the Lake District and conditions can change quickly.
At a minimum, I would have access to:
Waterproof jacket
Waterproof trousers
Warm insulating layer
Gloves
Hat or buff
Spare dry layers at the road crossings
You might carry some personally and give other items to your support runners depending on the conditions, but I wouldn't sacrifice basic mountain safety simply to save a few hundred grams
-
I deliberately had more kit available at the road crossings than I expected to use, because there is very little downside to having options sitting in the car.
Across the different crossings I had access to:
Spare shoes
Several pairs of Injinji toe socks
Spare running tops
Spare shorts
Spare underwear
Warm layers
Waterproofs
Gloves, buff, headband and hat
Spare headtorch and batteries
Sunglasses
Additional soft flasks
Spare food and fluids
Towel
Baby powder / talc
Blister plasters
Trench foot cream
Paracetamol
Charging equipment and other electronics if needed
I changed my top at Dunmail and again at Honister, and also had spare shorts and underwear waiting if I wanted them. I changed my socks several times and my shoes twice during the Round, so having those options immediately available was genuinely useful.
Even something as simple as a fresh top, dry socks or different shoes can make you feel noticeably better after hours on the fells, and it gives you a useful psychological reset before heading onto the next leg.
I also had certain items ready only where I expected to need them. For example, sunglasses and a hat were planned for the daylight sections, while extra layers and backup lighting were concentrated around the night-time legs.
The key point is that you don't need to carry all of this yourself. Keep the things you genuinely need on the hill with you or your support runners, then use the road crossings to give yourself options.
If something starts rubbing, your feet get wet, the temperature changes or you simply feel disgusting after 15 hours, it is much better to have a solution waiting in the car than spend the next leg wishing you had packed it.
-
Lightweight wind breaker
Running cap and bucket hat
Sun God Ultra sunglasses
Waterproof jacket and trousers
Warm spare layer
Hat and gloves
Emergency bivvy bag
Phone
Backup headtorch
Spare batteries or charging cable/power bank if required
I would also have access to a map and compass or another reliable backup navigation option, particularly if you are expecting darkness or poor visibility.
Nutrition and hydration
Nutrition was another part of the Round that I planned pretty meticulously.
The Bob Graham is as much an eating challenge as it is an endurance one, because it doesn't really matter how fit you are or how much training you have done if you stop fuelling properly halfway around.
Eating carbohydrates while exercising is something I am fortunately very comfortable with, largely from my background in rugby and having previously trained for and completed an Ironman, three Half Ironmans and several other endurance events.
During UTS Snowdonia I had managed around 115g of carbohydrates per hour for almost nine hours, which worked out at more than 1,000g of carbohydrate in total.
I knew that would be overkill for the Bob, and wasn't something I wanted to try and sustain for potentially 23 hours, so for the Round I dropped my target to a much more manageable 80 to 90g per hour.
At around 81kg of bodyweight, that worked out at roughly one gram of carbohydrate per kilogram of bodyweight each hour, which felt like a sensible and sustainable target for me.
That certainly doesn't mean everybody attempting the Bob should aim for exactly the same amount. Your fuelling strategy should be based on what you have practised in training and what your stomach can comfortably tolerate, particularly over very long periods of exercise.
I planned to hit my carbohydrate target through a mixture of solid food, sweets, gels and carbohydrate drinks, while also having more substantial food waiting at the road crossings. I had worked out roughly what I wanted to consume on every leg before the Round and packed my nutrition accordingly.
Below is exactly how I approached eating on the fells, drinking, road-crossing food, caffeine and the main fuelling rules I tried to follow.
-
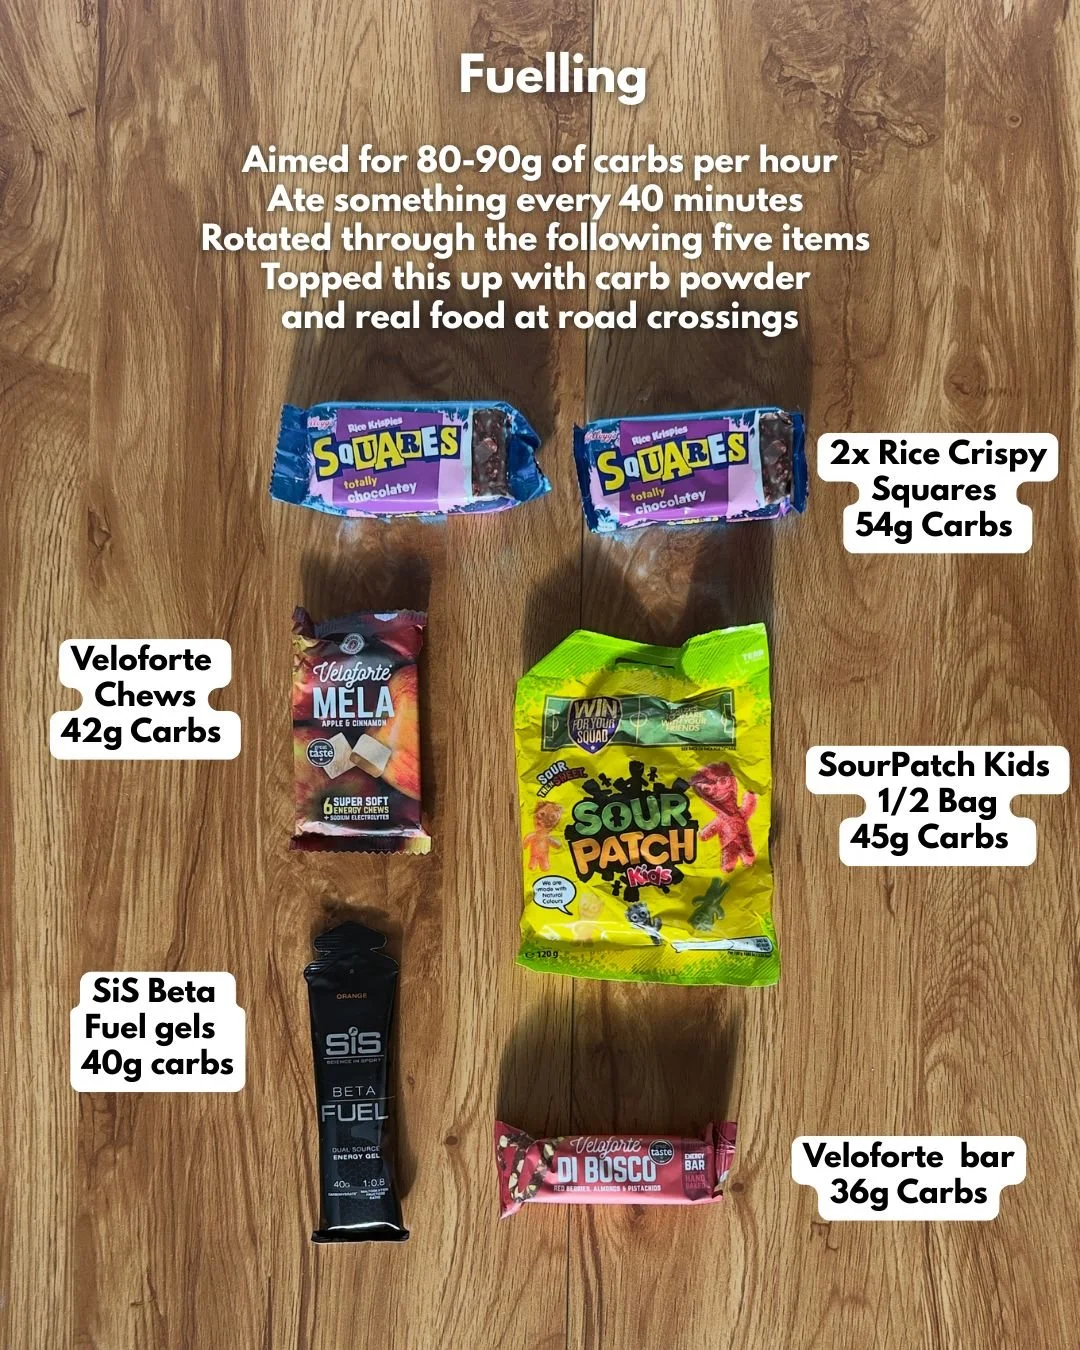
My plan was to start eating within the first hour and then continue taking something on roughly every 40 minutes, with an alert set on my Garmin to remind me.
I knew from previous endurance events that once I get tired I can quite easily forget to eat, particularly if I am chatting, navigating or concentrating on a difficult section of terrain. Having the alert meant I didn't have to think about when I had last eaten.
My main on-hill foods were:
2 x Rice Krispies Squares: 54g of carbohydrates
Veloforte Soft Chew: 42g
Veloforte bar: 36g
Half a bag of fizzy sweets: around 45g
SiS Beta Fuel gel: 40g
I effectively cycled through these throughout the Round, alongside the carbohydrates I was getting through my drinks. This gave me a mixture of textures and flavours while making it relatively straightforward to keep myself around my target of 80 to 90g of carbohydrates per hour.
I deliberately planned to save most of my gels until later in the Round.
While they are incredibly convenient, particularly when you start losing interest in chewing, I would much rather eat actual food while my stomach is still happy.
They are also bloody expensive. You don't need to train exclusively with £2 to £3 sports gels to practise eating carbohydrates.
Rice Krispies Squares are elite mountain food in my opinion, sweets are incredibly easy to carry and things like Turkish Delight can also provide a cheap source of carbohydrate.
I did start to struggle with sweet-food fatigue later in the Round, particularly around Leg 4, so if I did it again I would probably introduce a few more savoury options onto the fells rather than saving almost all of them for the road crossings.
-
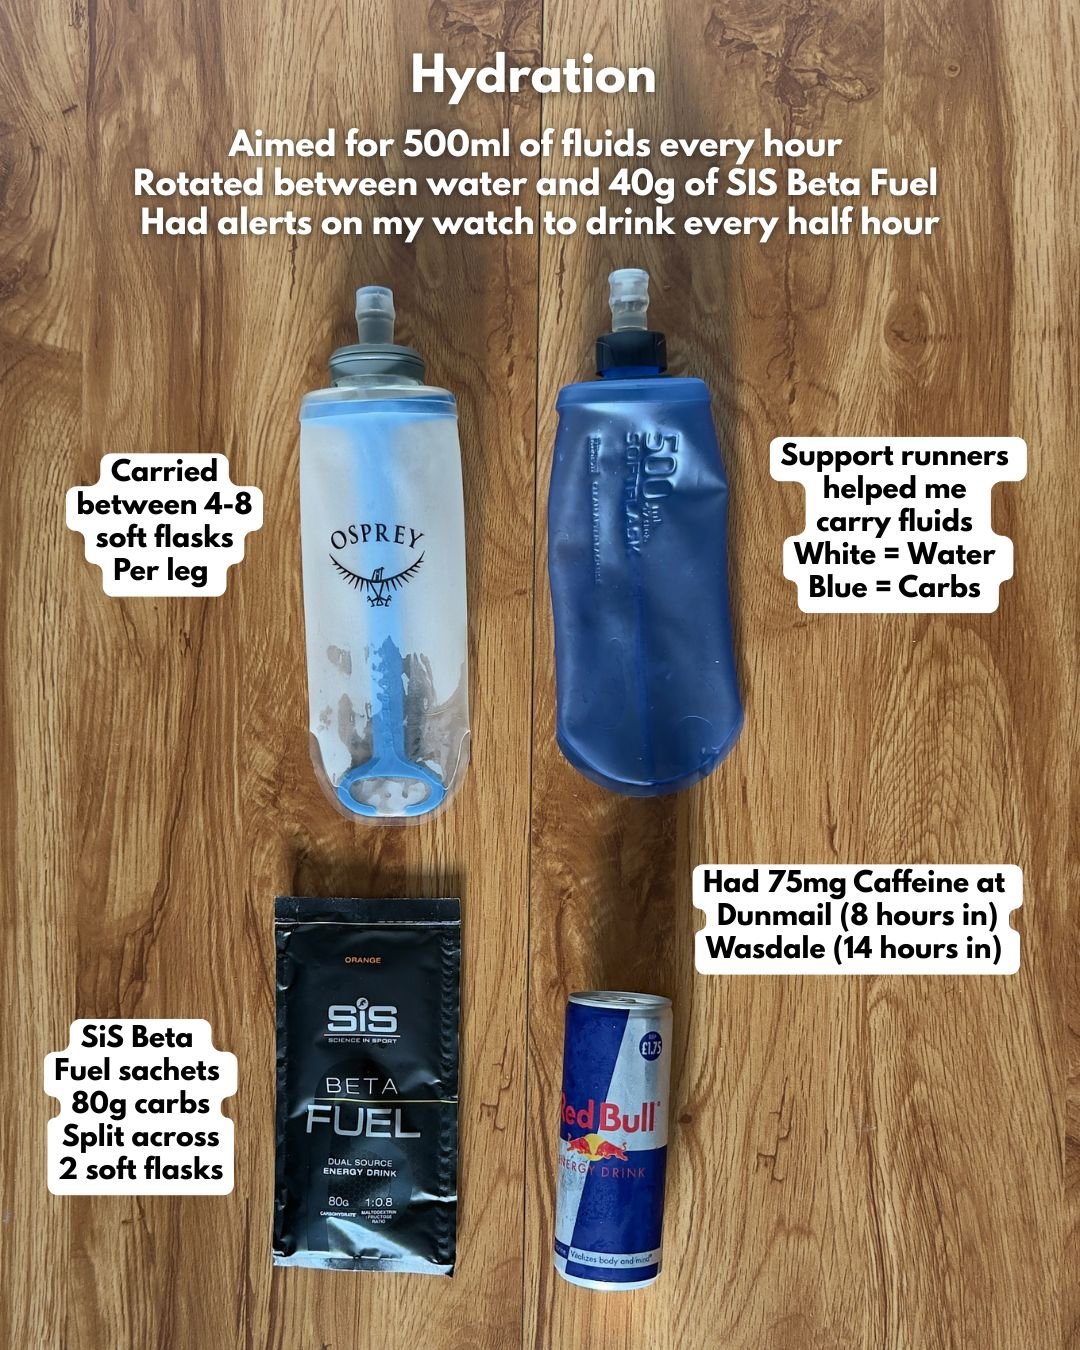
My rough target was around 500ml of fluid per hour, although the amount you need will obviously depend on the temperature, conditions and your own sweat rate.
I alternated between plain water and carbohydrate drink, which meant a significant amount of my carbohydrate intake could come through my bottles rather than everything having to be eaten.
I used SiS Beta Fuel powder, mixing 80g of carbohydrate into one litre and splitting that between two 500ml soft flasks. Each carbohydrate bottle therefore contained roughly 40g of carbohydrate.
To make things ridiculously easy for everyone, I used two different coloured soft flasks for water and carbohydrates. My blue Decathlon soft flasks contained carbohydrate drink, while the others contained plain water. That way it was easy for my road crew to know which ones to fill, easy for my support runners to know which ones to carry and, most importantly, easy for me to know what I needed to drink while I was on the fells.
I also made the decision not to rely on natural water sources anywhere on the route. Instead, I calculated how much fluid I wanted for each leg in advance and made sure my support runners and I carried enough between us.
It meant carrying a little more weight, particularly on the longer legs, but it removed another potential problem. I didn't want to reach a stream I had been relying on only to discover I had missed it, it was difficult to access or it had dried up after a spell of warm weather.
I also kept electrolytes fairly simple.
In the days leading into the Round I concentrated on arriving properly hydrated and used one or two electrolyte tablets each day.
During the Round itself, I actually didnt have any electrolytes aside from those in my BEta Fuel gels .
That approach was partly based on both research and previous experience.
Despite what social media will have you believe. Exercise-associated cramp is asscoiated with muscular fatigue (over exertion compared to what you are used to) rather than simply losing too much salt,
I had also learnt that lesson the hard way. During my first Ironman I took wayy to much electrolytes and ended up making around 10 toilet stops with severe stomach issues.
My support runner Tom also found that out on his round, where he ended up very bloated and holding water.
Everyone's hydration and sodium requirements are different, particularly in hot weather, but my priorities were simply to start hydrated, drink consistently, and get electrolytes through my nutrition
-
The road crossings give you an opportunity to take on something more substantial, replenish your fluids and, most importantly, eat something that isn't sugar.
I wouldn't make your road-crossing menu too rigid. Have a plan, but also have several options available because something that sounds delicious before the Round might be absolutely revolting after 15 hours.
This becomes increasingly important later on because palate fatigue is very real. After eating sweet food for most of the day, I became increasingly desperate for something salty and savoury.
At Threlkeld, I would keep things fairly simple and choose food that you can eat quickly or even take with you. You are still relatively fresh and only around 3.5 to 4 hours into the Round, while the beginning of Leg 2 gives you a relatively flat road section where you can continue eating if necessary.
It is also worth remembering what comes immediately after each crossing. Both Dunmail and Wasdale have brutally steep climbs straight out of them, so although you want to refuel, I wouldn't absolutely stuff yourself and then immediately try to drag a full stomach up Steel Fell or Yewbarrow.
My rough road-crossing food plan was:
Threlkeld: Sandwich and sausage rolls
Dunmail: Sandwich and sausage rolls
Wasdale: Pot Noodle or bacon sandwich
Honister: Pepperoni pizza
The pizza at Honister was brought by a mate, and I genuinely can't explain how good it tasted after hours of sweet food.
I think having something you are genuinely looking forward to eating at one of the later crossings can work as a surprisingly effective motivational carrot, especially when you are deep into Leg 4 and thoroughly fed up of bars, gels and sweets.
Just keep it relatively carbohydrate-based, familiar and easy to digest. Leg 5 probably isn't the ideal time to discover how well you run after demolishing a chicken tikka masala and a garlic naan.
-
I deliberately saved caffeine until Dunmail rather than using it from the start. I was already fresh and full of adrenaline leaving Moot Hall, so I wanted to keep caffeine available for later when I was actually starting to feel tired.
Again, this is something I would strongly recommend testing in training before your Round. Caffeine can be incredibly useful, but taking too much can have the opposite effect and potentially jeopardise your attempt.
I learnt that the hard way during marathon training when I once took a 200mg caffeine gel and it nearly blew my head off. My heart rate went through the roof, I felt awful and ended up having to stop the session. I definitely didn't want to discover that again halfway across the Lake District.
In the end, I only had two Red Bulls across the entire Round, giving me around 150mg of caffeine in total, with the first one at Dunmail.
That was enough for me. I got the lift I wanted without feeling overstimulated or risking the stomach and heart-rate issues I knew could come from overdoing it.
As with everything else in your fuelling plan, practise with caffeine beforehand, know how your body responds and don't suddenly introduce a huge dose on the day because you're tired.
-
Everything I ate and drank had been tested beforehand, particularly the gels, carbohydrate powder and the amount of carbohydrates I was trying to consume each hour.
A Bob Graham Round isn't the time to discover that the exciting new gel you bought on Thursday turns your digestive system into a cement mixer.
Everyone is different, and what works brilliantly for me might turn your stomach inside out after six hours.
My three biggest pieces of advice would therefore be:
Practise training with the food you plan to use. Experiment during training and find out what works and what doesn't. Once you find something that works and you like, stick with it.
Train your gut. Build up towards the amount of carbohydrate you plan to consume over a period of weeks or months. Don't suddenly jump from barely eating anything on your long runs to trying to consume 1 gram per kilo of bodyweight, build up
Start eating early and keep eating. Don't wait until you're hungry or your energy disappears. By that point you're already trying to recover a deficit while continuing to climb mountains. Start fuelling within the first hour and keep consistently topping yourself up.
How to Train for the Bob Graham Round
Everyone will come into the Bob Graham with a different background, level of experience and body type, so there isn't one perfect training plan that will work for everybody.
One of the biggest things I learnt from my own build-up is that you don't need to look like a stereotypical fell runner or spend every week running enormous distances to complete the Bob.
I am a muscular, 81kg former professional rugby player who still lifts weights regularly, so I am probably quite a long way from the traditional fell-runner build.
The reality also is that unless you are goin for a very fast time, you wont spend much of the Round running particularly hard. Most of the steeper climbs are hiked, while a lot of the running is on descents, flatter sections and easier terrain at a steady and sustainable pace.
For me, training for the Bob ultimately came down to four main things:
Time on your feet
Moving efficiently uphill
Being a confident descender
Muscular Strength, endurance, and durability
You need the aerobic fitness to keep moving, but you also need a strong, resilient and durable lower half in order to sustain the elevation and distance that the round demands.
That is why my training wasn't built around trying to run 50km every weekend. Most of my normal trail runs were only around 10 to 15km, I topped up my engine by cycling, while a huge amount of the really valuable training actually came from multiday hiking.
-
You can nose through my Strava here, but some of the key mountain blocks in my build-up were:
19 to 22 April, UTS Snowdonia recce block: around 55km with 4,300m of ascent over four consecutive days
1 to 7 May, hiking across Madeira: around 130km with almost 7,000m of ascent over six days
16 May, UTS Snowdonia: around 56km with approximately 3,500m of ascent, completed in 8 hours 43 minutes
June, Bob Graham recces: a Wasdale loop of around 25km with 2,500m of ascent, followed by Legs 1 and 2 (minus Fairfield), around 42km with 3,100m of ascent
18 to 24 July, Tour du Mont Blanc: around 172km with more than 10,000m of ascent over six days
None of those blocks were undertaken purely for the sake of Bob Graham training, but collectively they gave me exactly what I needed, a huge amount of time on my feet, climbing, descending and moving through the mountains on already tired legs.
There was also the added benefit that on trips such as Madeira and the Tour du Mont Blanc I was carrying a much heavier backpack than I would ever carry during the Bob. That added another strength and durability stimulus, while making the small running vest I eventually wore on the Round feel ridiculously light in comparison.
-
If there is one thing I would prioritise above everything else, it is time on your feet in mountainous terrain.
You don't necessarily need to spend ten hours running. In fact, plenty of my longest training days involved a large amount of hiking.
The Bob has thousands of metres of steep climbing where running simply isn't the most efficient option, so learning to hike strongly for hours is incredibly useful. You want to become comfortable moving at a steady pace without constantly feeling the need to push harder.
I think consecutive mountain days are particularly valuable.
Going out for eight hours when you are fresh is one thing. Getting up the following morning and doing another substantial day when your calves, quads and feet already know exactly what you did to them yesterday teaches you something very different.
For me, those multi-day blocks were probably some of the most valuable preparation I did.
-
You are going to spend a lot of time walking uphill on the Bob, so becoming a strong and efficient climber is far more valuable than obsessing over how quickly you can run a flat 10km.
For me, a big part of that was becoming comfortable using poles.
The LEKI UltratrailFX.One poles were probably the single most important piece of equipment I carried.
Packing down to just 36 cm and weighing 182 g the pole is compact, lightweight and robust. It also very useful shark grip system which helps with power transfer and efficiency when climbing.
Once you learn to use them properly, poles can help spread some of the workload through your upper body, give you a rhythm on long climbs and make hiking considerably more efficient.
Like everything else, practise with them beforehand. Don't buy a pair three days before the Round and then wonder why you cant use the, properly.
You also want to learn what a genuinely sustainable uphill effort feels like. There is very little benefit in gaining two minutes on one climb if you pay for it several hours later.
-
It is easy to focus on the enormous amount of ascent, but you also have to come back down roughly the same amount.
Being a confident descender can therefore make an enormous difference.
That doesn't mean you need to absolutely bomb every downhill section, but you want to be comfortable moving efficiently across steep grass, rocks, scree and uneven terrain without continually braking and loading your quads.
The difference becomes increasingly noticeable later in the Round. When your legs are already tired, being able to relax and flow downhill is considerably less taxing than fighting against every descent.
It’s also where you will gain the most time for the least amount of effort.
-
Strength, mobility and durability
I have always strength trained and continued doing so throughout my Bob Graham preparation.
You don't need to train or look like Ronnie Coleman, but I think getting in the gym and doing some consistent strength, mobility and injury-prevention work can make a huge difference. The aim isn't necessarily to become dramatically stronger, but to build a robust and resilient body that can tolerate thousands of metres of climbing and descending without gradually falling apart.
The Round is an enormous amount of physical abuse, so I wanted my legs, joints and connective tissue to be conditioned to deal with it.
The main areas I would focus on are:
Single-leg strength: Bulgarian split squats are a personal favourite, alongside lunges and other single-leg squat variations. The Bob involves thousands of individual steps uphill and downhill, so unilateral strength makes a lot of sense.
Posterior chain: Hamstrings, glutes and lower back. I like trap-bar deadlifts, sled drags and single-leg Romanian deadlifts.
Calves: Isometric calf holds and bent-knee calf raises are staples for me, particularly because your calves take an absolute hammering on steep climbs and descents.
Core stability: Dead bugs are a personal favourite, alongside other exercises that help you maintain good control and posture when tired.
Injury-prevention work: Box step-downs, Copenhagen holds and mini-band glute work are all exercises I regularly use.
General mobility: Particularly ankles, hips and anything else that allows you to move properly through steep and uneven terrain.
Upper body: You certainly don't need a bodybuilding programme, but I think some upper-back and shoulder strength is useful if you plan to use poles. Pull-ups, lat pulldowns, seated dumbbell presses and military presses are all good options.
A typical gym session for me would start with mobility and a small amount of injury-prevention work, usually calves, mini-band exercises and anything else I feel needs attention.
I would then move onto one main compound exercise, usually something like a deadlift, or a squat variation such as a Bulgarian split squat or lunge, for around 3 to 4 sets of 3 to 6 reps.
After that I would choose 2 to 4 assistance exercises and complete around 2 to 3 sets of 8 to 12 reps, either individually or as a small circuit. That might include:
Single-leg Romanian deadlifts
Calf work
Core work
Box step-downs
Sled drags
Copenhagen holds
Lunges
You don't need to make this overly complicated.
If you are new to strength training, start with bodyweight and progress gradually, particularly with single-leg exercises. Good technique and consistency are far more important than trying to move huge weights straight away.
For Bob Graham training, I think two strength sessions per week is ideal, particularly earlier in the build-up, although once a week is still considerably better than doing nothing. As your mountain volume increases, you can then adjust the amount of gym work so it supports your running and hiking rather than leaving your legs permanently battered.
The purpose of all of this is to build a body that can withstand the repeated abuse of steep climbs, long descents and rough terrain for 20 plus hours, while hopefully reducing the chances of something breaking down before you ever reach Moot Hall.
-
I also think cycling is an underappreciated and underused training tool for the Bob Graham, and ultramarathons in general, particularly for heavier runners.
I wouldn't use cycling to replace the mountain-specific work because you still need to condition your legs for the mountains, but as a way of building aerobic fitness and increasing volume without unnecessarily battering your body, I think it is incredibly useful.
Cycling becomes especially useful when you are already combining trail running, with time in the hills, and strength training.
There is only so much pounding your legs can tolerate before you start flirting with injury.
I can add several hours of aerobic work on the bike without asking my joints, tendons and muscles to absorb thousands of additional running impacts.
-
One useful indication of whether your body is becoming ready for the Round is whether you can cover roughly the distance and elevation of the Bob across three consecutive mountain days and still have your legs feeling reasonably good afterwards.
A particularly good Bob-specific test would be to split the route itself across three days:
Day 1: Legs 1 and 2
Day 2: Legs 3 and 4
Day 3: Leg 5
You obviously have the considerable advantage of sleeping between each day, so it isn't equivalent to completing everything inside 24 hours, but it gives you a very good indication of whether your legs can tolerate the distance, climbing and descending.
If you can complete those three days, continue moving well throughout and wake up afterwards without feeling like somebody has replaced your legs with two pieces of battered firewood, I think that is a pretty positive sign.
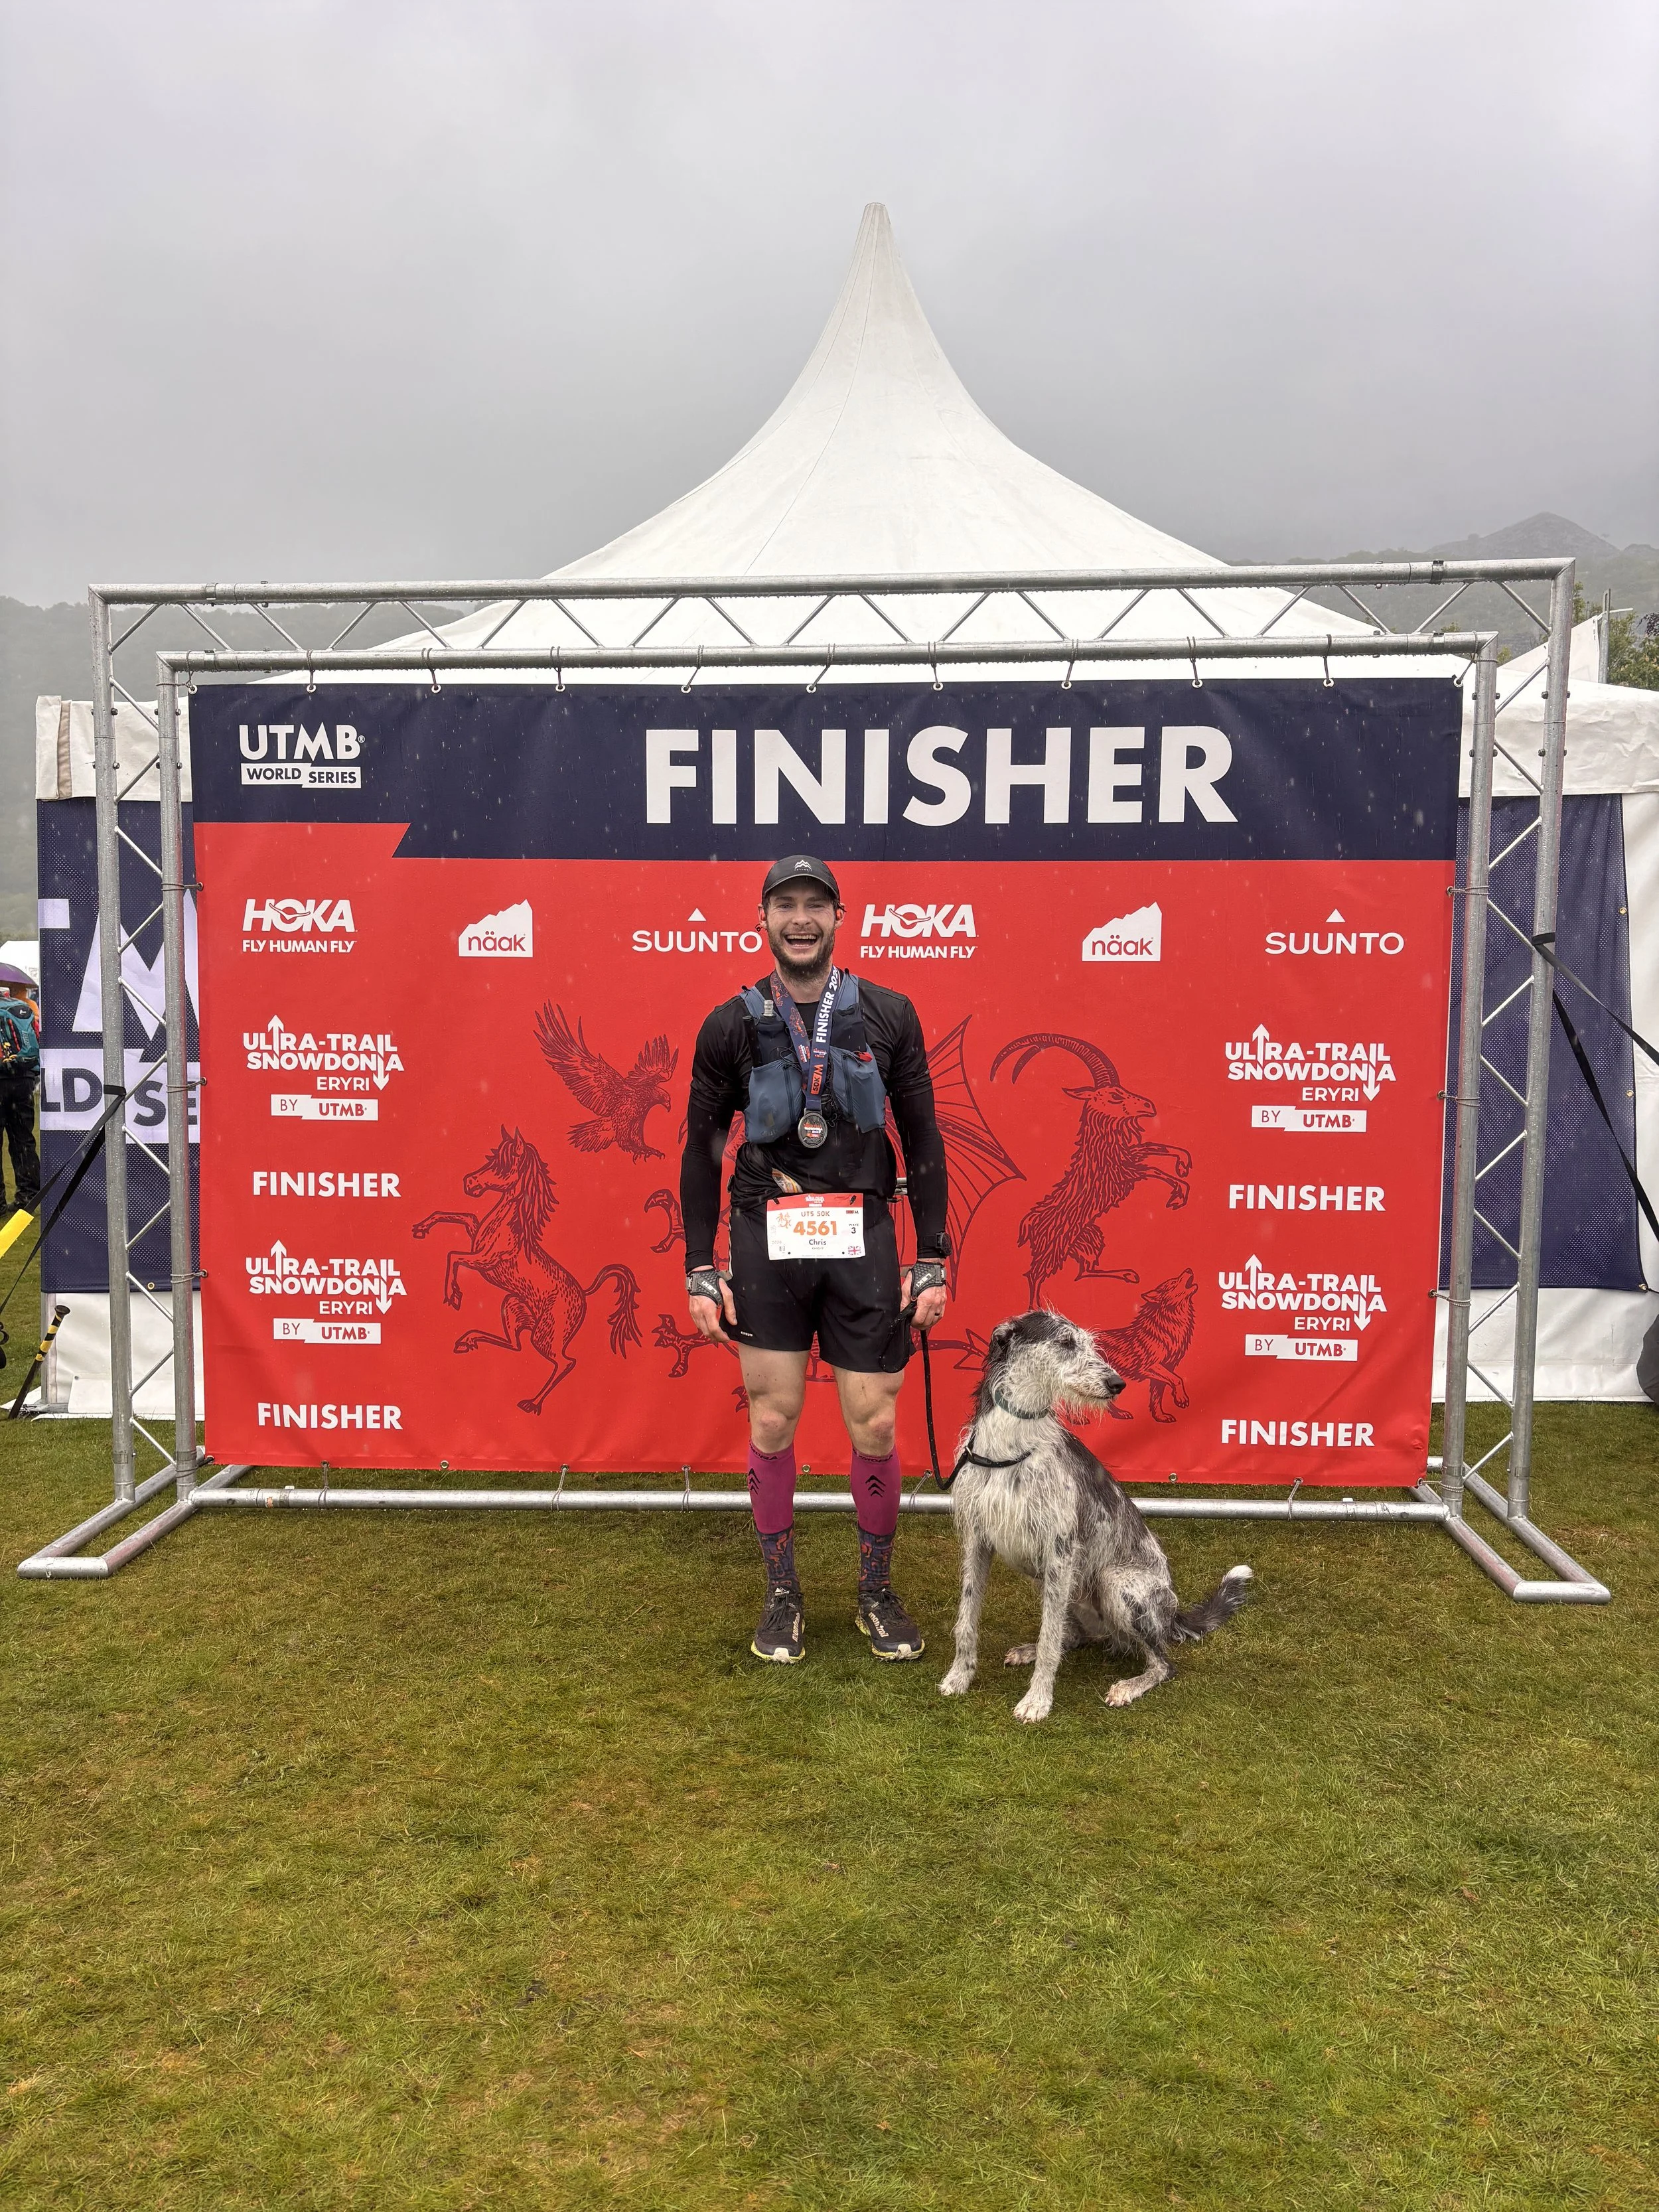
My top tips for completing the Bob Graham Round
There are hundreds of small things that can make a Bob Graham easier, but these are the biggest lessons I took from my own Round and the things I would prioritise if I was doing it again. And remember to actually touch Moot Hall when you get back. I very nearly forgot.
Give yourself the best possible chance with the weather. The Bob is already hard enough without deliberately making it harder in strong winds, persistent rain or clag. If you have flexibility, use it. Good weather not only makes the Round safer and potentially faster, but for me the views were a huge part of the experience and enjoyment. Looking up and seeing the Lake District spread out around you can also give you a massive psychological lift when things start getting difficult.
Build a great support crew. Good hill support and road support can make an enormous difference. You want people who are reliable, calm, ideally know the route and understand what you need from them. Tell them how you like to be supported, give them clear roles and make their lives as easy as possible with schedules, checklists and live tracking. You are the one doing the Round, but it very quickly becomes a team effort.
Calculate your nutrition and fluids, then separate everything by leg. Work out roughly what you want to eat and drink on each section, package it into separate bags and label everything clearly for your road crew. It makes their life and yours considerably easier, particularly at night when everyone is tired and stress levels are higher.
Use different coloured bottles for carbohydrates and water. Mine were different colours, with my blue flasks always containing carbohydrate drink. You could just label them, but having an obvious visual difference makes them much easier to organise at road crossings and on the fells.
Make your road crossings idiot-proof. I wrote down what I wanted ready when I arrived, what food, fluid and kit I needed to leave with, who my support runners were and what I wanted them to carry. Combine that with live tracking and good communication, and your crew can have everything ready before you arrive rather than trying to make decisions under pressure.
Don't blow your beans early. Start conservatively, stick to your own schedule and don't get sucked into racing somebody else's Round. I would hike every meaningful climb, including the shorter ones, because there is very little benefit in spiking your heart rate to save a minute when you still have another 20 hours ahead of you.
Become efficient with poles and confident descending. My collapsible LEKI poles were an absolute lifesaver on the climbs, while being comfortable descending steep grass, rocks, scree and rough ground allowed me to gain time without dramatically increasing the effort. Buy your poles early, learn how to use them properly and spend plenty of time practising descents on tired legs.
Start eating early and keep eating. Don't wait until you are hungry or your energy disappears. I started within the first hour and used a reminder every 40 minutes, which meant I knew I needed to eat three times every two hours. Alerts for food and fluid are incredibly useful once tiredness starts making simple things surprisingly easy to forget.
Prepare for palate fatigue. I had never experienced it properly before the Bob, but by Leg 4 I suddenly hated almost everything I had been eating. I made the mistake of cycling through roughly the same five sweet foods, so mix up flavours and textures and introduce more salty and savoury options later in the Round.
Have real food waiting at the road crossings. Sandwiches, sausage rolls, bacon sandwiches and pizza became increasingly appealing as the day progressed. The pepperoni pizza waiting for me at Honister tasted incredible, and having something you genuinely look forward to can also become a useful motivational carrot.
Stay on top of your feet and have spare kit ready. Foot problems can genuinely be the difference between finishing and not finishing. I changed socks three times and shoes twice, while my wife had a towel, talc and foot cream ready. Have spare clothing available as well, because even changing into something dry can make you feel considerably more human.
If you think about something three times, act on it. Whether it is putting on a layer, taking one off, eating, drinking or sorting a hotspot on your foot, if the same thought keeps coming back it probably needs dealing with. Small problems are much easier to fix before they become big ones.
Make use of your support runners. They are there to support you, so give them water, spare layers, emergency kit and anything else that lightens your load. If you need something from their pack, they can stop, get it out and catch you up rather than everybody stopping together.
Tell your support runners how you want to be supported. Explain what motivates you, why you are doing the Round, whether you want encouragement and how much conversation you actually enjoy. The last thing you need is someone talking at you continuously for five hours or singing motivational songs which are somehow making the leg feel even longer.
Recce the important sections, but don't become obsessed with knowing every metre. Once is enough for most of the route. You want to understand the terrain, know the difficult summit locations and be familiar with the important direct lines, particularly anywhere a navigational mistake could cost you meaningful time and energy.
Make sure all your kit is tried, tested and accessible. Nothing new on the day, particularly footwear, socks, poles, headtorches and your running vest. Keep the things you use regularly somewhere you can reach easily rather than stopping and emptying your entire pack every time you need a gel or gloves.
Charge everything and carry backup lighting. Your watch, phone, tracker and headtorches should all be fully charged, and I would consider a spare headtorch essential if you are going to spend meaningful time in darkness.
Break the Round down rather than thinking about 107km and 42 summits. Get to Threlkeld, then Dunmail, then Wasdale, then Honister. Eventually you will be standing on Robinson with only the run back to Keswick left, which feels considerably more manageable than thinking about the entire Round from the door of Moot Hall.
Know your why and enjoy it. There will probably be difficult moments, so remind yourself why you wanted to do the bloody thing in the first place. That might be a mantra, (if you are moving you are grooving) a photo of somebody you love or simply looking up and appreciating where you are. The views and experience were a massive part of why I wanted to do the Bob, so even when things got hard I tried to actually enjoy being there.
Thank your support crew. They are giving up their time, sleep and energy to help you achieve something that matters to you. I constantly told mine how much I appreciated them, because although one name goes next to completing the Round, completing it requires a team effort.
Bob Graham Round FAQ’s
-
The traditional Bob Graham Round is approximately 66 miles or 106km, with around 27,000ft or 8,200m of climbing spread across 42 Lake District summits.
The exact numbers recorded on your watch will vary slightly depending on the lines you take between the summits. My Garmin recorded around 107km and 8,400m of elevation gain.
To put those numbers into perspective, you are effectively covering around two and a half marathons while climbing almost the height of Mount Everest from sea level.
Unfortunately, most of it isn't on a nice flat road either. You have bog, grass, scree, rocks, boulder fields and some absolutely heinous climbs thrown in for good measure.
-
Leg 1: Keswick to Threlkeld
Distance: 21km
Elevation gain: 1,610m
Summits: 3
Summits: Skiddaw, Great Calva, Blencathra
Leg 2: Threlkeld to Dunmail Raise
Distance: 22km
Elevation gain: 1,800m
Summits: 12
Summits: Clough Head, Great Dodd, Watson's Dodd, Stybarrow Dodd, Raise, White Side, Helvellyn Lower Man, Helvellyn, Nethermost Pike, Dollywaggon Pike, Fairfield, Seat Sandal
Leg 3: Dunmail Raise to Wasdale
Distance: 27km
Elevation gain: 2,080m
Summits: 15
Summits: Steel Fell, Calf Crag, Sergeant Man, High Raise, Thunacar Knott, Harrison Stickle, Pike o' Stickle, Rossett Pike, Bowfell, Esk Pike, Great End, Ill Crag, Broad Crag, Scafell Pike, Scafell
Leg 4: Wasdale to Honister
Distance: 19km
Elevation gain: 1,880m
Summits: 9
Summits: Yewbarrow, Red Pike, Steeple, Pillar, Kirk Fell, Great Gable, Green Gable, Brandreth, Grey Knotts
Leg 5: Honister to Keswick
Distance: 17km
Elevation gain: 800m
Summits: 3
Summits: Dale Head, Hindscarth, Robinson
-
Yes. There is no ballot, qualifying race or traditional entry process, and you don't need permission from the Bob Graham 24 Hour Club to go out and attempt the Round.
However, there is quite a large difference between being allowed to attempt the Bob Graham and being sufficiently prepared to attempt it safely.
This is a serious mountain challenge covering more than 100km across wild, rugged and remote terrain, with over 8,000m of climbing. You will almost certainly spend part of the Round in darkness, while Lake District weather can add another sizeable challenge on top.
You can't really just rock up and give it a crack in the same way you might attempt a long day hike. Ideally, you should have spent months preparing, becoming familiar with the route and building the mountain fitness, navigation skills and experience needed to move confidently across rough terrain for a very long time.
Registering your attempt with the Bob Graham 24 Hour Club is optional if you simply want to take on the challenge for yourself. Attempts are privately organised, so you can choose your own date and time, arrange your own support and head off from Moot Hall without registering.
However, I would still recommend registering. It helps the Club keep an accurate record of attempts, maintain the history and statistics surrounding the Round, and gives other contenders a better idea of how many people may be starting around a similar time.
Most importantly, if you want your successful Round officially ratified and to become a member of the Bob Graham 24 Hour Club, you should register your attempt beforehand and follow the Club's witnessing and ratification requirements
-
There is nothing stopping you from completing the Bob Graham Round in more than 24 hours, either as one continuous effort or spread across several days.
However, if you want your Round officially recognised and to qualify for membership of the Bob Graham 24 Hour Club, you need to complete all 42 summits and return to Moot Hall within 24 hours.
That 24-hour target is what defines the traditional challenge, but I certainly wouldn't dismiss anything outside it. Completing the entire route in one continuous push in 24, 26 or even 30 hours is still an absolutely enormous achievement, while splitting the Round across several days is also a brilliant way to experience the route without having a clock constantly hanging over you.
You can essentially take on the Bob Graham however you want. The 24-hour limit only becomes compulsory if you want the traditional qualifying completion and membership of the Bob Graham 24 Hour Club.
-
The Bob Graham isn't an organised race, so there isn't any race entry fee involved.
Its free to attempt, however it doesn't mean the challenge will cost you nothing.
Depending on where you live, you may need to factor in travel costs, accommodation, and food.
I had my pants pulled down for accommodation in Keswick the night after my round. I book the hotel late as I was waiting to see what the weather was doing before committing. It ended up being a Saturday during school holidays and the cheapest hotel was £250 a night. Thankfully it was in front of moot hall.
-
No. There is no fixed date or start time for the Bob Graham Round.
You choose your own date, start time and direction, which means you can plan your attempt around the weather, daylight, moon phase, your expected pace and the availability of your support team.
This is one of the things I really like about the Bob Graham. Unlike an organised race, you aren't tied to a particular weekend or forced to start at 6am with everyone else.
If you are registering your attempt with the Bob Graham 24 Hour Club, you simply register your chosen date and start time beforehand.
-
The Bob Graham is comfortably one of the hardest physical and mental challenges I have ever undertaken, although one thing that surprised me was how much I enjoyed it. With the right preparation, good pacing, favourable weather and an incredible support team, it wasn't 22 hours of relentless suffering.
The difficulty comes from combining the distance, enormous amount of climbing, rough terrain, navigation, darkness, Possible sleep deprivation and the need to continue eating and drinking for almost an entire day.
You also have the added pressure of the 24-hour clock constantly ticking away in the background.
The Bob Graham Club's latest complete figures are from 2025, when there were 238 registered attempts and 112 successful qualifying rounds, giving a headline success rate of 47.06%. The Club points out that because some successful contenders needed multiple attempts, the actual likelihood of succeeding on any individual attempt is closer to 40%.
So even among people who are fit and confident enough to actually stand outside Moot Hall and give it a crack, a lot don't make it around within 24 hours.
-
You need to be very fit, but you don't necessarily need to be an exceptionally fast runner.
Moving efficiently across mountainous terrain for a very long time is far more important than your 5K or marathon PB. You need a strong aerobic base, excellent climbing endurance, robust and conditioned legs that can tolerate thousands of metres of climbing and descending, and the confidence to move efficiently across rough mountain terrain.
You also need to be comfortable spending a very long time on your feet. Depending on your schedule, you could still be climbing mountains 20 or even 23 hours after leaving Keswick.
I would argue that time on feet in the mountains is more valuable than simply doing lots of long trail runs. Most of my running in training was relatively short, but I spent a lot of time hiking consecutive long days in the mountains, building elevation, learning to use poles efficiently and becoming more confident descending.
I go into much more detail on exactly how I trained for the Bob Graham Round later in this guide.
-
The Bob Graham Round starts and finishes at Moot Hall in Keswick, right in the centre of town.
You touch the door below the steps, disappear into the Lake District for the best part of a day, climb 42 mountains and then return to touch the steps above the door.
It is a wonderfully understated finish line considering what you have just done.
One of the things I loved about Moot Hall was the atmosphere. You're not starting from a lonely trailhead somewhere in the mountains, you're setting off from the middle of Keswick surrounded by pubs, restaurants, shops and people going about their day.
When I left at 7:14pm on a Friday evening, strangers clapped as I set off. When I returned at 5pm on Saturday, the market was still going and I had to weave through shoppers and stalls to get to the steps.
After spending 107km marauding around the Lake District in pursuit of a wooden door, I then almost forgot to actually touch it.
-
Don't simply look at somebody else's successful Round and copy their start time.
You need to consider your expected pace, the time of year, sunrise and sunset, twilight, moon phase, weather forecast, where you want darkness to fall and how well you cope with sleep deprivation.
For most people on a sensible sub-24-hour schedule, getting through the first three legs from Keswick to Wasdale will take somewhere around 13 to 16 hours, including road crossings, so this is a useful figure to work backwards from.
I started at 7:15pm, around 90 minutes before sunset, and my first three legs took 13 hours and 50 minutes, with me reaching Wasdale at 09:04 the following morning.
That worked brilliantly for me. I started Leg 1 in daylight and got some beautiful evening light heading towards Skiddaw, spent Leg 2 and the early stages of Leg 3 under a headtorch, then had daylight returning before the rougher and more technical terrain towards Bowfell and the Scafells.
Another big reason for the evening start was sleep. I didn't have an early alarm hanging over me and actually had my best night's sleep of the entire week before the Round. Finishing at 5pm also meant I didn't have to spend the rest of the day desperately trying to stay awake, and I was able to get back into a fairly normal sleep routine that evening.
The downside was that I had been awake for around 34 hours by the time I finished, and I'd be lying if I said that didn't affect me. I would happily choose a similar start time again, but I can completely understand the argument for starting earlier in the morning and reducing your total time awake. I just wouldn't start so early that you sacrifice a good night's sleep beforehand.
An earlier start may mean completing some or all of Leg 4 in darkness, but personally I don't think that would worry me too much. Leg 4 is incredibly tough because of where it comes in the Round and the amount of climbing involved, but I wouldn't describe it as particularly difficult to navigate if you have recced it and are confident moving over mountain terrain at night.
Some people also deliberately time their Round so that sunrise arrives during Leg 3, using the return of daylight and morning views as a mental boost after several hours under a headtorch.
The time of year and moon phase can make a huge difference too. Around the summer solstice, particularly with clear skies and a bright moon, you may have usable natural light for almost the entire Round. The same start time later in the year could leave you relying on your headtorch for several additional hours.
There is no perfect start time. Work out roughly where you expect to be after 13 to 16 hours, decide which sections you are happiest covering in darkness, factor in how much sleep you are likely to get beforehand, then choose a start time that suits your own strengths.
-
Both directions are possible, although clockwise is overwhelmingly more common.
In 2025, 109 of the 112 successful qualifying rounds were clockwise, with only three completed anticlockwise.
I went clockwise and would choose the same direction again.
One of the biggest attractions is finishing with Leg 5. Although I wouldn't describe it as easy after 90-odd kilometres and 7500m of ascent, it contains the least mountainous terrain of the five legs and eventually spits you out onto the road for the final 5 miles back into Keswick.
Going anticlockwise completely changes the character of the Round, the climbs and descents you do and also changes where darkness is likely to fall, so there are perfectly legitimate reasons for choosing it.
-
Choosing the right schedule is a bit of a balancing act.
You want something ambitious enough to give yourself some contingency underneath the 24-hour limit, but not so quick that you're working at an unsustainable pace from the moment you leave Keswick.
I based my attempt around a 22.5-hour schedule, which gave me around 90 minutes of contingency while still being a pace I genuinely believed I could sustain based on my training and recces.
I think having some time in the bank is important. If you plan around exactly 24 hours, a navigation mistake, bad weather, stomach problems, an unexpectedly long road stop or even an urgent toilet visit can suddenly leave you chasing the clock.
However, the answer isn't simply choosing a 20-hour schedule and trying to bank loads of time early on.
Going too fast on the first couple of legs can come back to haunt you later. Saving ten minutes charging up Skiddaw doesn't mean much if you then lose an hour because you've completely cooked yourself by Great Gable.
Use your recce times and previous long mountain days to work out what you can realistically sustain, rather than choosing the finishing time you would simply like to achieve.
The Bob Graham Club schedule calculator is extremely useful for building a starting schedule, but I would then adjust it around your own strengths, weaknesses and how quickly you move over different types of terrain.
Most importantly, once you have a realistic schedule, stick to it. The aim isn't to win Leg 1. The aim is to still be moving well when you're 80km deep into the Round.
-
You can physically complete the route solo, but a solo or partly solo Round will not qualify you for Bob Graham Club membership.
The Club is very clear that arrival at every summit needs to be witnessed and that solo or partly solo rounds aren't recognised for membership. The reasoning is also rooted in safety, given the length and seriousness of the challenge.
GPS tracking doesn't replace the witnessing requirement.
Personally, I think doing it entirely alone would also remove one of the things that made my Bob so special.
Friends, experienced fell runners, and complete strangers gave up their time to join me across the five legs, and the conversations, encouragement and general nonsense were a huge part of the experience.
-
If you want a qualifying Round, you need appropriate witnesses with you on the summits.
The Club says a support team of up to two people per leg is perfectly adequate and specifically asks contenders to think about the environmental impact of taking unnecessarily large groups onto the fells.
Beyond witnessing, good support runners make the challenge considerably easier.
Mine helped navigate, carried fluids and additional kit, reminded me to eat and drink, took photos and generally kept morale high.
I would prioritise quality over quantity. One experienced fell runner who knows a leg extremely well is considerably more useful than several mates who are all staring at the same GPX file wondering which pile of rocks is Grey Knotts.
You also want your most experienced runners on the legs which you ill be in the dark, as these are the toughest to navigate.
I think two is the ideal number, as one can focus on naviarion and the other on you. It also allows you to split your fluids across three people and have two people to chat to. A small and particular detail, I also like that the two support runners can also have a conversation which you don’t have to be a part of, sometimes its nice just to have that company and listen into a conversation to distract you
-
You could theoretically organise the Round without conventional road support, but for a normal supported attempt I think a good road crew is essential.
The four main road crossings at Threlkeld, Dunmail Raise, Wasdale and Honister give you the opportunity to refill food and fluids, change clothes, deal with your feet, swap shoes or socks and sort out any problems before heading back into the mountains.
Road support can also be one of the hardest jobs of the entire weekend.
Wasdale is particularly awkward because of the driving involved, especially if your schedule puts those journeys in the middle of the night. On my Round we used a second road crew specifically for Wasdale, which took a huge amount of pressure off my wife and also helped with transporting support runners.
Preparation is everything.
Having a detailed list of exactly what you want ready at each road crossing, alongside what you need to take onto the next leg, makes life considerably easier for everyone involved.
I packaged and labelled all my nutrition by leg, worked out exactly how many soft flasks I needed at each crossing and used different coloured bottles for carbohydrate drink and water.
I also had a list of spare kit I might need, what food I wanted to eat while I was stopped, who was supporting each leg, what time they needed to arrive and what I wanted each support runner to carry.
The aim was to remove as much thinking as possible.
When your road crew has barely slept and you suddenly arrive asking for food, seven bottles, dry socks, a different pair of shoes and somewhere to perform an urgent number two, you will be extremely glad your crew knows where everything is.
-
You earn membership by successfully completing a qualifying Bob Graham Round.
You should register your attempt beforehand, complete the traditional 42 summits within 24 hours and ensure your arrival at the required summits is properly witnessed. After successfully completing the Round, you submit the necessary information for ratification.
-
For me, it was Leg 4 from Wasdale to Honister.
Leg 3 is longer and contains some of the roughest and most technical terrain on the Round, particularly towards Bowfell and the Scafells, but Leg 4 comes when you already have a huge amount of distance and climbing in your legs.
You leave Wasdale and immediately have to climb the brutally steep Yewbarrow, followed by Red Pike, Steeple and Pillar, before eventually facing Kirk Fell and Great Gable.
Great Gable was comfortably the hardest individual climb of my Round. By that point I was around 84km and 18 hours deep, and its steep mixture of rocks and scree wasn't particularly welcome.
The section around Kirk Fell and Great Gable was probably my lowest point of the entire Round, although I was never in a particularly dark place mentally and still felt confident I was going to finish.
There are a few climbs across the Round that deserve a special mention:
Clough Head: Heinously steep. You hit it immediately after Threlkeld and it feels like a very abrupt welcome to Leg 2.
Fairfield: Not necessarily the biggest climb, but one I really didn't enjoy. It is a steep out and back on loose ground, which somehow makes it feel even more pointless when you have to turn around and come straight back down.
Steel Fell: Another steep climb straight out of a road crossing, this time after Dunmail Raise. It isn't especially long, but it is a fairly rude introduction to Leg 3.
Bowfell: This is one people regularly warn you about Strangely, I found it fine, Daylight had finally arrived, the cloud had cleared and the views back down towards the Langdales were incredible, so it never became the monster I had been expecting.
Yewbarrow: Probably one of the most brutally steep climbs on the whole Round and a rather aggressive way to begin Leg 4. I didn’t find it that bad, especially if you turn around and look at the view
Great Gable: For me, the toughest climb of them all. It isn't the biggest in terms of elevation, but after around 80km of mountains, the steep rocks and scree are relentless.
Dale Head: On fresh legs it wouldn't be intimidating, but it hots differently after 90km. Thankfully you know you are tantalisingly close to finishing and have eager glory hunters supporting you on leg 5, so it won’t feel as bad.
I would also separate physical difficulty from navigational difficulty. Leg 4 is brutally hard because of the climbing and where it comes in the Round, but I don't think it is particularly difficult to navigate if you know the lines and have recced it.
-
I would say the back end of Leg 3, particularly the terrain around Bowfell, Esk Pike, Great End, Scafell Pike and Scafell.
There is significantly more rocky terrain and route choice than on many other parts of the Round, and the section between Scafell Pike and Scafell needs particular consideration.
That doesn't mean it is impossibly difficult in darkness if you are experienced on that type of terrain.
During one of my recces I climbed Scafell Pike and then crossed to Scafell via Lord's Rake after sunset before descending Scafell in darkness. It was my first time doing both and I didn't have too much trouble.
So again, this comes back to knowing your own abilities.
Someone uncomfortable scrambling over rocky terrain under a headtorch might deliberately schedule this section for daylight. Somebody accustomed to technical mountain terrain may be considerably less bothered.
-
For a clockwise Round, Leg 5 from Honister to Keswick is definitely the easiest on paper.
To give you an idea of how the five legs compare, these were the distances I actually recorded during my Round:
Leg 1, Keswick to Threlkeld: 20.76km, around 1,600m of ascent, 3 summits
Leg 2, Threlkeld to Dunmail Raise: 22.65km, around 1,800m of ascent, 12 summits
Leg 3, Dunmail Raise to Wasdale: 26.85km, around 2,000m of ascent, 15 summits
Leg 4, Wasdale to Honister: 18.84km, around 1,800m of ascent, 9 summits
Leg 5, Honister to Keswick: 17.28km, around 800m of ascent, 3 summits
Your exact distance will vary depending on the lines you take, but the figures show why Leg 5 is considered the easiest. It has significantly less climbing than any of the other four legs and only contains three summits, Dale Head, Hindscarth and Robinson, before dropping into the Newlands Valley for the final road section back into Keswick.
Obviously, "easy" becomes quite a flexible term when you have already travelled roughly 90km.
-
There is no rule requiring you to recce the Bob Graham Round, but I would strongly recommend becoming familiar with as much of the route as reasonably possible.
A recce isn't simply about memorising the navigation. It lets you understand the terrain, learn how the different sections link together, practise the climbs and descents, and get a much better idea of how quickly you personally move across different parts of the Round.
It is also fantastic BGR-specific training.
If you live locally, then recces are arguably some of the best training you can do. However, I don't think you need to obsessively recce every section, especially if you live a significant distance from the Lake District.
Once is enough, twice is great, three times is elite.
I didn't actually recce the whole of Leg 3 between Dunmail and Great End before my Round, although I had previously hiked around the Langdales and knew sections of the terrain. I also hadn't recced every metre of Leg 4, but I knew enough of the route and was confident that the navigation would be relatively straightforward in daylight.
My own recces looked something like this:
Legs 1 and 2 together: Keswick to Dunmail Raise.
Most of Leg 4 and the back end of Leg 3: I started from Wasdale, covered Leg 4 as far as Great Gable, then linked back across towards Great End, Scafell Pike and Scafell.
Leg 5: I did an out and back from Honister towards Robinson, then drove the final road section back into Keswick so I knew exactly where I would be going on the day.
If you are starting from scratch, I would initially try to cover all five legs either across one longer trip or split across two visits.
Having two cars obviously makes life considerably easier, but the Lake District also has a good bus network, which means you can plan some of the recces without needing somebody to shuttle you around all weekend.
A practical way of breaking it down could look something like this:
Leg 1: Keswick to Threlkeld.
Leg 2: Park around Dunmail Raise and use public transport to get back towards the start, or organise a vehicle at either end.
Leg 3: Go from Dunmail as far as Great End, then drop into Seathwaite rather than continuing all the way into Wasdale. I would personally park around Seathwaite first, then get the awkward public transport journey out of the way before starting the recce (that way you aren't relying on catching the final bus after a long mountain day).
Back end of Leg 3 and most of Leg 4: Use Wasdale as a base and turn it into a loop.
End of Leg 4 and start of Leg 5: Honister works well for an out and back in either direction.
As your fitness improves, you can then start combining legs.
Completing Legs 1 and 2 together, then eventually Legs 3 and 4, is a brilliant way of testing yourself against your planned schedule. If you can complete those bigger sections on tired legs, particularly across consecutive days, then you know you're getting into a very good place.
You don't need to know the location of every rock and sheep on the route, but you should be familiar enough with the terrain that nothing on the day comes as a complete surprise.
-
For most people, late spring and summer offer the best combination of long daylight hours, warmer temperatures and potentially more favourable mountain conditions.
The period around the summer solstice is particularly attractive because you have so much daylight available, and if that lines up with a bright moon and clear conditions you can potentially have usable natural light for a huge amount of the Round.
However, there isn't one perfect month.
Weather, moon phase, temperature, your support team's availability and your own schedule all need to be considered.
I attempted mine on 14 August, mainly because that was the weather window that worked for me
-
If you have enough flexibility, I absolutely would.
The Bob is difficult enough without the weather making it even harder.
Poor weather doesn't just make the Round less enjoyable, it can make navigation more difficult, slow you down and add another layer of risk to an already enormous mountain challenge.
For me, though, the biggest reason for choosing a good weather window is simply enjoyment.
I go into the mountains and take on these challenges for lots of reasons, but one of the biggest motivations is the experience, the scenery and the views that come with them.
Although looking across the fells can occasionally be intimidating when you can physically see the enormous climb waiting for you, being able to soak in the scenery also made my Round significantly easier.
It gives your brain something else to focus on.
Being able to look back across the Lake District and see how far I had already travelled was a massive source of motivation.
Take all of that away and you potentially turn the Bob into 106km of suffering in the clag (and I am not about that life).
If possible, I would pencil in two or three potential dates and remain as flexible as you reasonably can.
I appreciate that isn't realistic for everyone. People have jobs, families and limited annual leave, while finding and organising enough support runners is difficult enough when everyone knows the date months in advance (trying to reorganise them all at the last minute is another challenge entirely).
No Lake District forecast is guaranteed and conditions can change incredibly quickly, but if the forecast is genuinely horrific and you have the option to move your attempt, I would.
-
Alongside making sure you are properly prepared and almost painfully organised beforehand, my biggest piece of advice is simple: look up and actually enjoy it.
Enjoy the views, talk absolute nonsense with your support runners, laugh when things go slightly wrong, thank the amazing people who have given up their time to help you, and every now and again take a moment to grab a photo and appreciate what you are actually doing.
There will probably be parts where it hurts and moments where you question your own use of free will, particularly when Great Gable appears after 80-odd kilometres.
But you only get to complete your first Bob Graham once.
Mine lasted 21 hours and 46 minutes and, despite the tiredness, battered toes, logistical chaos and an unhealthy amount of sugar, it was easily one of the best days I have ever had in the mountains.
Useful Bob Graham Round Resources
Bob Graham 24 Hour Club, the best place to start for official information on the Round, registration, rules and ratification.
Bob Graham Schedule Calculator, incredibly useful for building your schedule around your chosen start time, direction and expected pace.
Road Crossing and Parking Information, worth checking before your attempt, particularly for Wasdale where parking and road support can be awkward.
Bob Wightman's Bob Graham Resources, a brilliant collection of information covering the route, individual legs, schedules, training and general planning.
Mark Wilson's Bob Graham documentary, The Chase, which was actually one of the things that first planted the seed in my head that I might be able to take on the Round myself.
If you are planning an attempt, I would always use the Bob Graham 24 Hour Club website for the latest official information, particularly around registration, rules and road support, as some other resources online may be older.
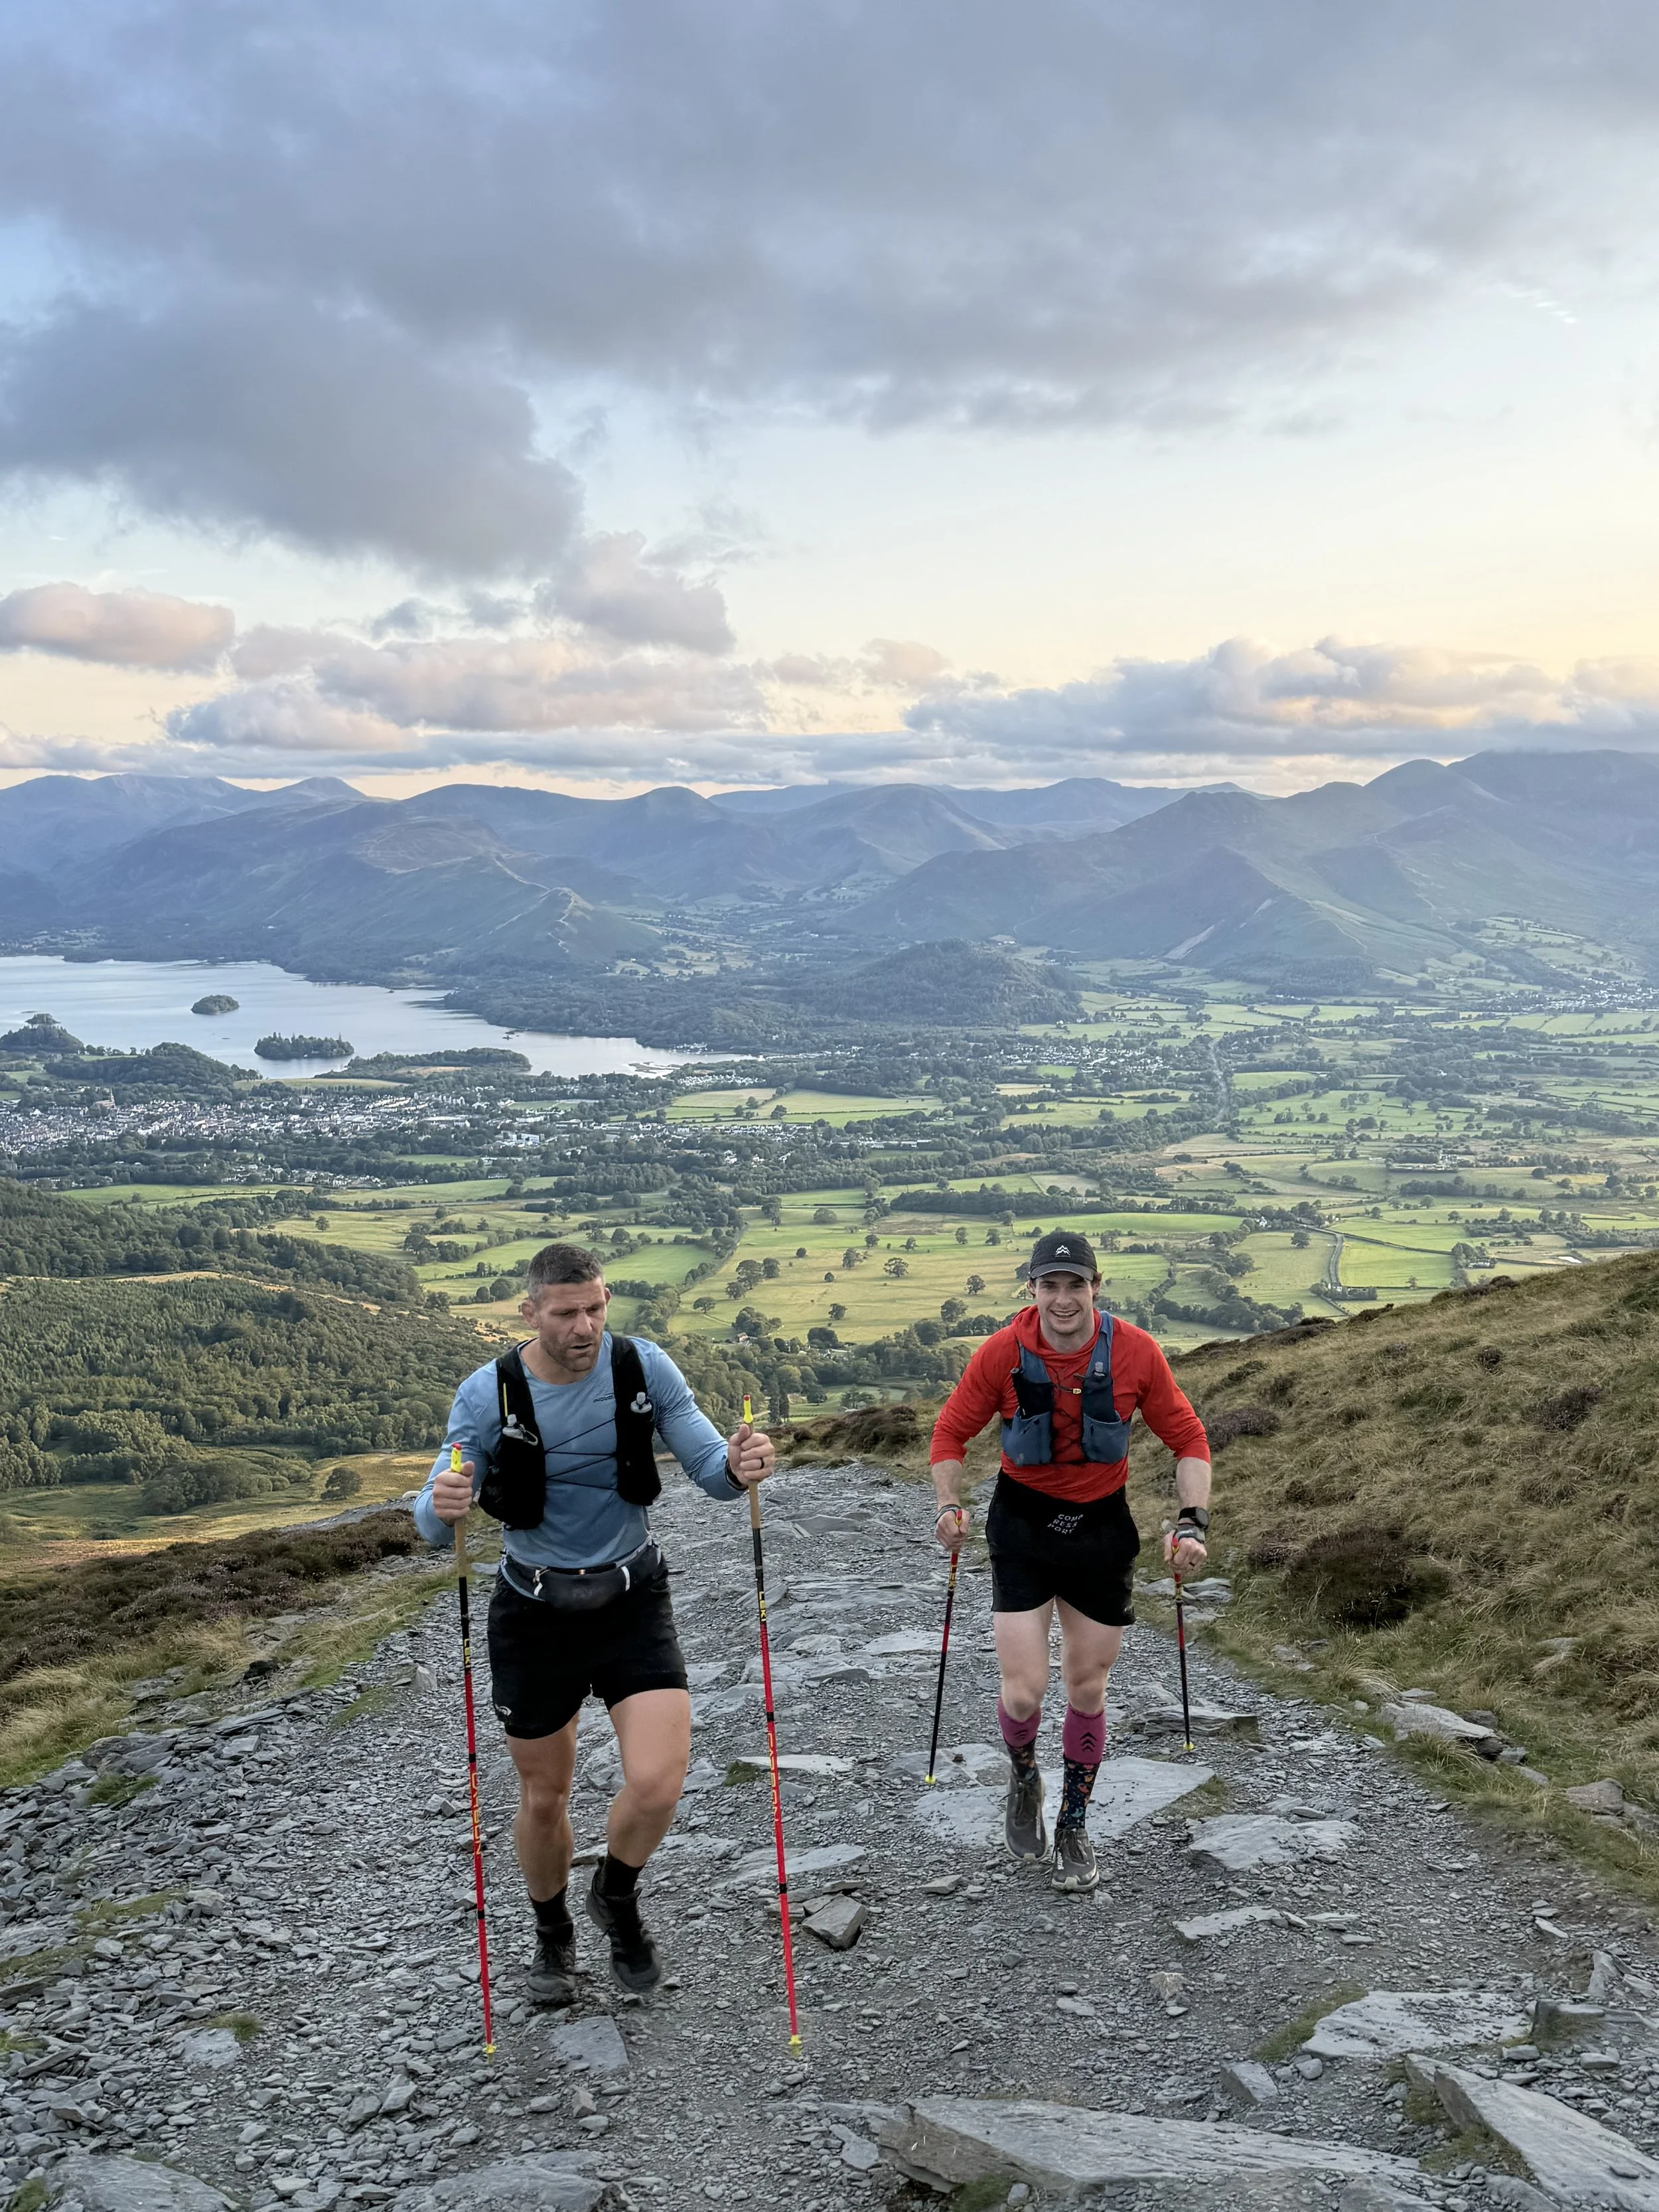
Help support what I do
I created and I run this website in order to help inform, amaze, inspire people (for free) to get outside and explore the adventurous side of the UK and beyond.
Although I do run some google ads, I have limited them in order to make your experience on this website far more enjoyable.
If you’d like to support this website, you can use the affiliate links below to book your accommodation or transport. These come at no extra cost to you, but help keep this site running.
If you are felling generous you can also buy me a coffee to say thank you, and give me a follow on social media.
Book your car using Discover Cars
Book your accommodation using Booking.com
Thank you, and if you have any questions, leave them in the comments below or drop me an email!
